Lesson Contents
In one of my lessons where I explained the basics of SDN we have seen that there is a difference between the data plane and control plane. Most SDN solutions will have “dumb” network devices with only a data plane and the control plane is done by the SDN controller. One of the most popular protocols that is used between the network devices and SDN controller is OpenFlow. An example of this is OpenDaylight.
Now let’s think for a minute about some of the Enterprise hardware that Cisco offers..it’s Catalyst switches, ISR routers, ASA firewalls and Wireless controllers. There is a lot of hardware that is up and running right now which doesn’t support new protocols like OpenFlow.
If you want to start using SDN, you could wait and replace your hardware with new toys that do support some form of SDN but Cisco thought of something else…
APIC-EM is an SDN controller that was created for Enterprise hardware. It uses a REST API for the northbound API with a decent GUI. For the southbound interface, it uses common protocols like Telnet, SSH and SNMP to communicate with your hardware.
The control / data plane remains in your switches, routers, and other devices. APIC-EM is not an SDN controller that replaces the control plane.
What does it do then? It has a couple of cool features:
- Collects information about the entire network: interface statistics, VLANs, routing protocols.
- Builds topology pictures.
- Allows you to send configurations to all your devices.
- And more.
APIC-EM allows you to start with network automation today, using the hardware you are currently using.
Installation
Cisco offers an ISO image that you can download to install APIC-EM on your own hardware or in a virtual machine. You will need a CCO account, but it doesn’t require a contract or anything.
It does have some hefty hardware requirements. It needs 6 CPU cores with 2.4Ghz at least, 64GB of RAM and a 500GB hard disk for a production install.
Fortunately, it does allow you to install with less hardware for evaluation. If your machine has between 16 and 25GB of RAM then it will detect this and offers you to install an evaluation install.
I also highly recommend you to check out Cisco’s DevOps. They offer some APIC-EM labs so you don’t have to install anything yourself.
Having said that, let me show you how to install APIC-EM. I created a new virtual machine with the following properties:

My virtual machine has 22GB of RAM and two network interfaces. One will be used as the northbound interface so that I can access the controller. The second network interface is used as the southbound interface to reach my network.
Once you boot the ISO, it will show a license agreement:
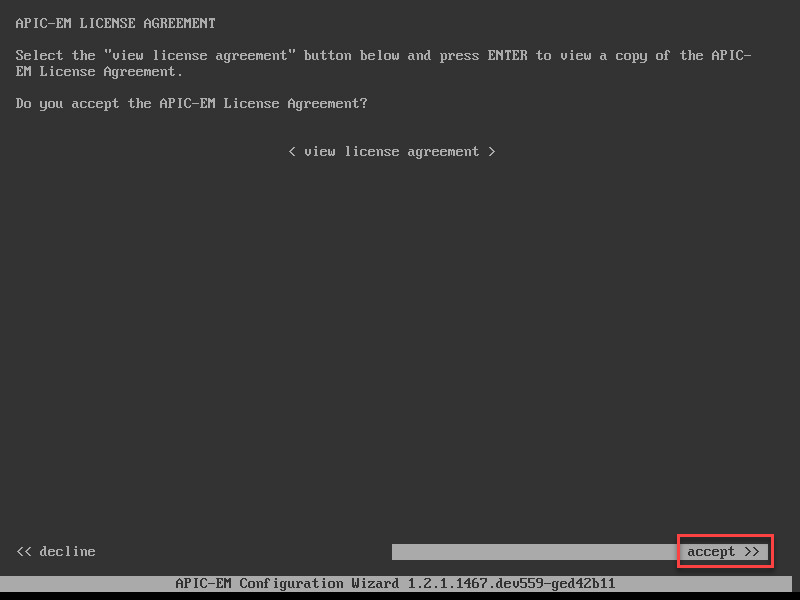
Let’s accept it, APIC-EM will now check the disk throughput:
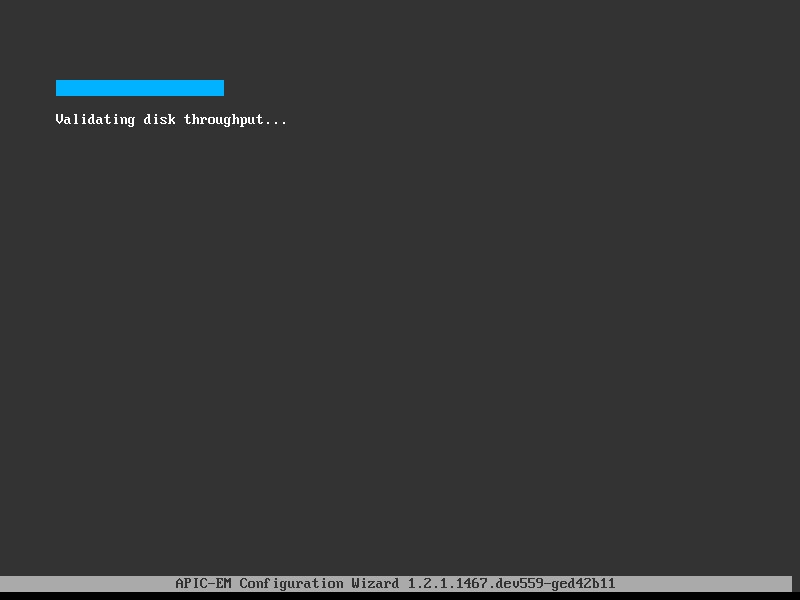
You require 200 MB/s for a production installation. APIC-EM will warn you about this:
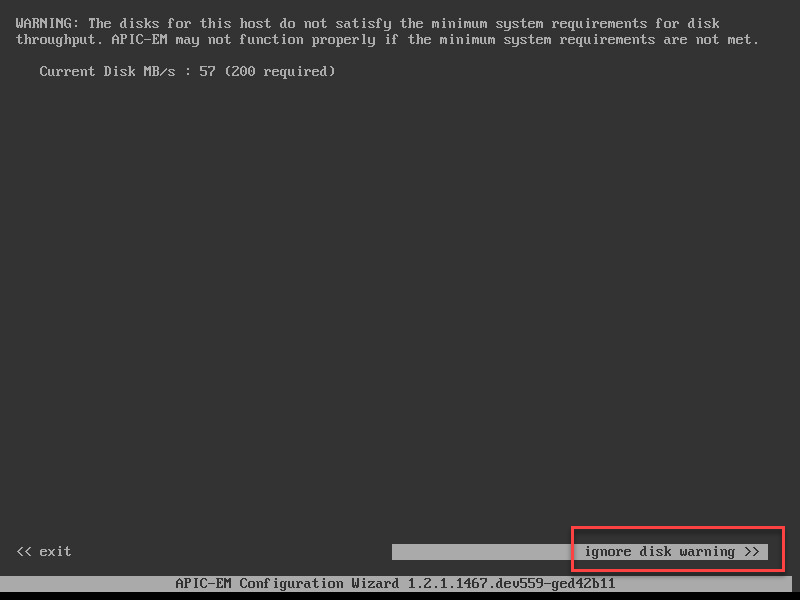
Just ignore the warning and continue. Since I am using 22GB of RAM, APIC-EM will suggest to create a demo / evaluation installation:
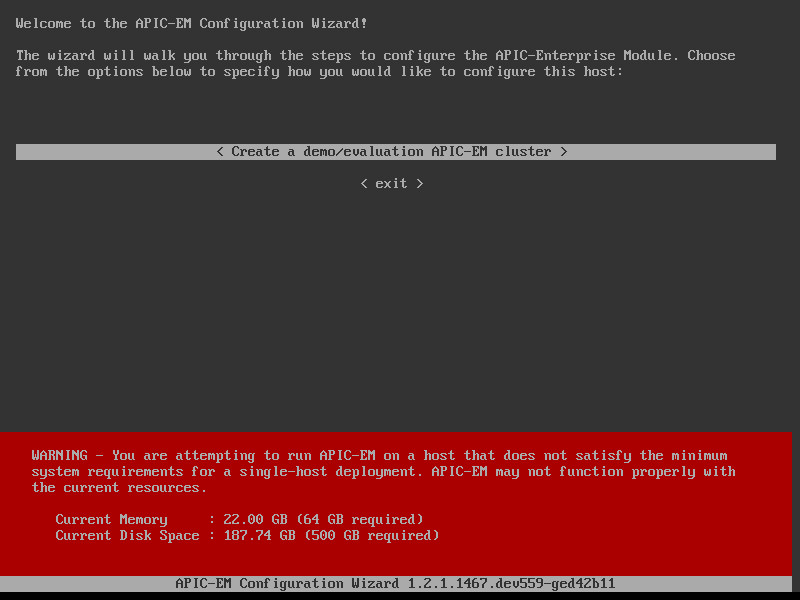
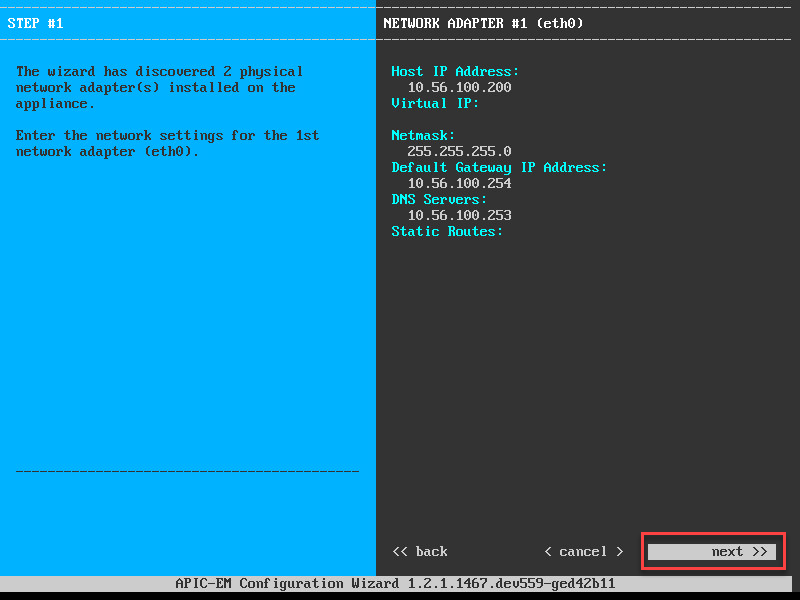
Let’s continue and configure the first network adapter:
And here’s the second network interface:
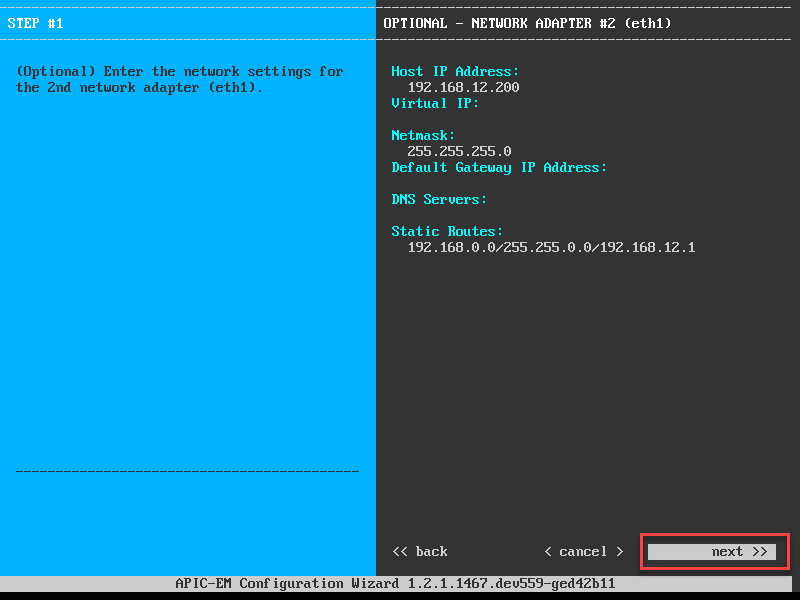
For my second network interface, I added a static route so that APIC-EM can reach all my network devices in the 192.168.0.0/16 range.
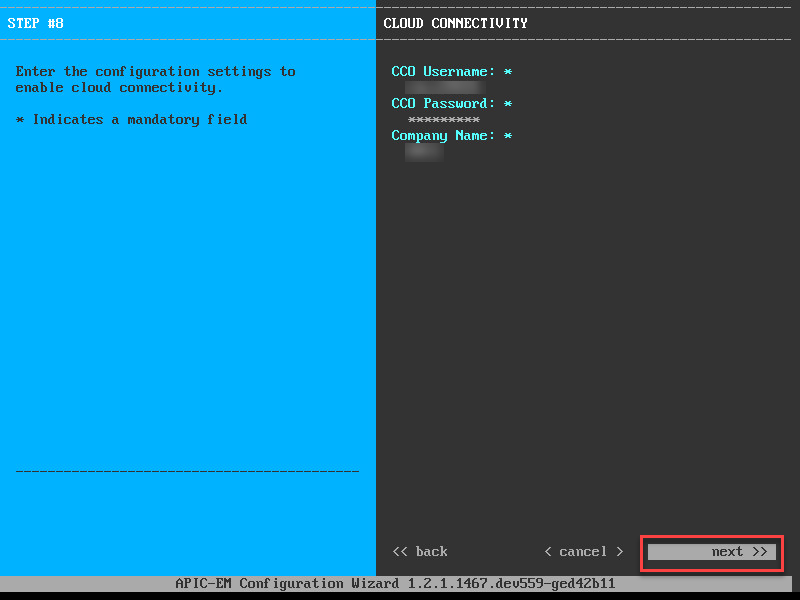
Hit Next and it will ask you for your CCO account:
Enter your credentials and continue. Time to create a Linux user account:

The credentials above are needed when you want to SSH into the box or if you want to look into Grapevine (I’ll show you this later).
We need one more user account:
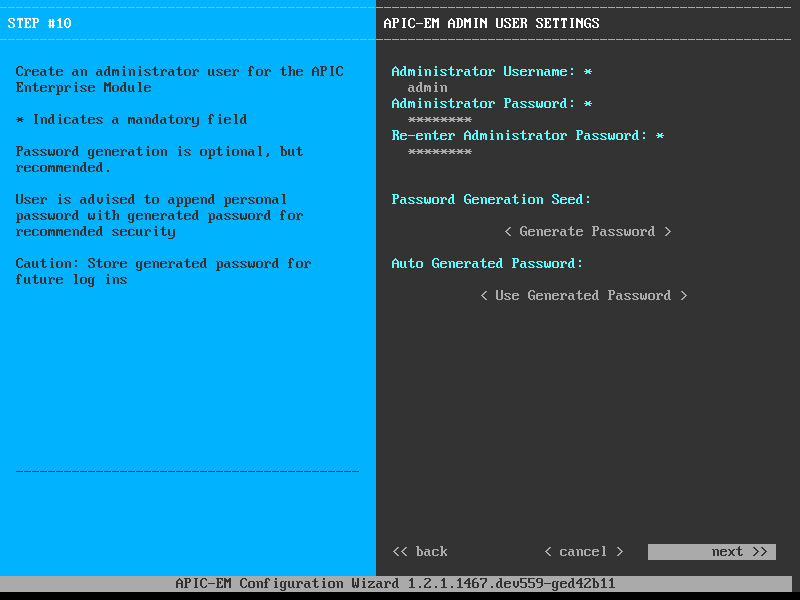
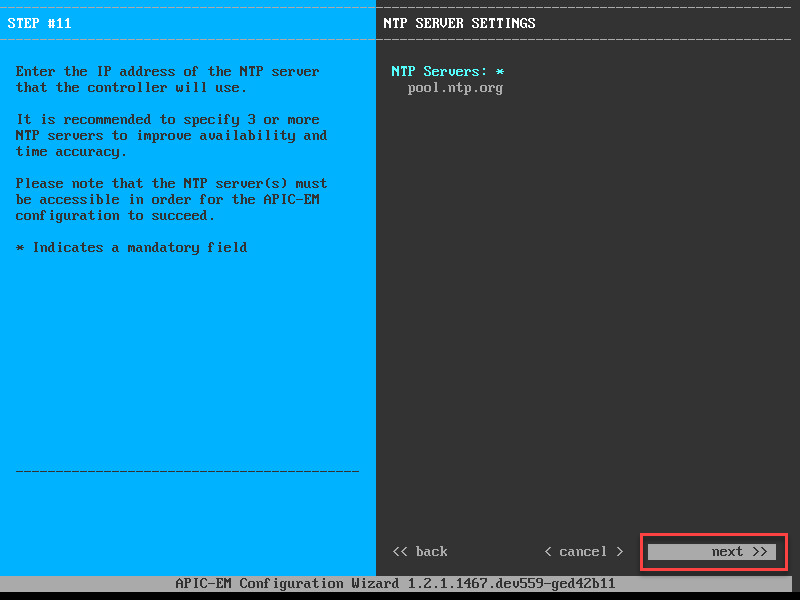
The admin account is needed to access APIC-EM. Let’s continue and set a NTP server:
If you run a multi-host cluster, you can configure IPSec between the hosts:
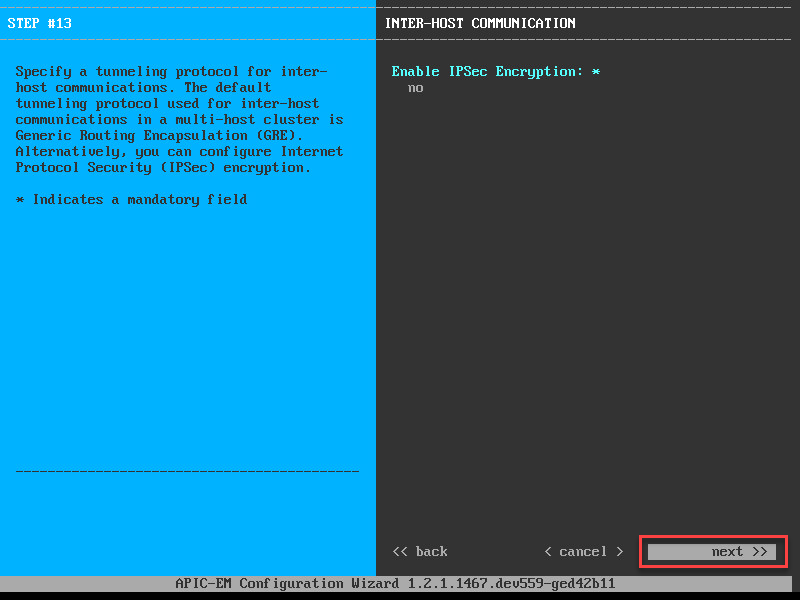
We only have one host so you can keep IPSec disabled. Let’s continue:
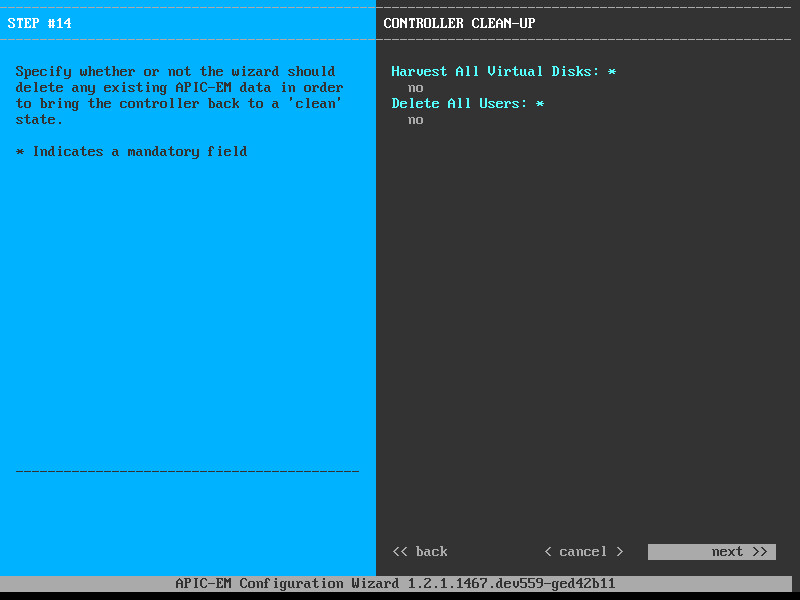
This is a fresh installation so we don’t have to wipe any data. The wizard is now ready:
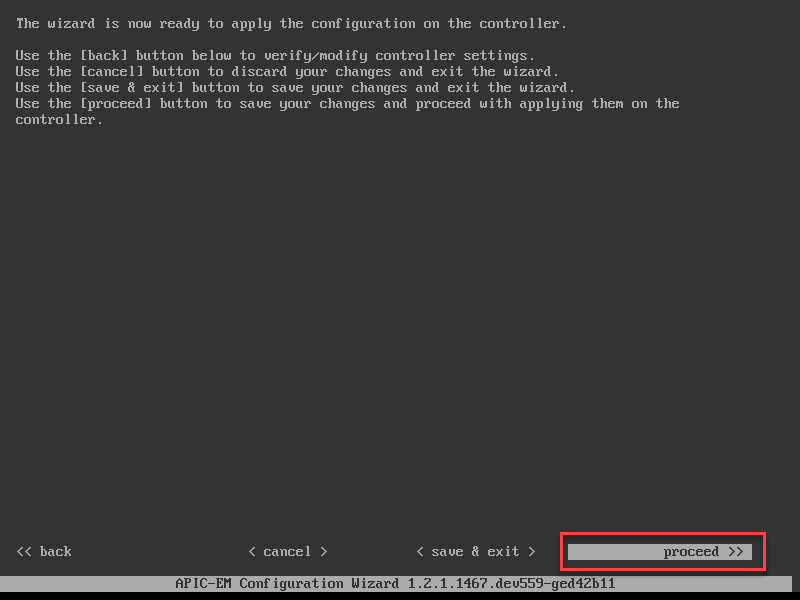
Once you click proceed, grab some coffee…it will take a LONG time before everything is installed and all services are running. You can see the progress on the console:
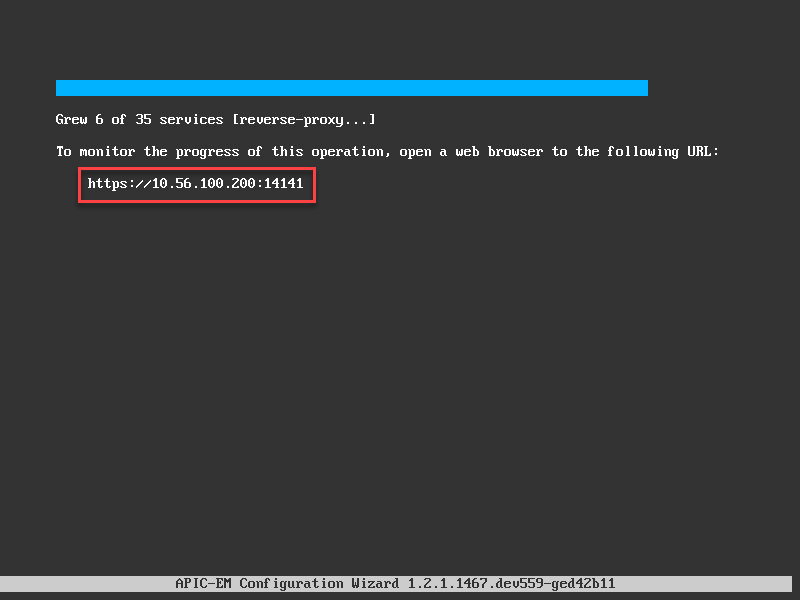
It also gives you a URL where we can see its progress. Let’s give it a try:
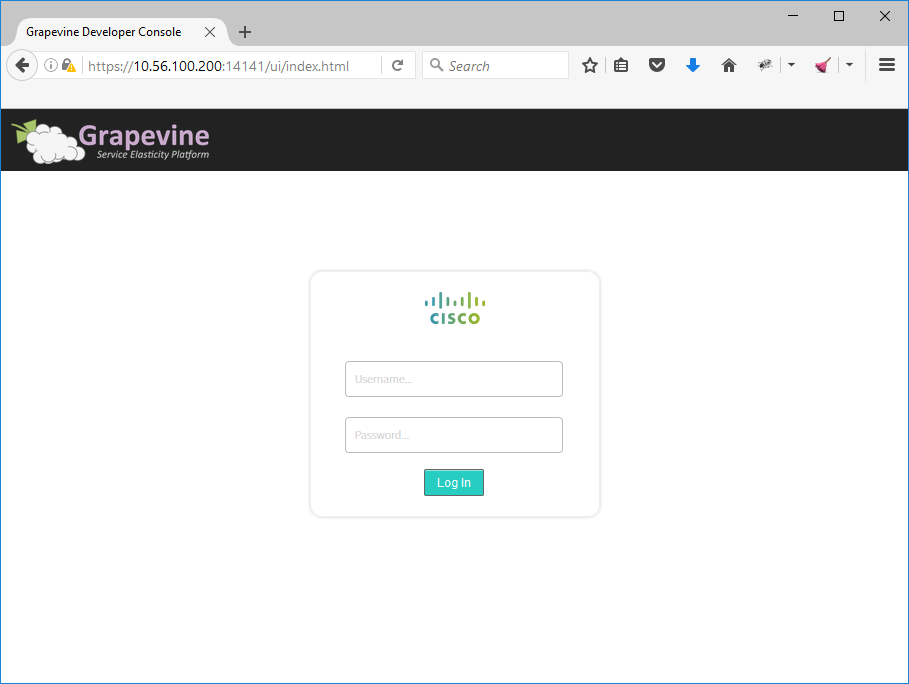
You can use the admin account that we created in the wizard. Once logged in, you will see all services that are starting:
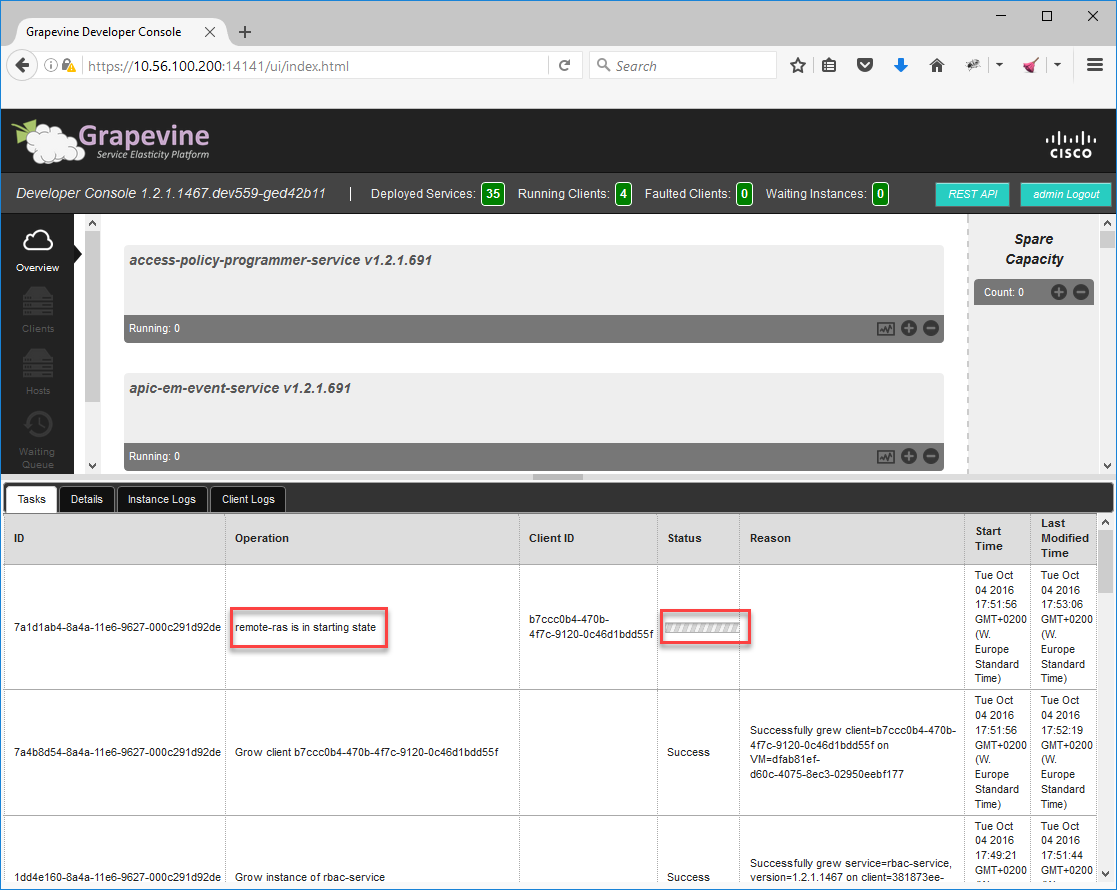
Once all services are started we can take a look at APIC-EM. Start your web browser again and enter the IP address of your northbound interface without a port number:
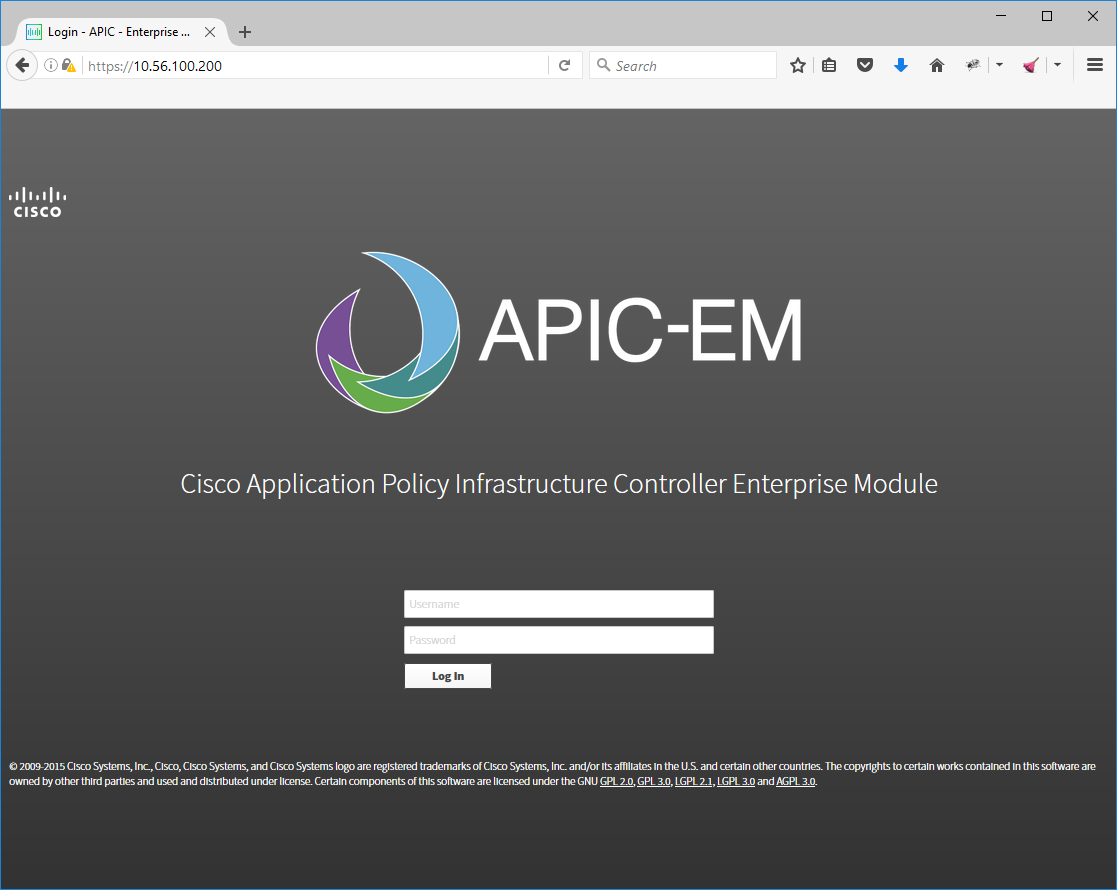
You can use the admin account to login. Once you are logged in, you’ll see the menu on the left side:
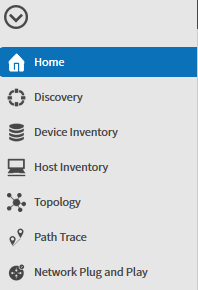
APIC-EM is now up and running. Before we can do anything, we will have to add some network devices…
Discovery
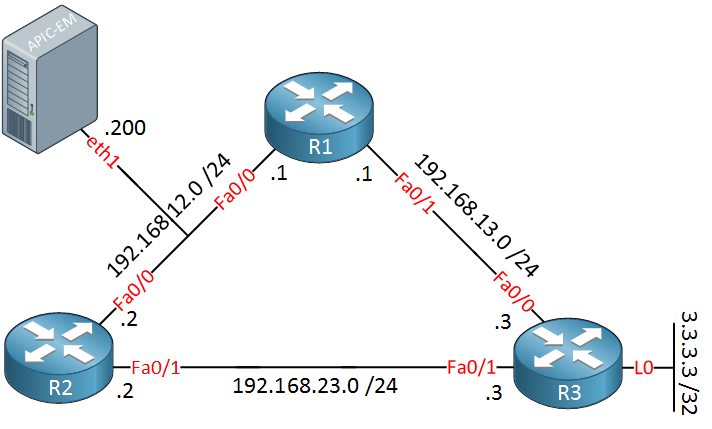
We will need some network devices that APIC-EM can control. I will use the following physical topology for this:

Above we have three routers and two switches. At the bottom, we see the APIC-EM server with its two network interfaces. eth1 will be connected to our network and eth0 is used to access the APIC-EM servers.
I will use the physical topology above to build the following logical topology:
Configurations
Want to take a look for yourself? Here you will find the startup configuration of each device.
R1
hostname R1
!
enable password Cisco123
!
ip domain name NETWORKLESSONS.LOCAL
!
username admin password 0 Cisco123
!
interface FastEthernet0/0
 ip address 192.168.12.1 255.255.255.0
!
interface FastEthernet0/1
 ip address 192.168.13.1 255.255.255.0
!
router ospf 1
 network 192.168.12.0 0.0.0.255 area 0
 network 192.168.13.0 0.0.0.255 area 0
!
snmp-server community readonly RO
snmp-server community readwrite RW
!
line vty 5 9
 login local
 transport input ssh
!
end
R2
hostname R2
!
enable password Cisco123
!
ip domain name NETWORKLESSONS.LOCAL
username admin password 0 Cisco123
!
interface FastEthernet0/0
 ip address 192.168.12.2 255.255.255.0
!
interface FastEthernet0/1
 ip address 192.168.23.2 255.255.255.0
!
router ospf 1
 network 192.168.12.0 0.0.0.255 area 0
 network 192.168.23.0 0.0.0.255 area 0
!
ip access-list extended NO_SSH
 deny   tcp host 192.168.12.1 any eq 22
 permit ip any any
!
snmp-server community readonly RO
snmp-server community readwrite RW
!
line vty 5 9
 login local
 transport input ssh
!
end
R3
hostname R3
!
enable password Cisco123
!
ip domain name NETWORKLESSONS.LOCAL
username admin password 0 Cisco123
!
interface Loopback0
 ip address 3.3.3.3 255.255.255.255
!
interface FastEthernet0/0
 ip address 192.168.13.3 255.255.255.0
!
interface FastEthernet0/1
 ip address 192.168.23.3 255.255.255.0
!
router ospf 1
 network 3.3.3.3 0.0.0.0 area 0
 network 192.168.13.0 0.0.0.255 area 0
 network 192.168.23.0 0.0.0.255 area 0
!
ip http server
!
snmp-server community readonly RO
snmp-server community readwrite RW
!
line vty 5 9
 login local
 transport input ssh
!
end
SW1
hostname SW1
!
enable password Cisco123
!
username admin password 0 Cisco123
!
ip domain-name NETWORKLESSONS.LOCAL
!
interface FastEthernet0/1
 switchport access vlan 12
 switchport mode access
 spanning-tree portfast
!
interface FastEthernet0/2
 switchport access vlan 12
 switchport mode access
 spanning-tree portfast
!
interface FastEthernet0/3
 switchport access vlan 13
 switchport mode access
 spanning-tree portfast
!
interface FastEthernet0/11
 switchport access vlan 12
 switchport mode access
 spanning-tree portfast
!
interface FastEthernet0/12
 switchport access vlan 12
 switchport mode access
 spanning-tree portfast
!
interface FastEthernet0/24
 switchport trunk encapsulation dot1q
 switchport mode trunk
 ip access-group R1_R3_HTTP in
!
interface Vlan12
 ip address 192.168.12.100 255.255.255.0
!
ip default-gateway 192.168.12.1
ip classless
!
ip access-list extended R1_R3_HTTP
 deny   tcp host 192.168.13.1 host 3.3.3.3 eq www
 permit ip any any
!
snmp-server community readonly RO
snmp-server community readwrite RW
!
line vty 5 9
 login local
 transport input ssh
line vty 10 15
 login
!
end
SW2
hostname SW2
!
enable password Cisco123
!
username admin password 0 Cisco123
!
ip domain-name NETWORKLESSONS.LOCAL
!
interface FastEthernet0/1
 switchport access vlan 13
 switchport mode access
 spanning-tree portfast
!
interface FastEthernet0/2
 switchport access vlan 23
 switchport mode access
 spanning-tree portfast
!
interface FastEthernet0/3
 switchport access vlan 23
 switchport mode access
 spanning-tree portfast
!
interface FastEthernet0/10
 switchport access vlan 12
 switchport mode access
 spanning-tree portfast
!
interface FastEthernet0/12
 switchport access vlan 12
 switchport mode access
 spanning-tree portfast
!
interface FastEthernet0/24
 switchport trunk encapsulation dot1q
 switchport mode trunk
!
interface Vlan12
 ip address 192.168.12.101 255.255.255.0
!
ip default-gateway 192.168.12.1
!
snmp-server community readonly RO
snmp-server community readwrite RW
!
line vty 5 9
 login local
 transport input ssh
line vty 10 15
 login
!
end
Above we see the routers connected in a triangle. I’m using the switches only to connect the routers to each other directly. These routers are running OSPF and advertising all subnets that you see above. The APIC-EM eth1 interface is connected to the 192.168.12.0/24 subnet. The two switches also have an IP address in the 192.168.12.0/24 subnet.
APIC-EM allows us to discover devices on the network. It will use CDP, SSH (or Telnet) and SNMP for this. Since SSH and SNMP require some credentials, it’s best to configure these globally.
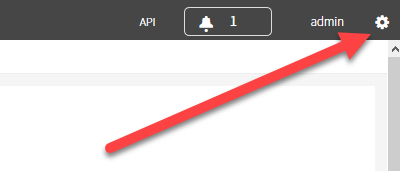
In the top right corner, click on the “gear” icon and select “settings” :
Look for the discovery credentials section in the menu on the left side:
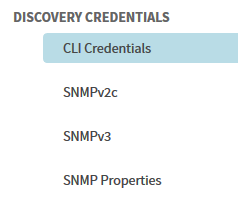
It will show you the following screen:
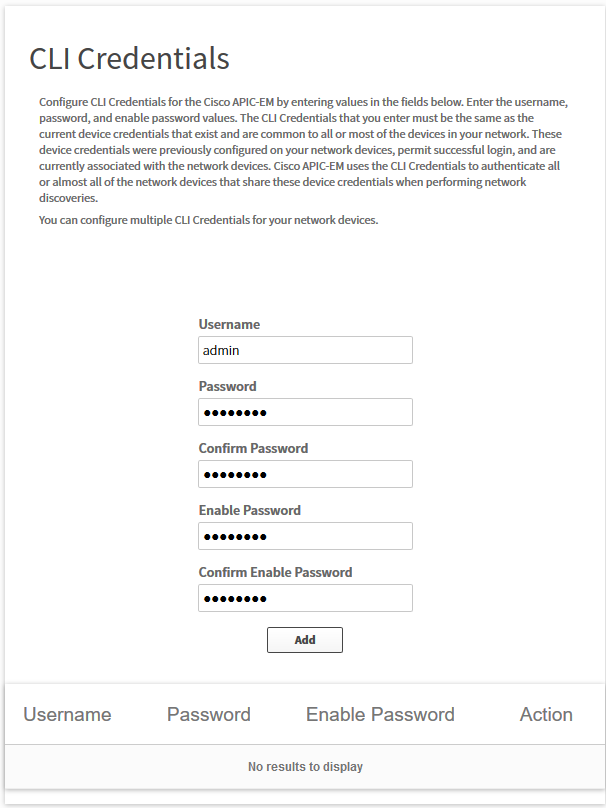
Here we can enter our username and password that we use for SSH and the enable password. Click on the Add button.
We will continue by selecting SNMPv2c in the menu. You will see this screen:
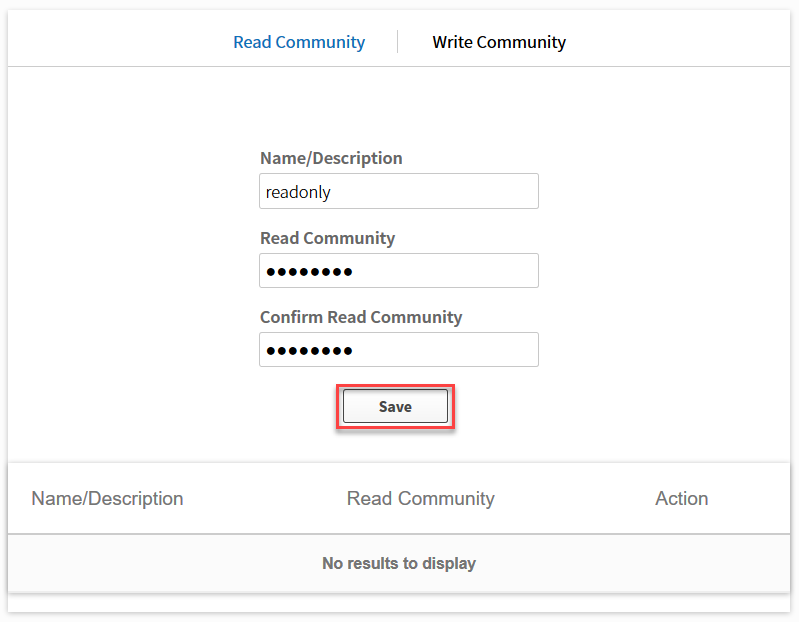
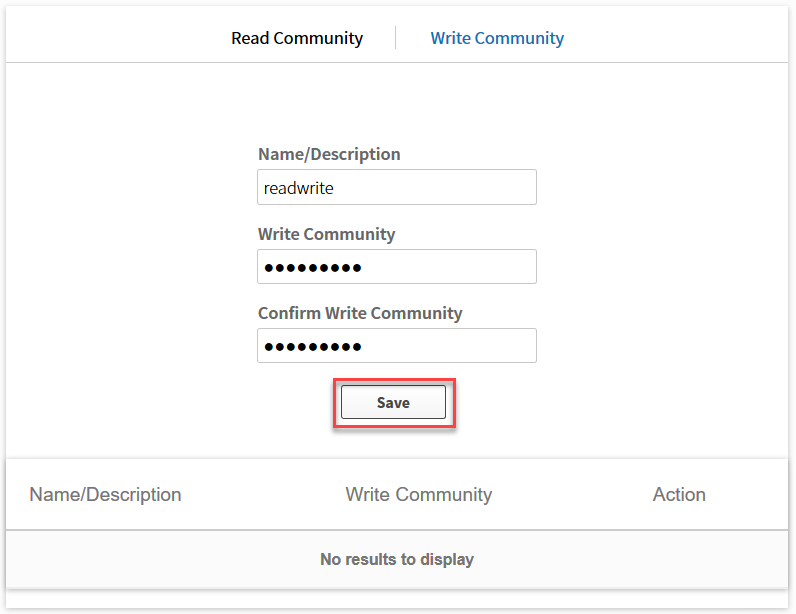
Let’s configure a read only SNMP community. Click on the save button and don’t forget to configure the write community as well:
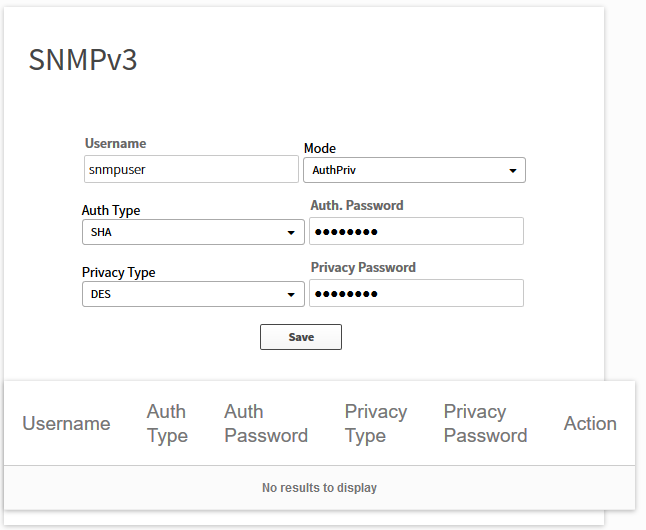
Optionally, you can also add your SNMPv3 settings if you use it:
Our APIC-EM controller now knows the credentials it has to use for SSH and SNMP.
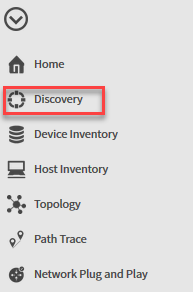
Time to discover the network. On the left side, select the discovery icon:
Here we can add a new discovery. You can enter the IP address of a single device here and APIC-EM will use CDP to find other network devices. You can also enter a range of IP addresses to scan.
This was a wonderful read and very streamline understanding.
Hi Rene
Wonderful series of articles.
Some clarification if I may.
Many thanks for any reply
Hi Shaunl,
Some of these terms are indeed a bit vague. The total “SDN package” is a SDN controller with SDN supported hardware like routers, switches, firewalls or wireless access points. It also includes the NBI (an API) and a SBI protocol that communicates with our hardware (for example OpenFlow). We can also call this complete package a “SDN solution” or “SDN framework”.
The SDN controller is important, but you also need supported hardware or you won’t be able to do much
In case of APIC-EM, we have APIC-EM as the SDN controller, regular Cisco IOS / IOS XE h
... Continue reading in our forumHi Rene,
How can you classify Cisco Prime Infrastructure or compare it with APIC-EM controller ?
Thank’s for your answer.
Hello Jean-Christophe
Cisco Prime Infrastructure is a software package that that can be used to manage wired and wireless Cisco networks including:
Cisco Prime Infrastrucutre can also be used to manage multiple instances of geographically separate CPI networks as one. More information about it can b
... Continue reading in our forum