Lesson Contents
If you want to add vEdge or cEdge licenses to your Cisco SD-WAN network, you’ll need some device “licenses”. In Cisco SD-WAN versions before 20.x, it was possible to skip this. If you build a lab using version 20.X or later, you need to create these licenses on the Cisco.com website and import them on your vManage controller. If you use version 20.x or later, follow this lesson and I’ll explain how to create these licenses.
Head over to https://software.cisco.com if you want to follow along.
Virtual Account
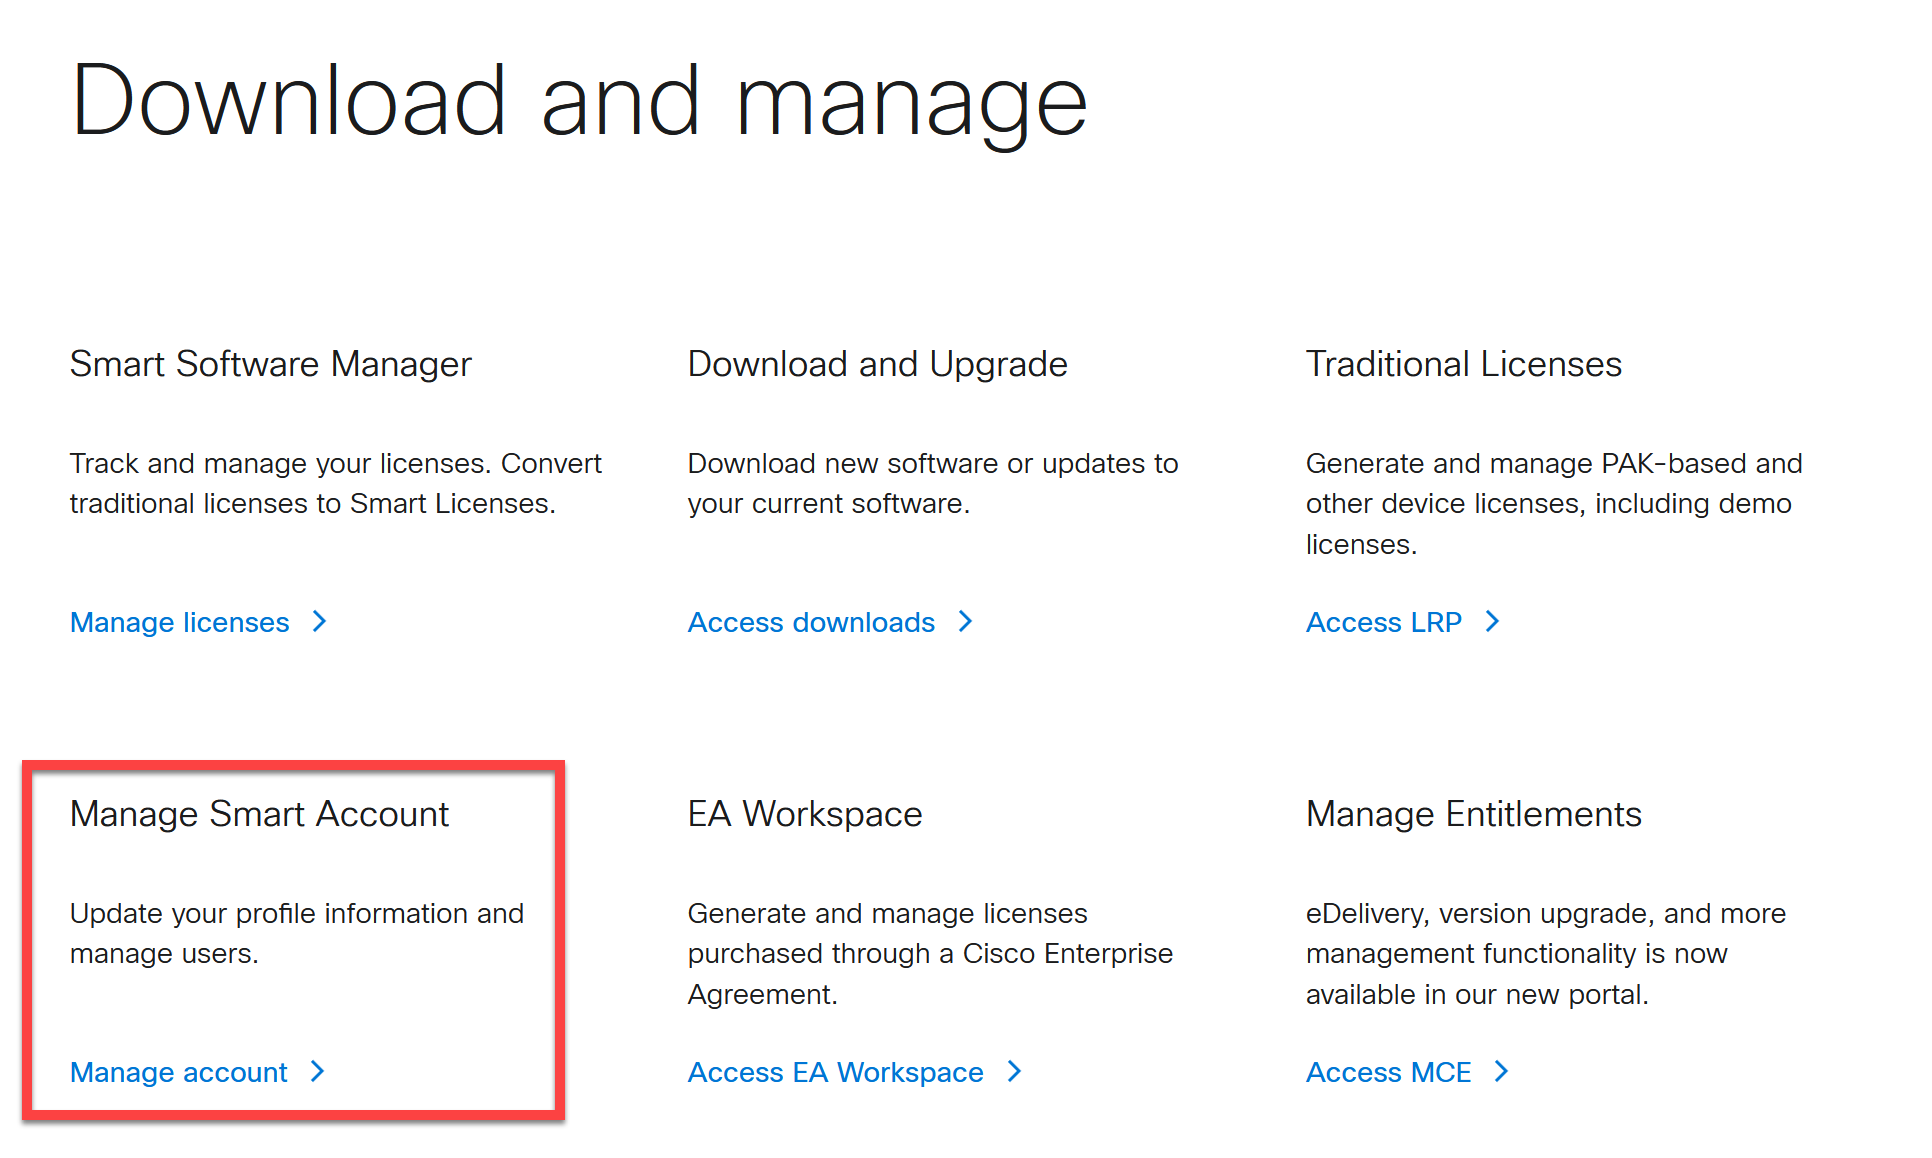
If you want to separate your lab licenses from your other licenses, you should create a virtual account. Let me show you how to do this. Under Download and manage, and Manage Smart Account, click on Manage account:
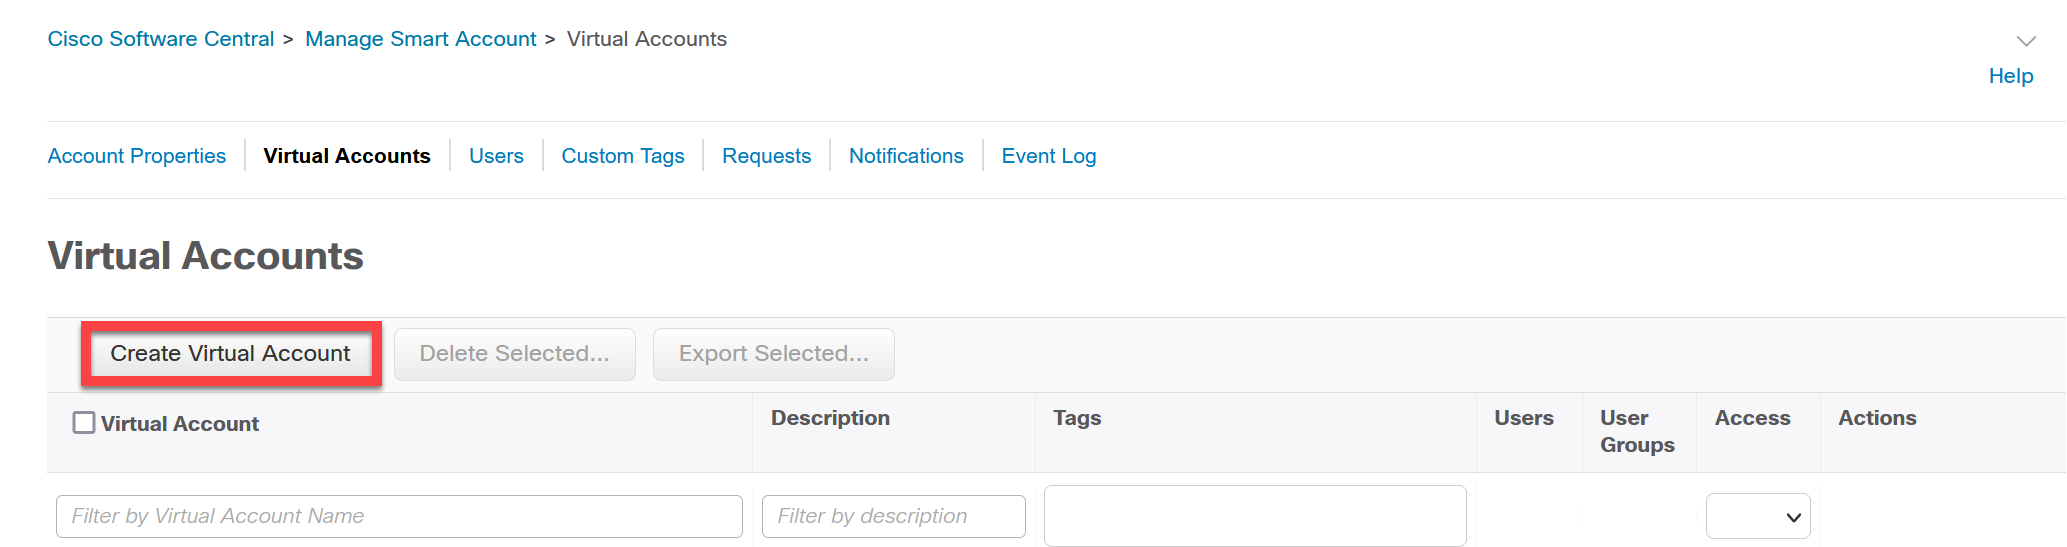
Click on Virtual Accounts:

Click on Create Virtual Account:
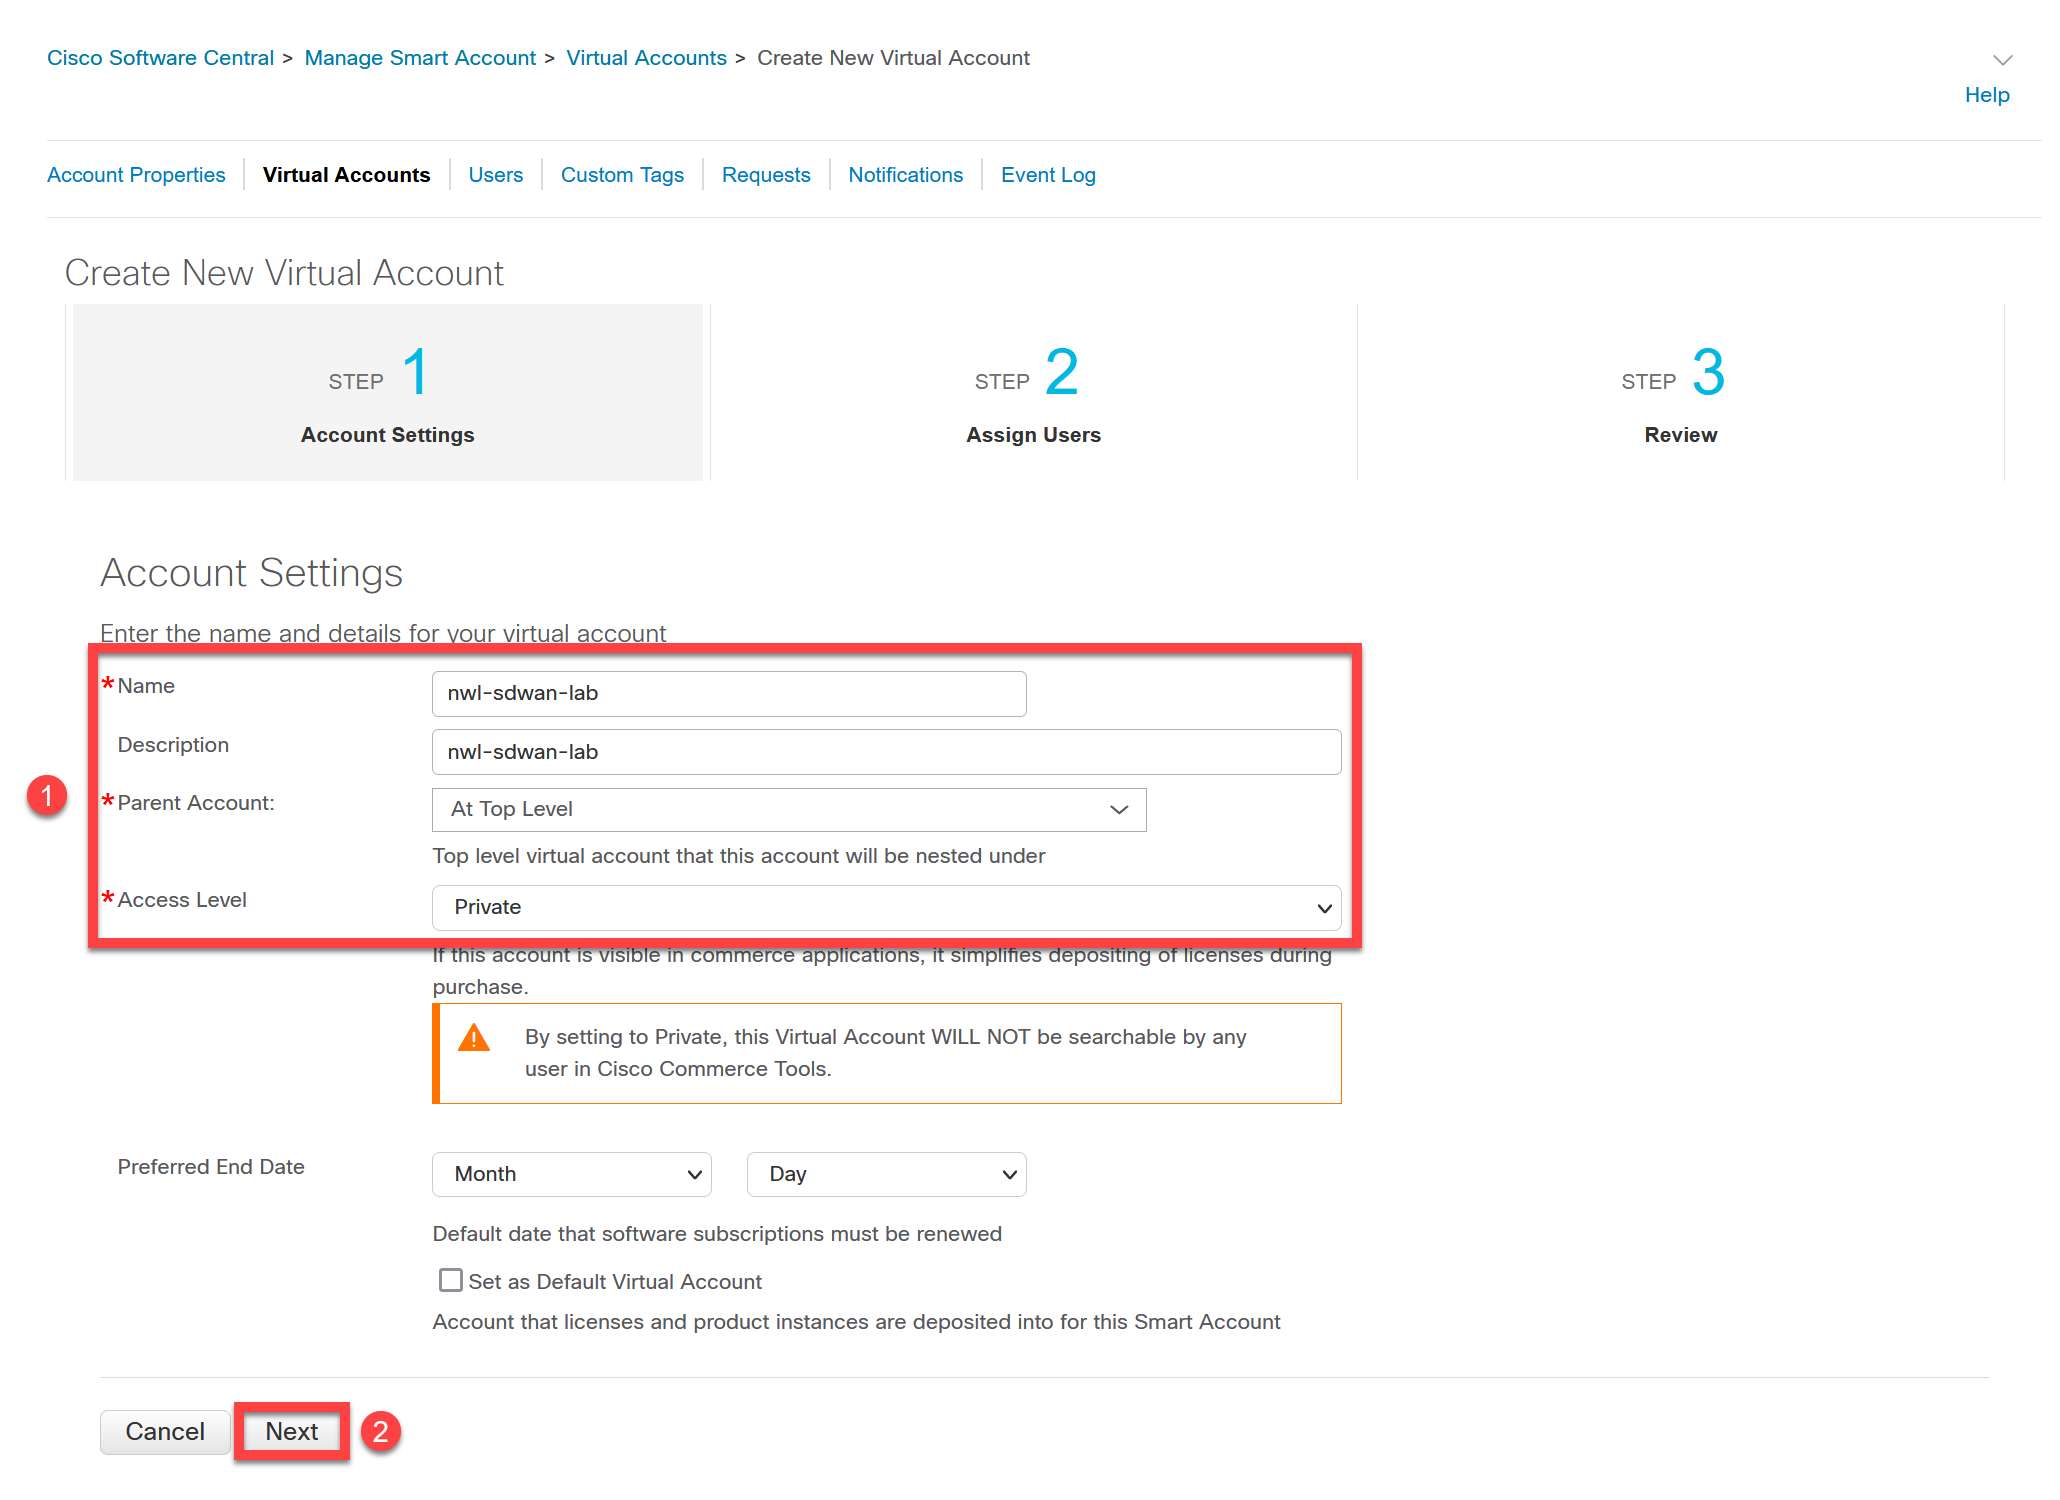
Add a name, set the access level to “private“, and click on Next:
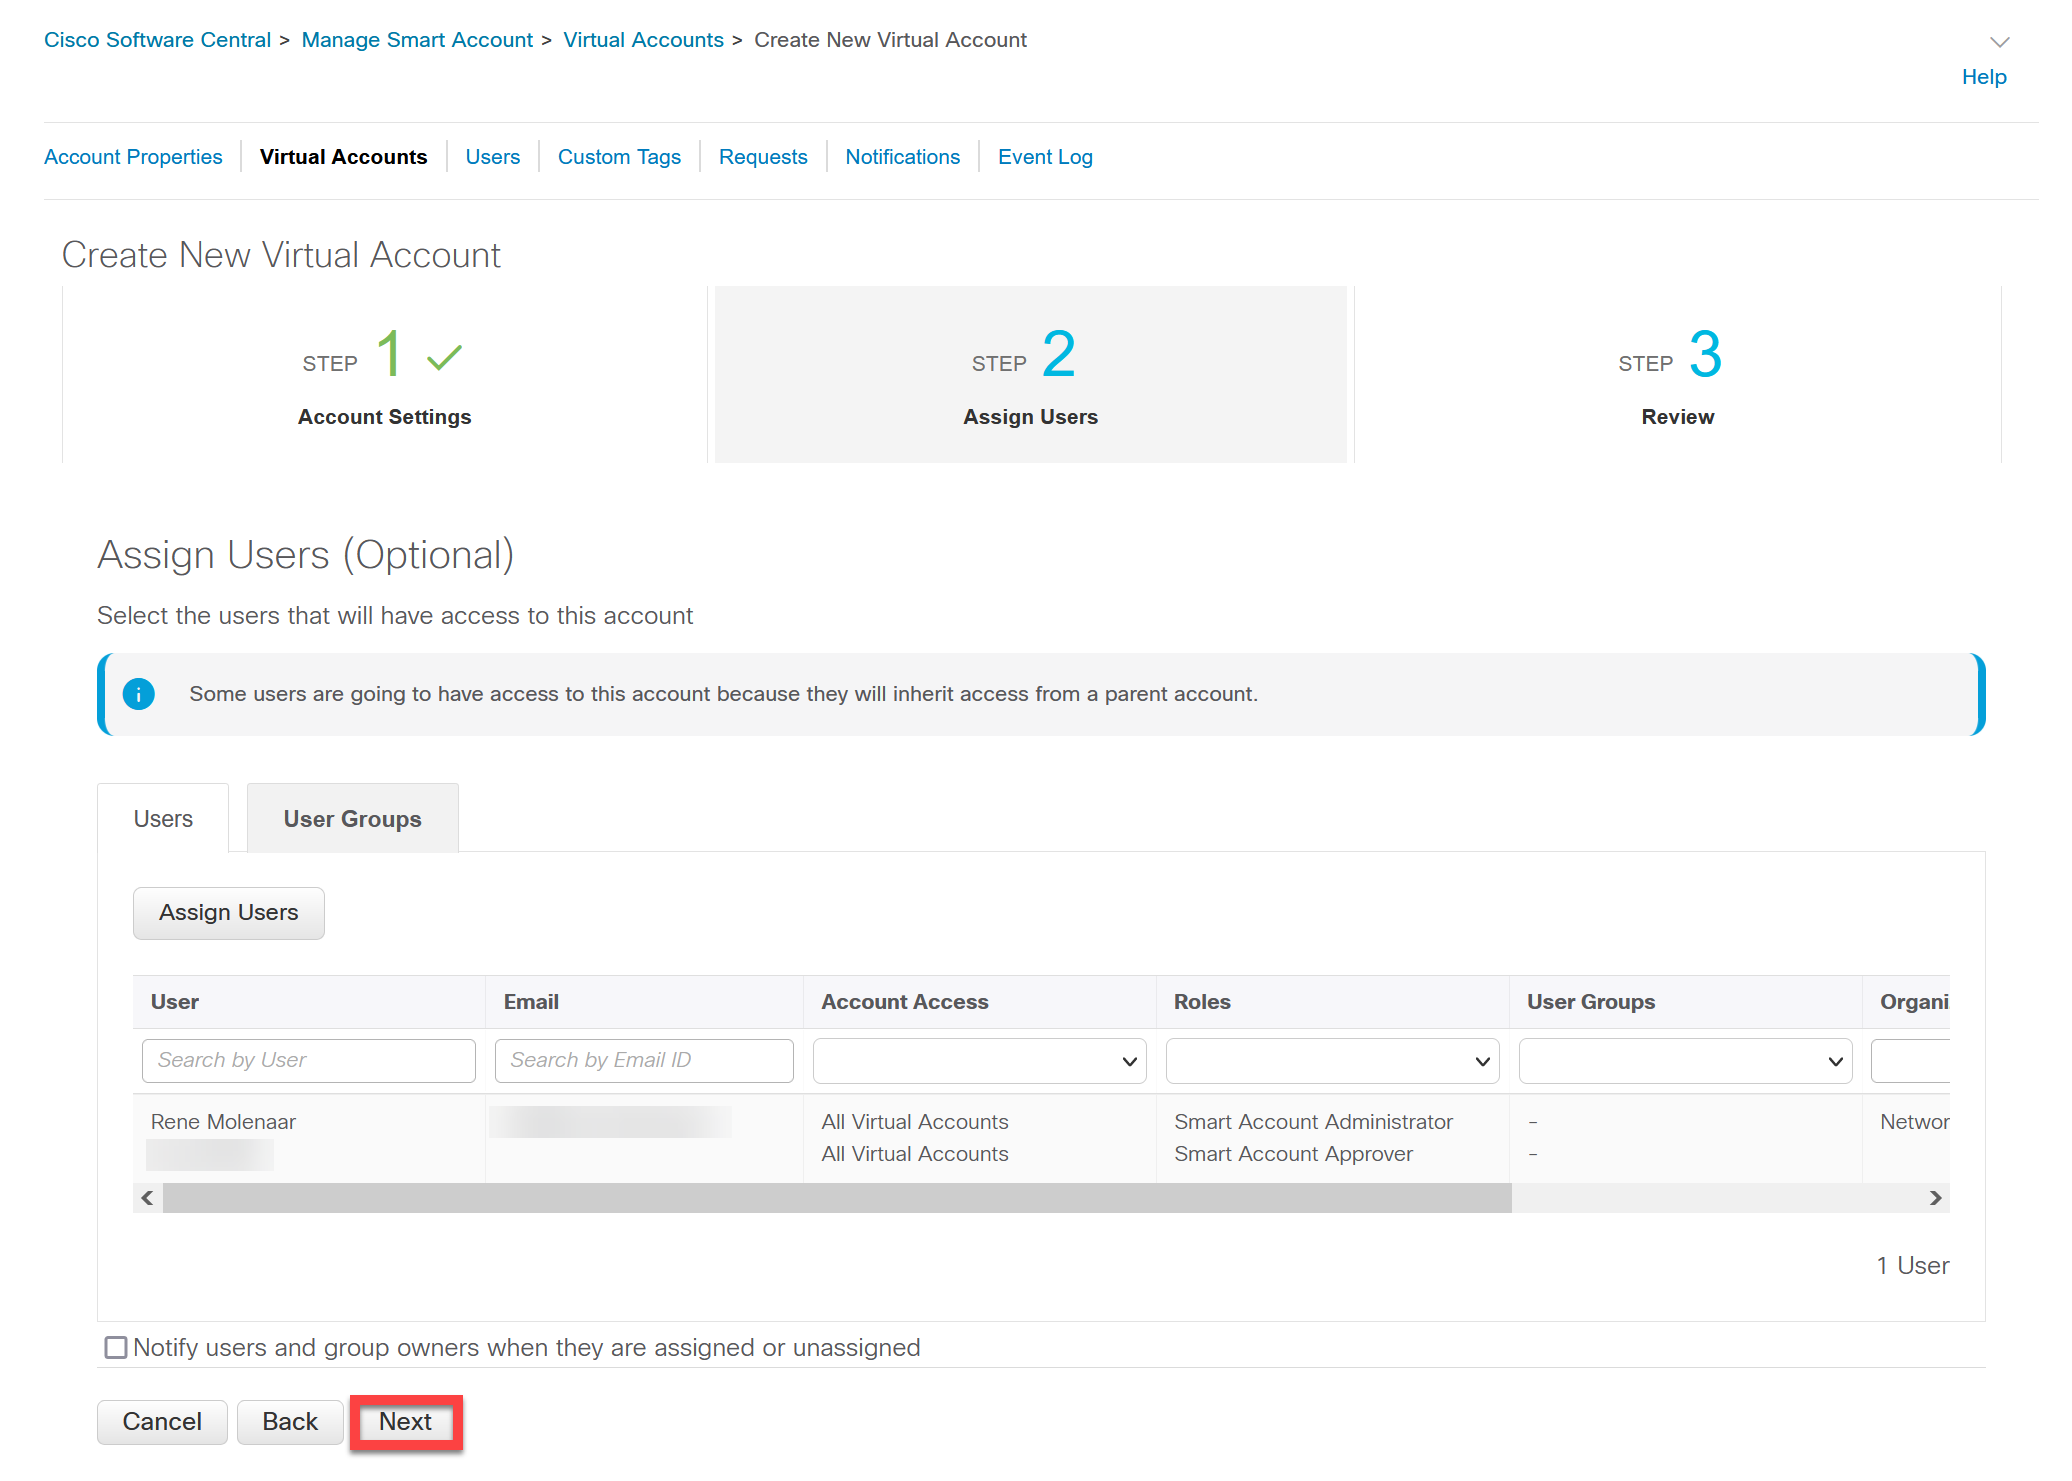
We don’t have to add extra users so click on Next:
Click on Create Virtual Account:
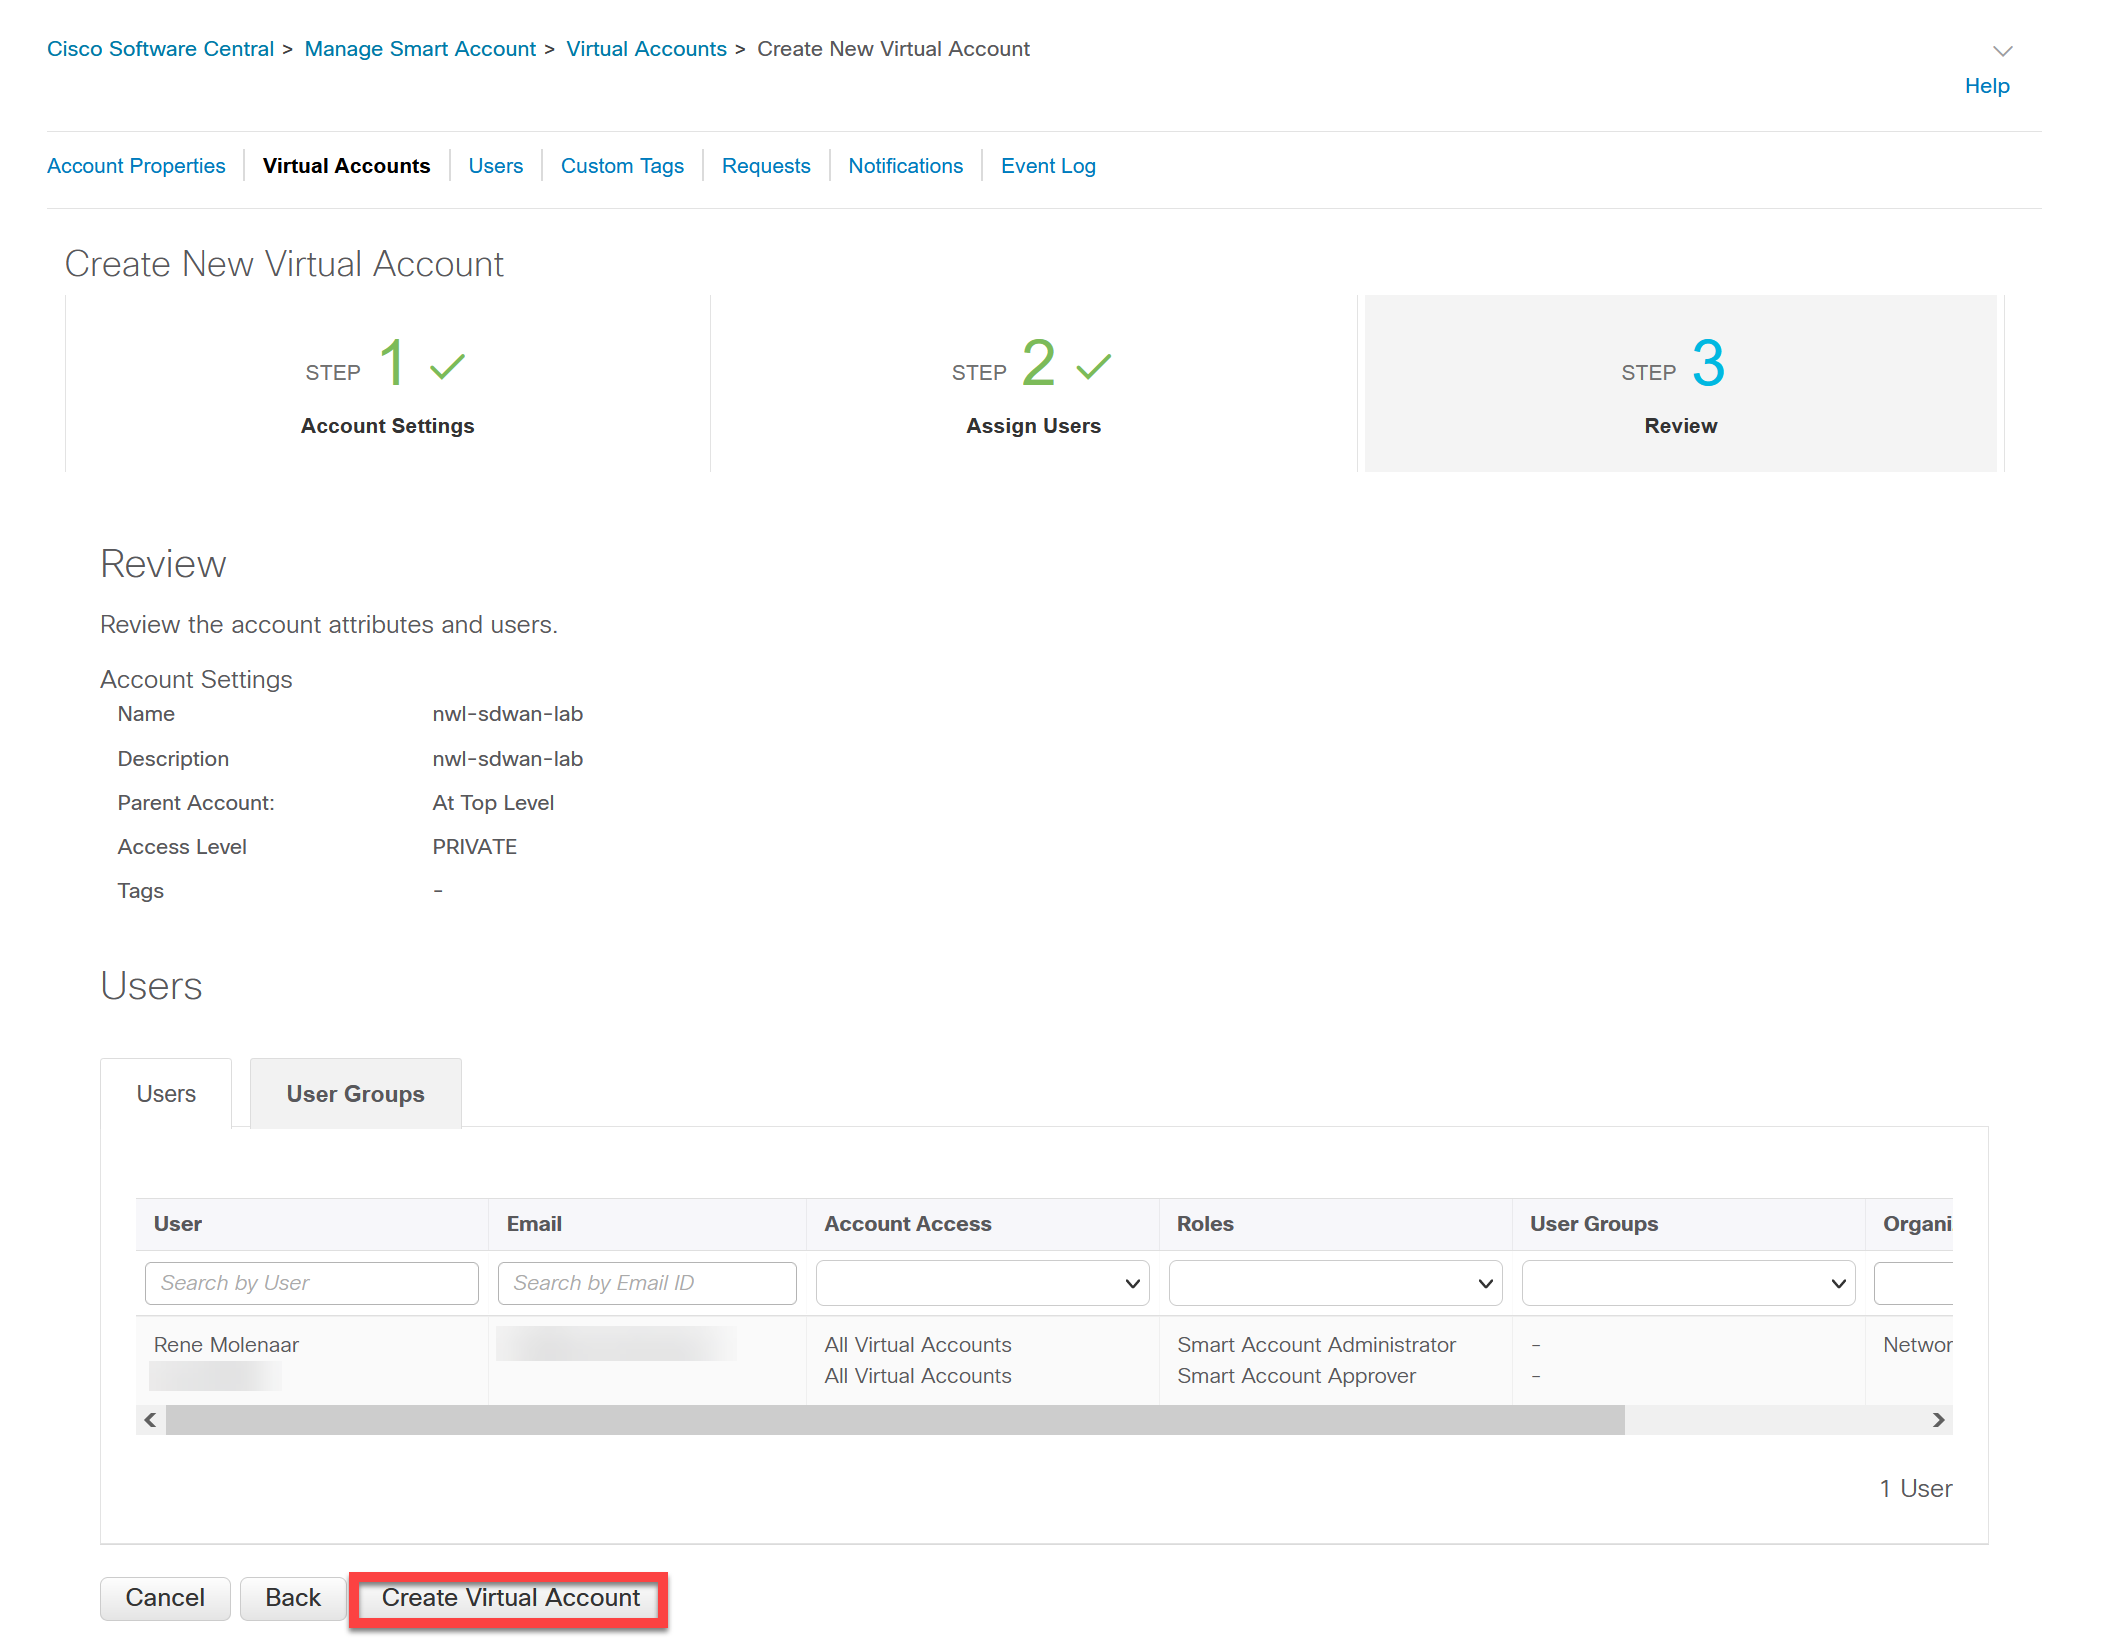
Our new virtual account now shows up in the overview:
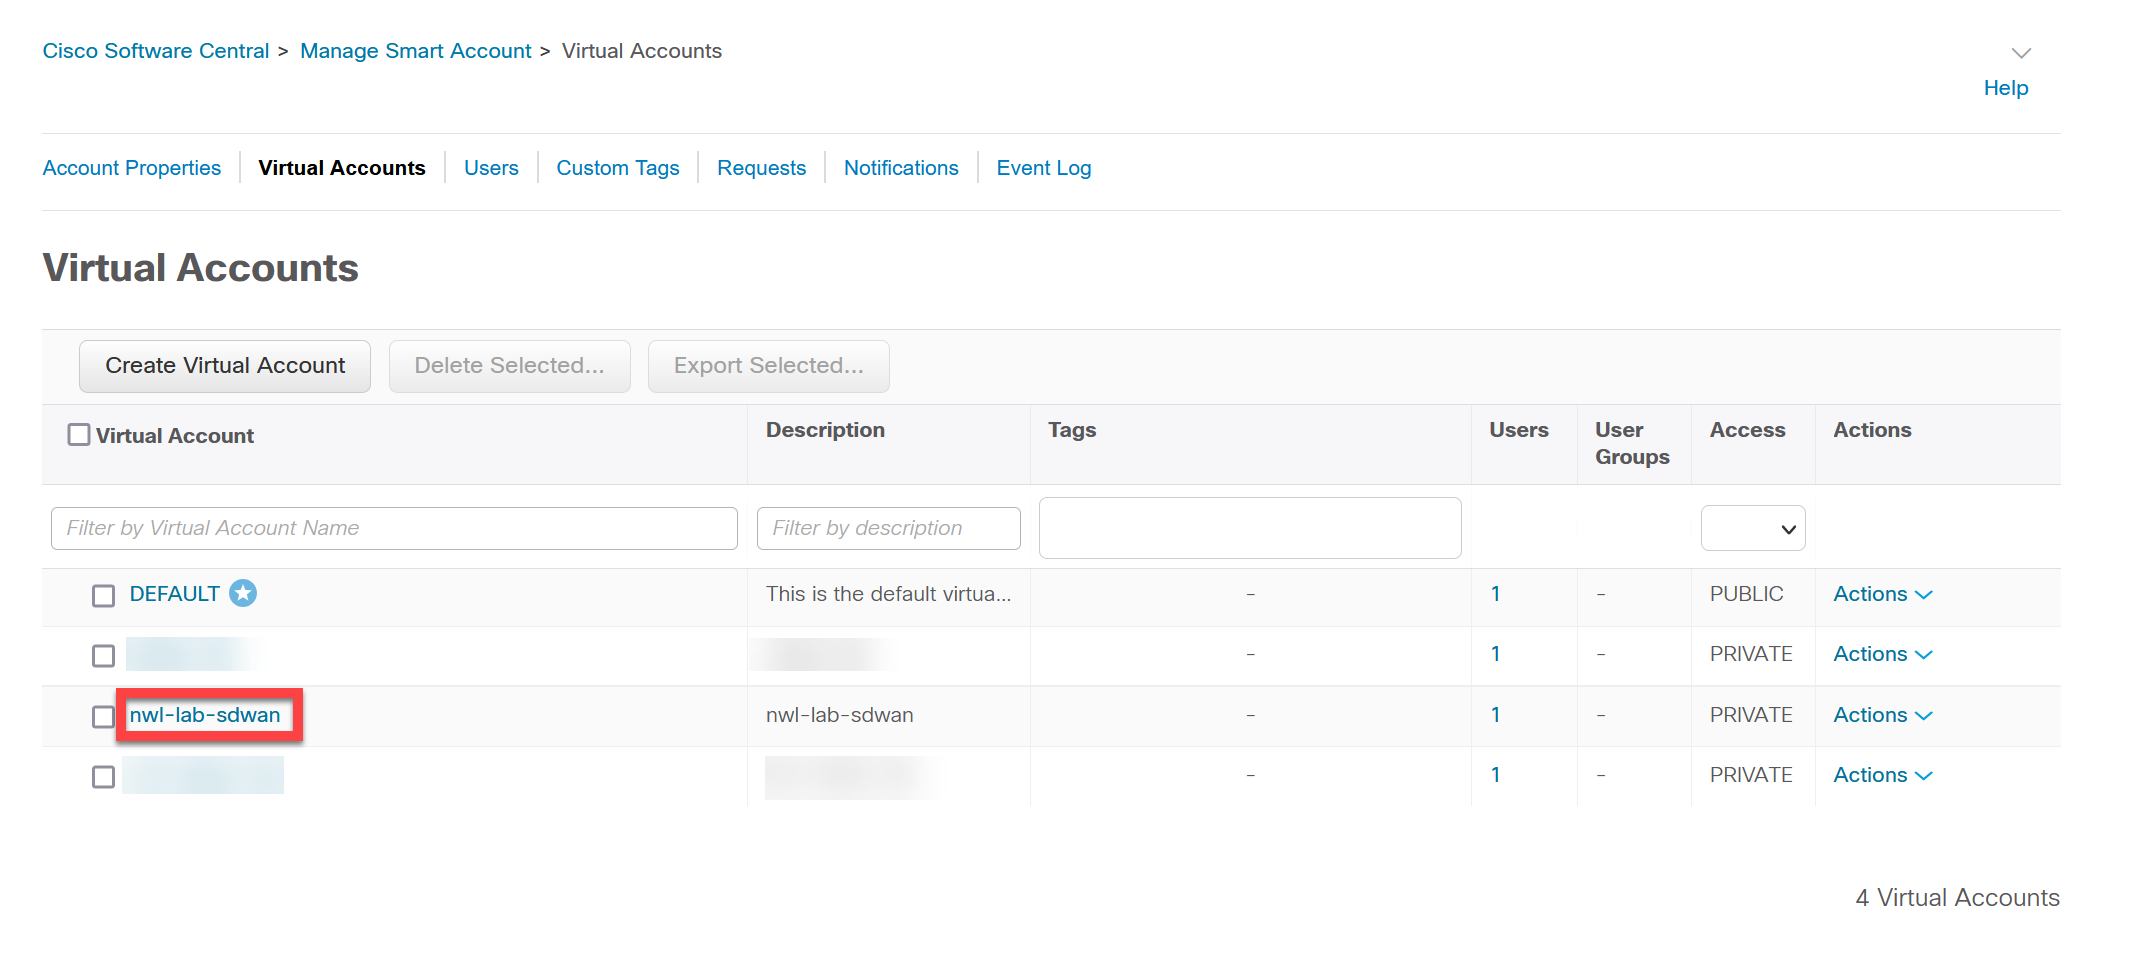
You now have a virtual account that you can use for your lab licenses.
Controller
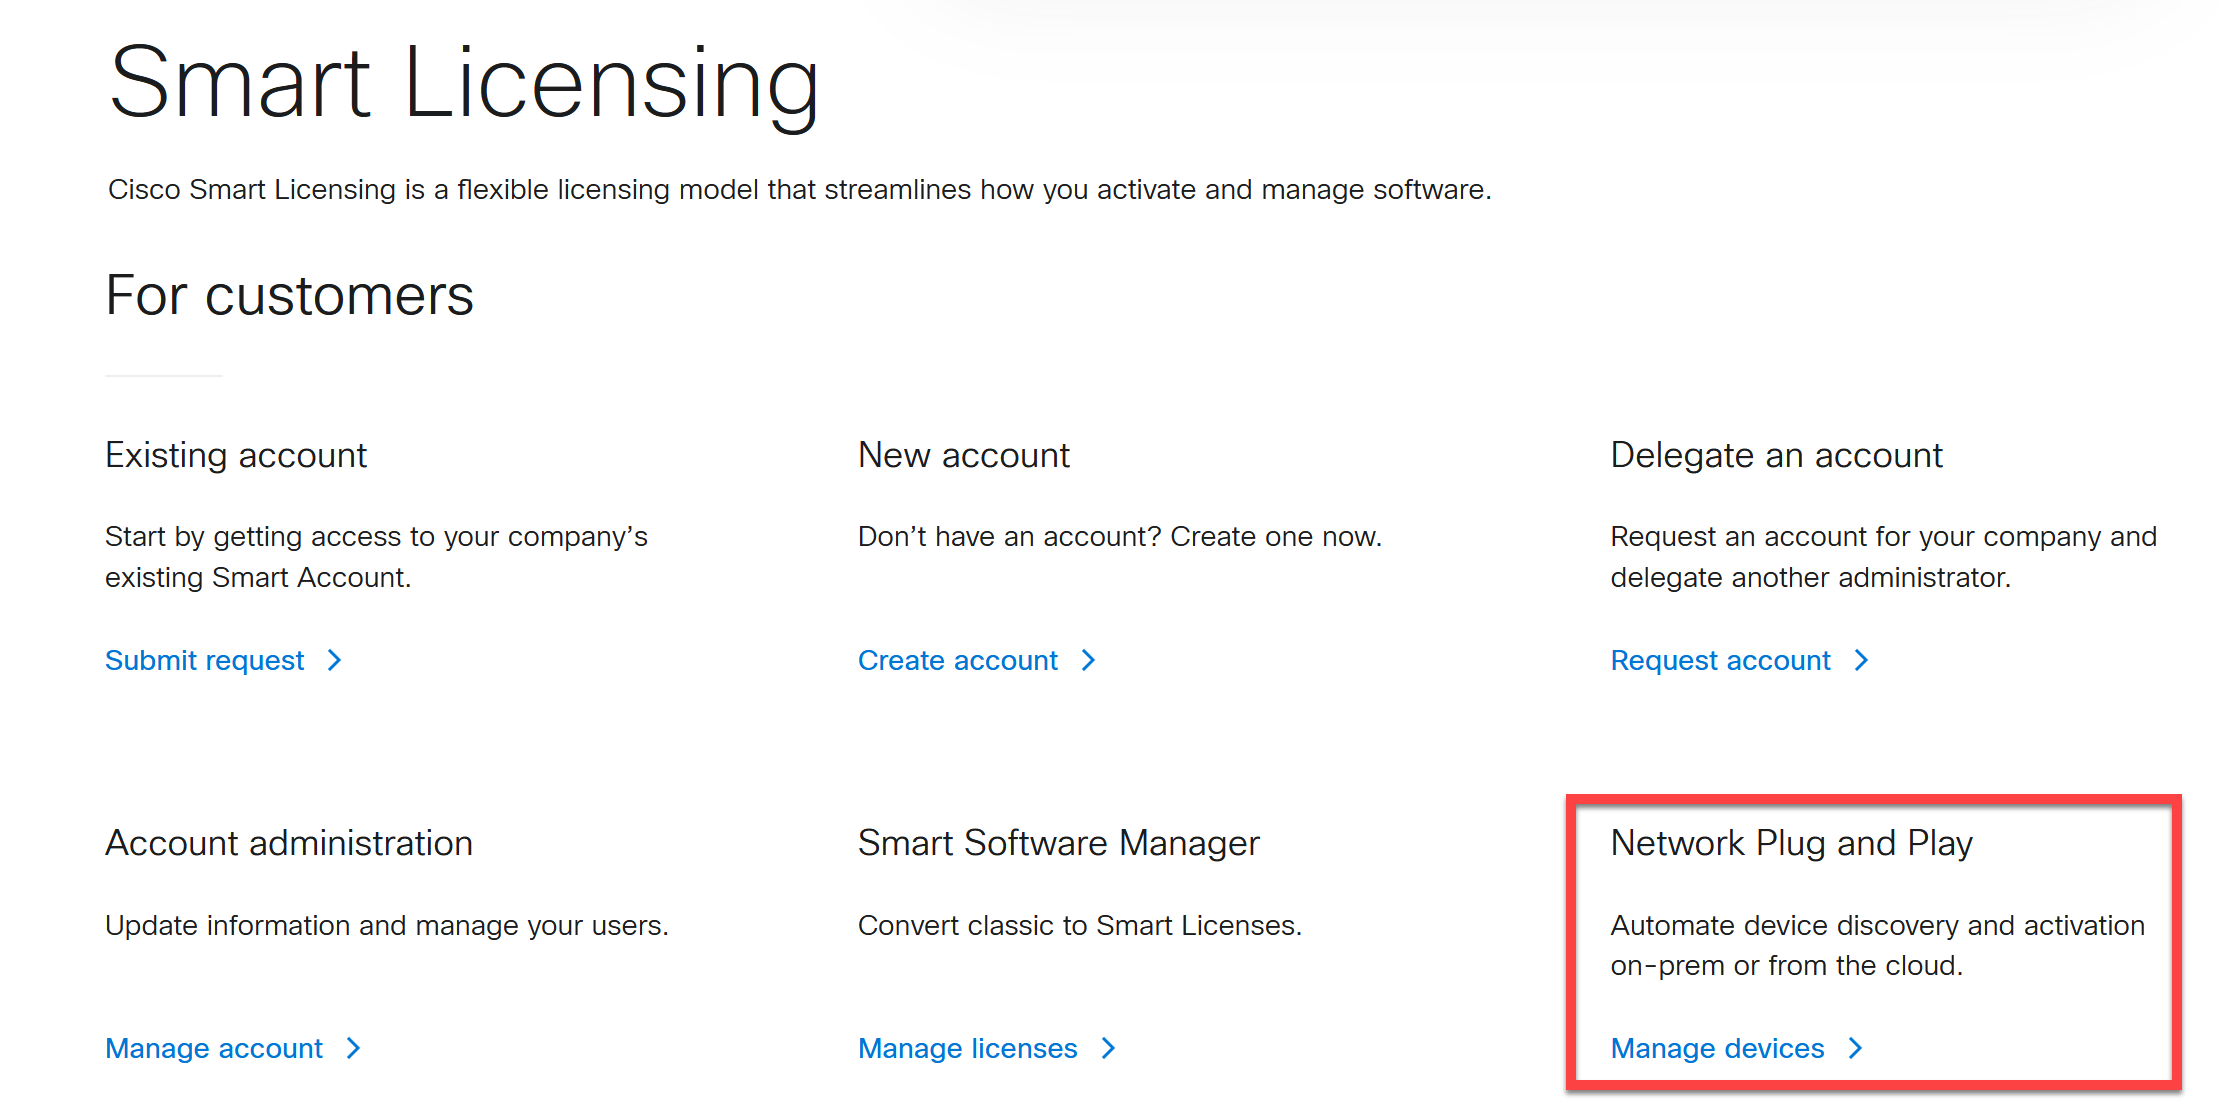
We need to add our vBond controller that the device licenses will belong to. Head back to Cisco Software Central and under Smart Licensing, look for Network Plug and Play, and click on Manage devices:
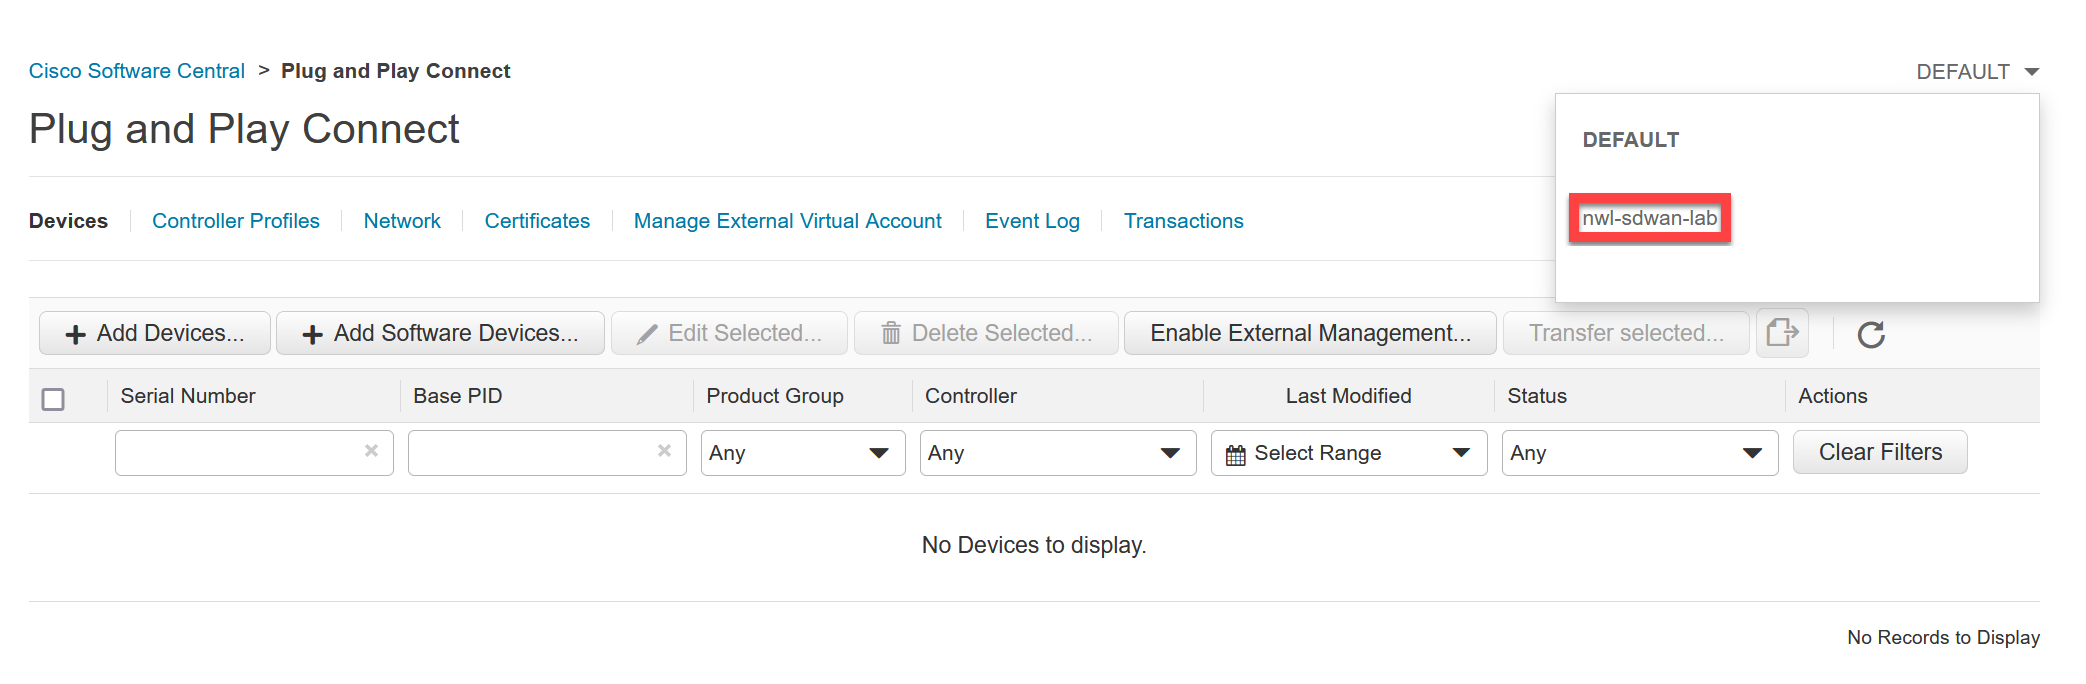
On the top right, select the virtual account we just created:
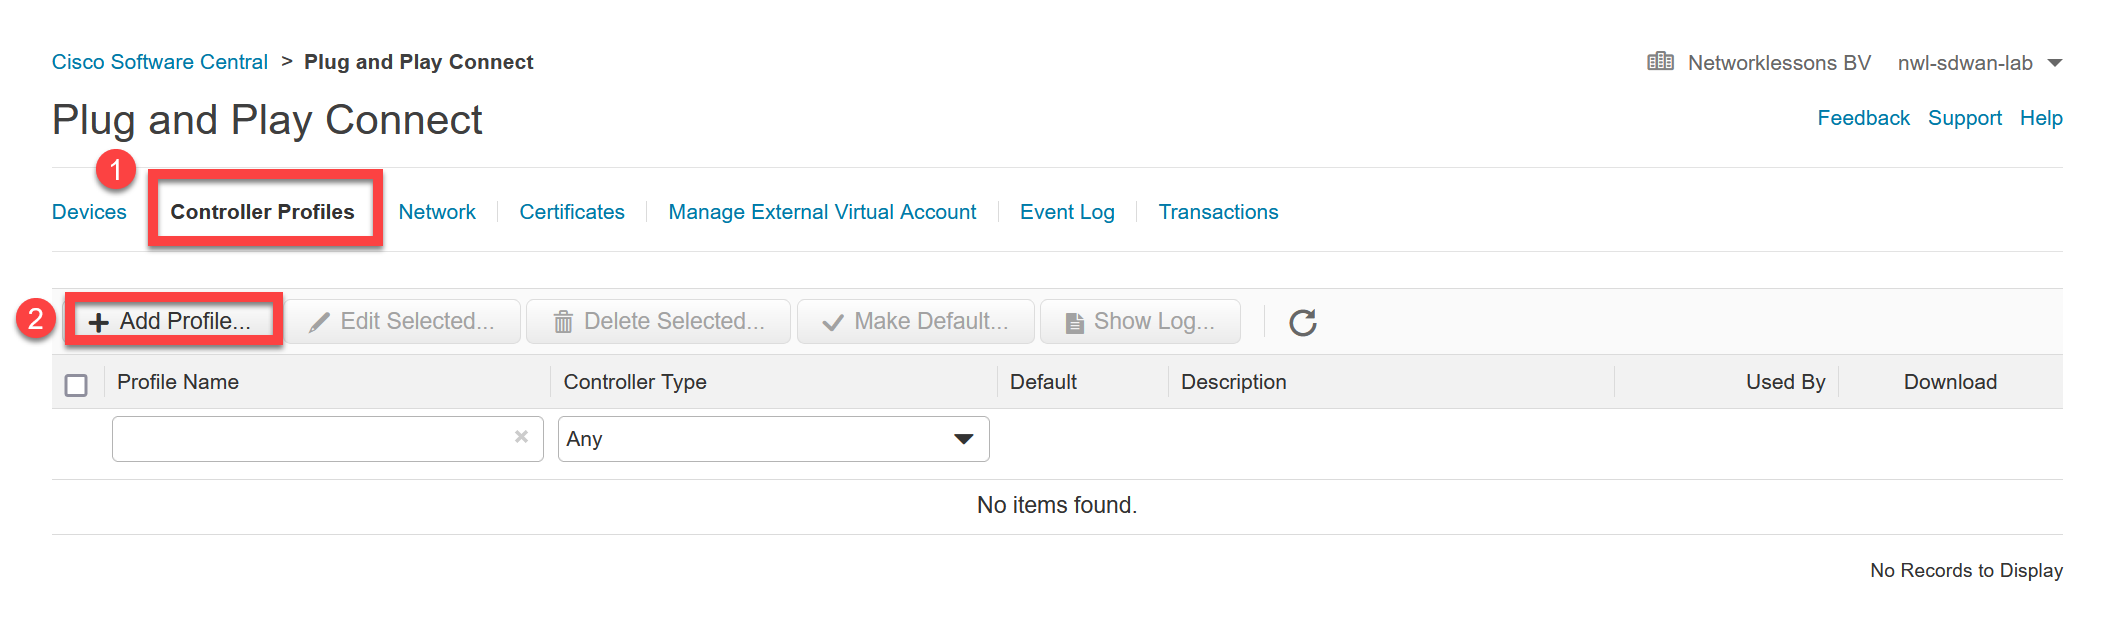
Go to Controller Profiles and click on Add Profile:
Select Controller Type VBOND and click on Next:

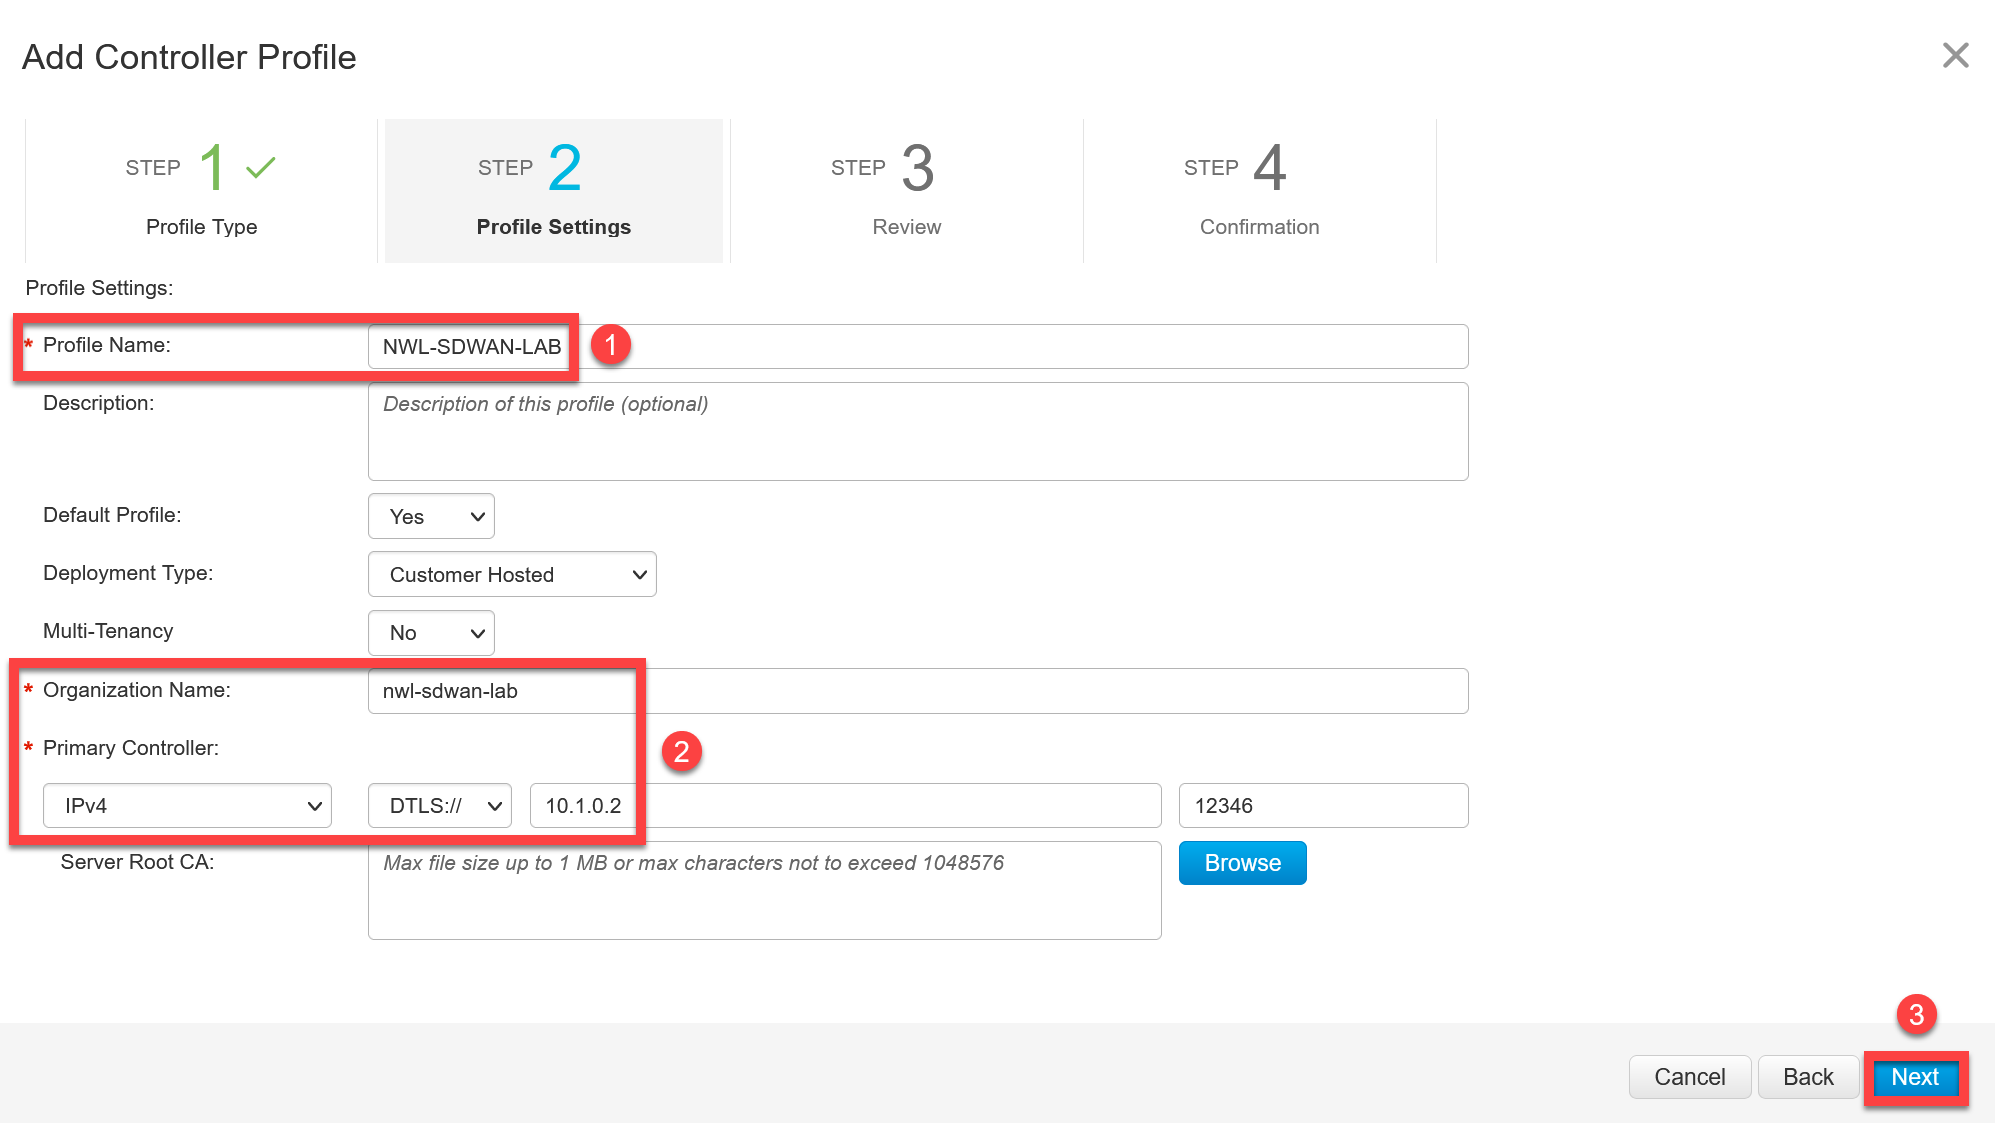
Under settings, add a Profile Name, the Organization Name that you use in your lab, and the IPv4 address of your vBond orchestrator:
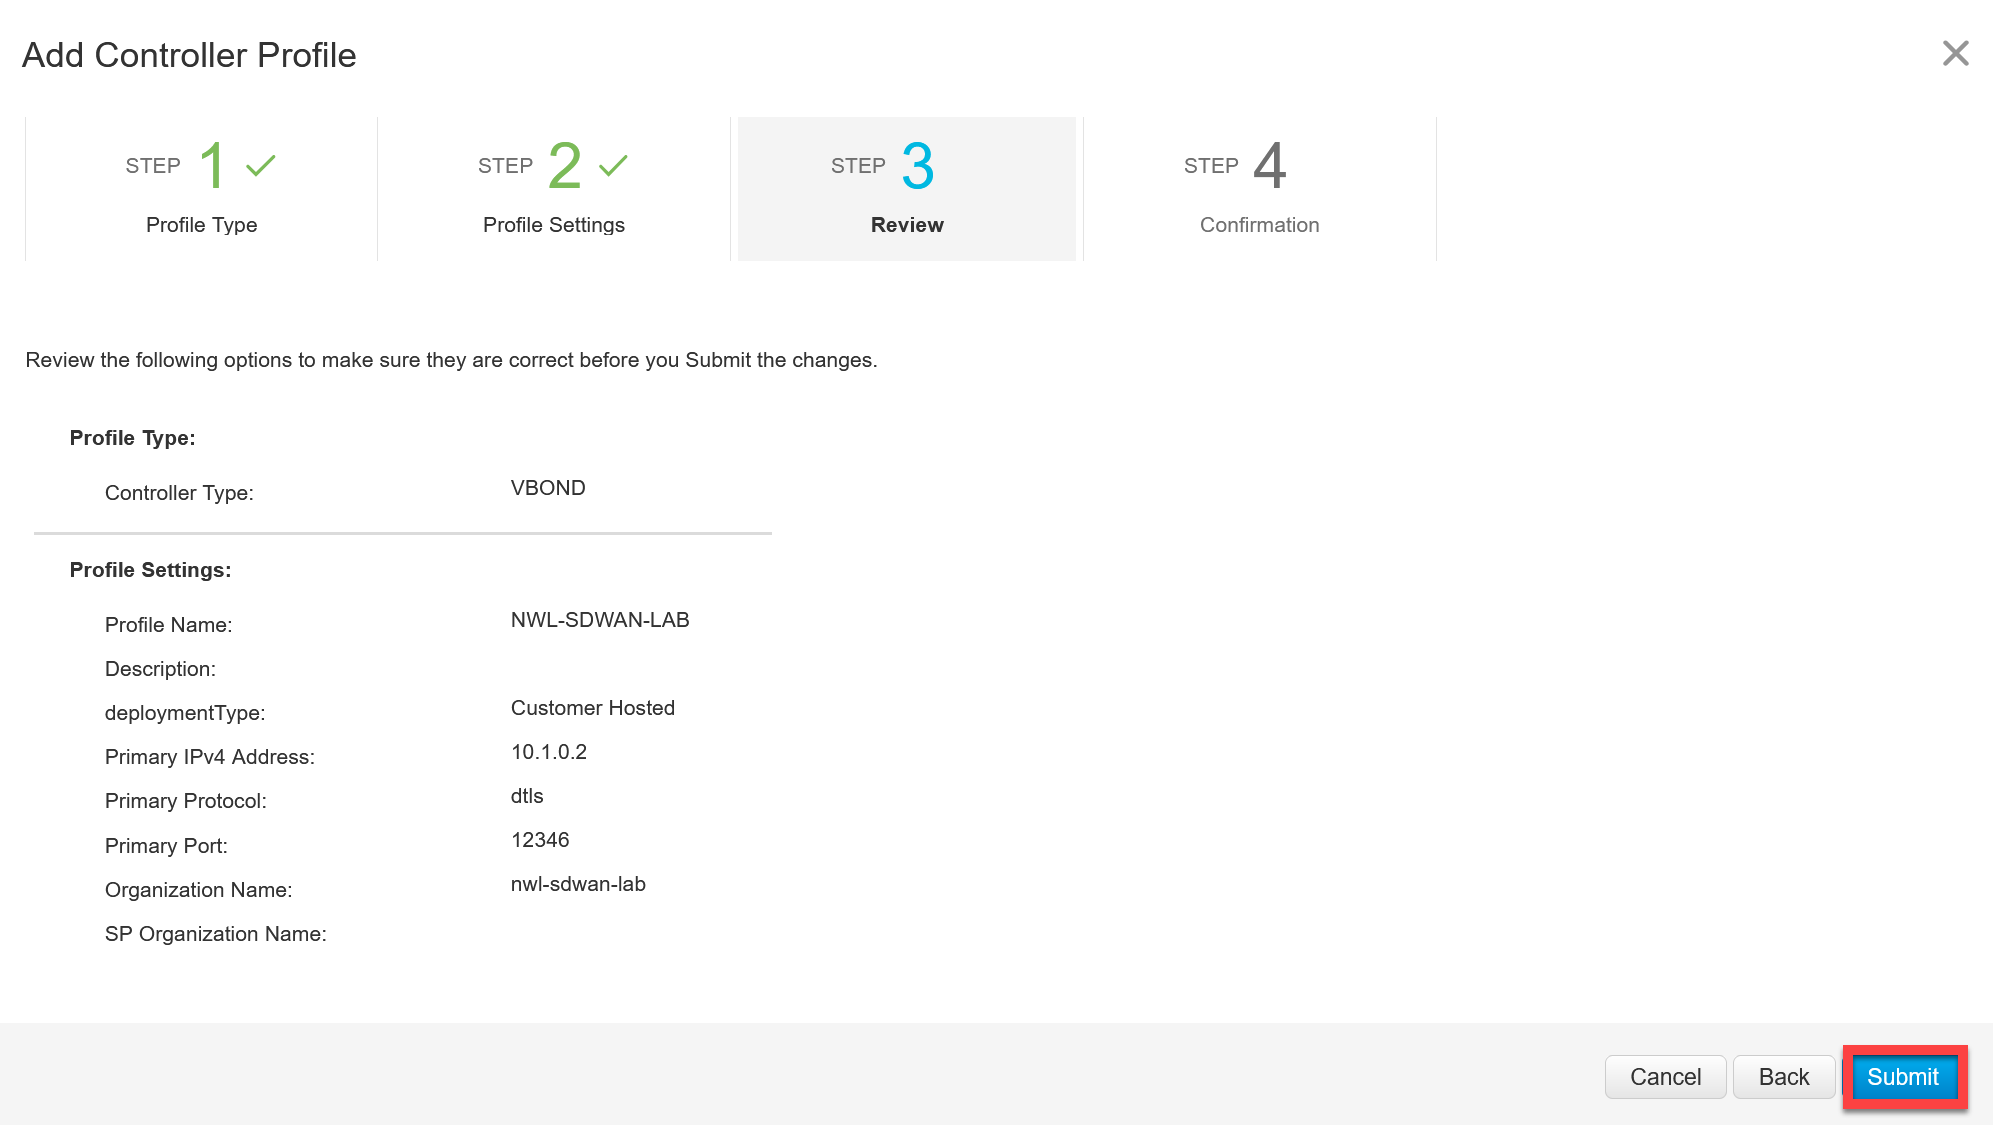
Review the configuration and click on Submit:
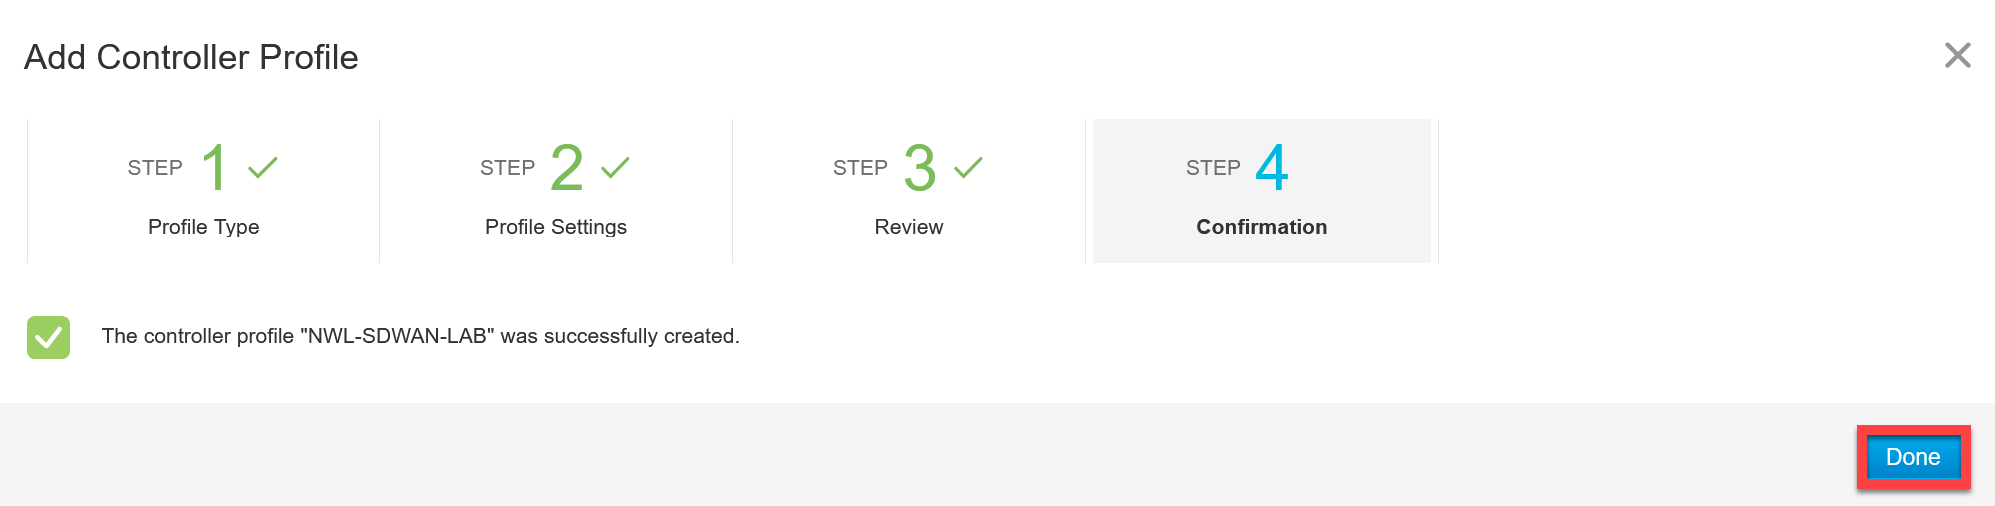
Click on Done:
We now see the Controller Type in the overview:

vEdge and cEdge licenses
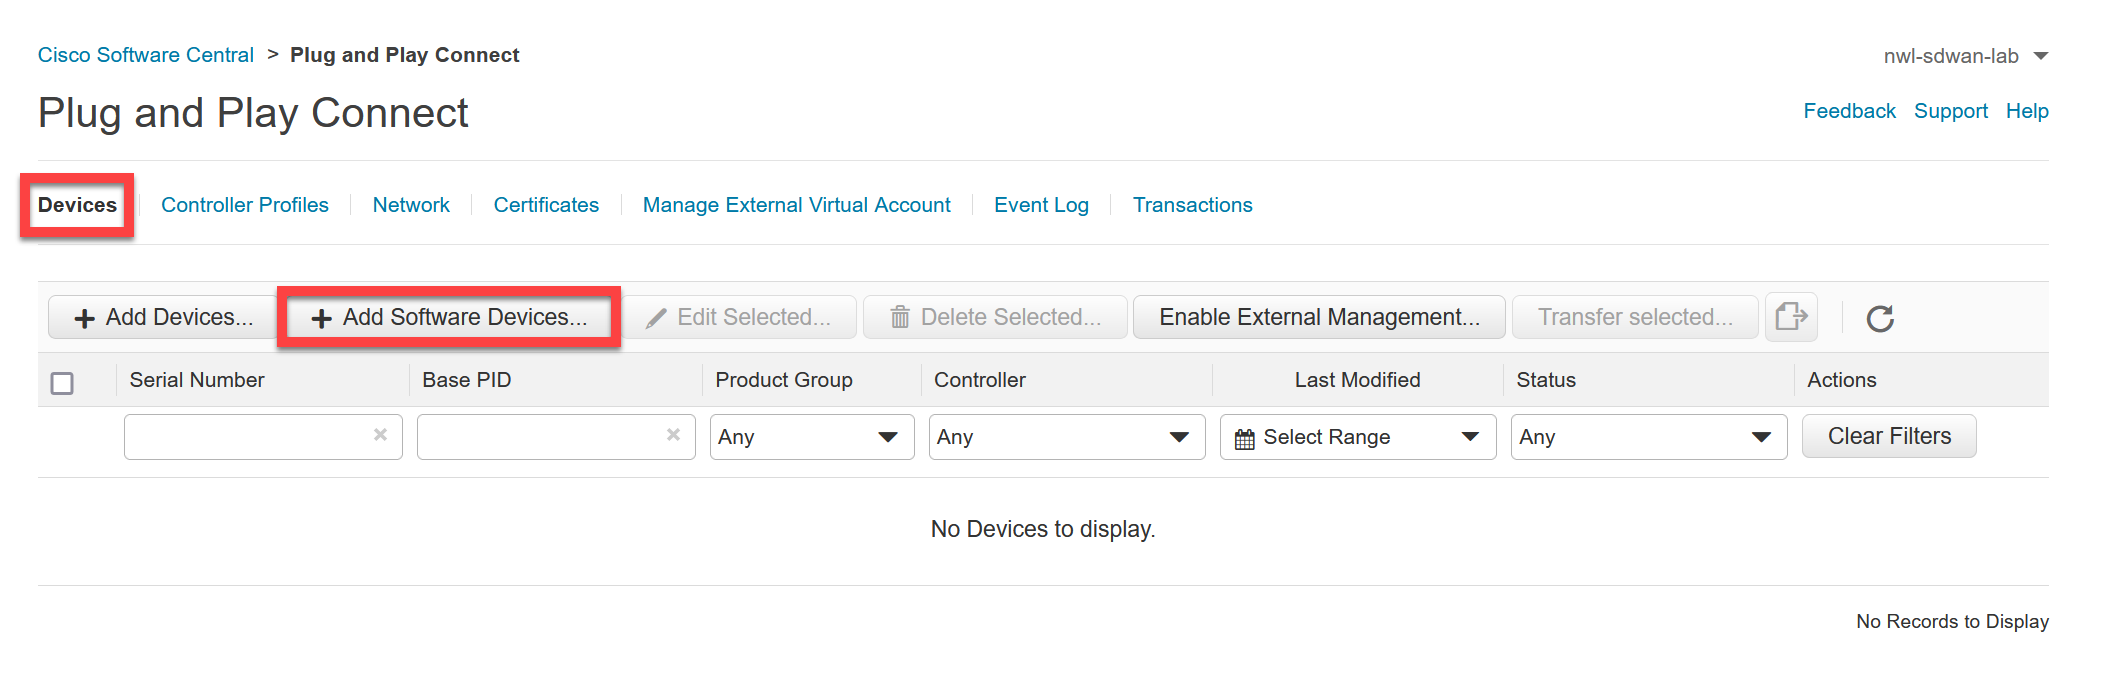
Time to create some device licenses. Under Devices, click on Add Software Devices:
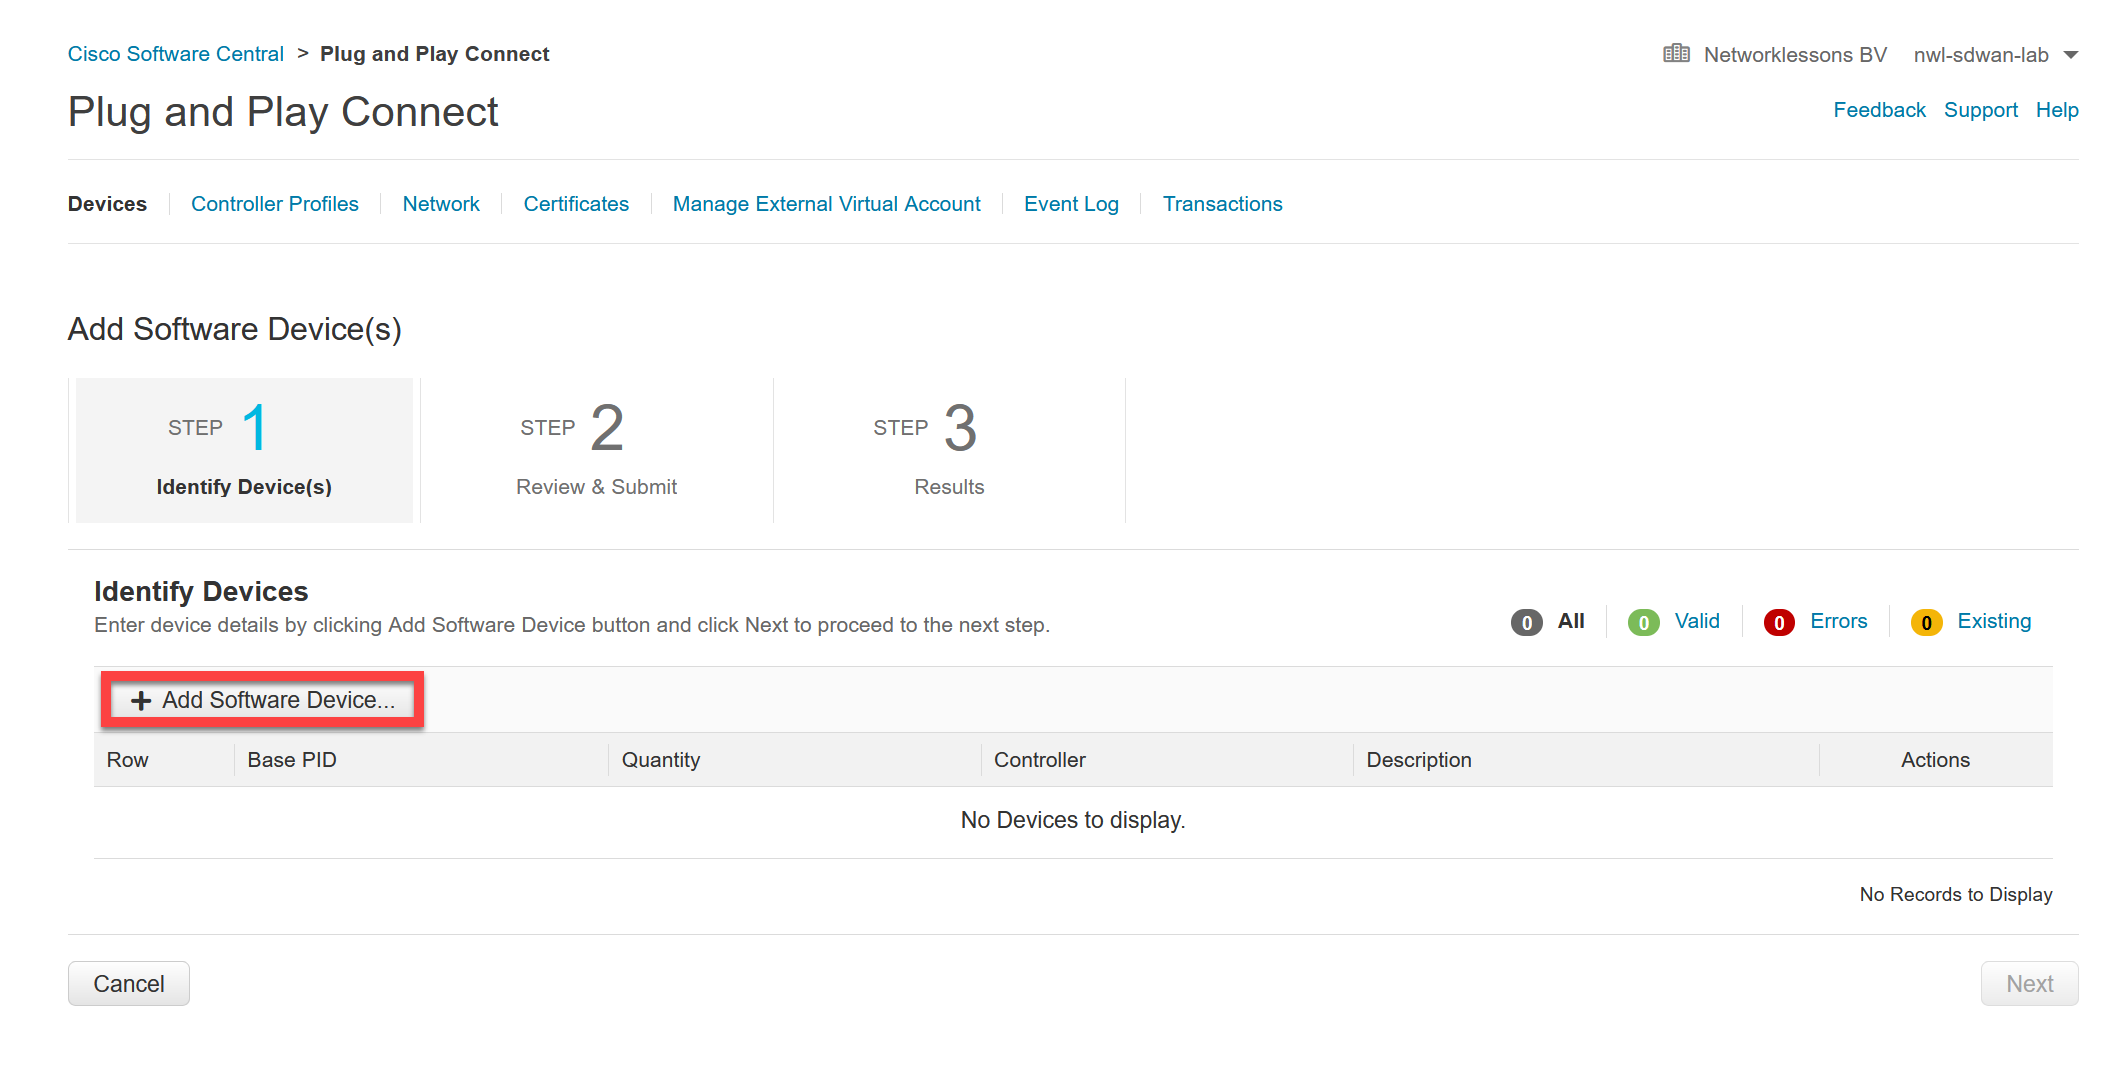
Click on Add Software Device:
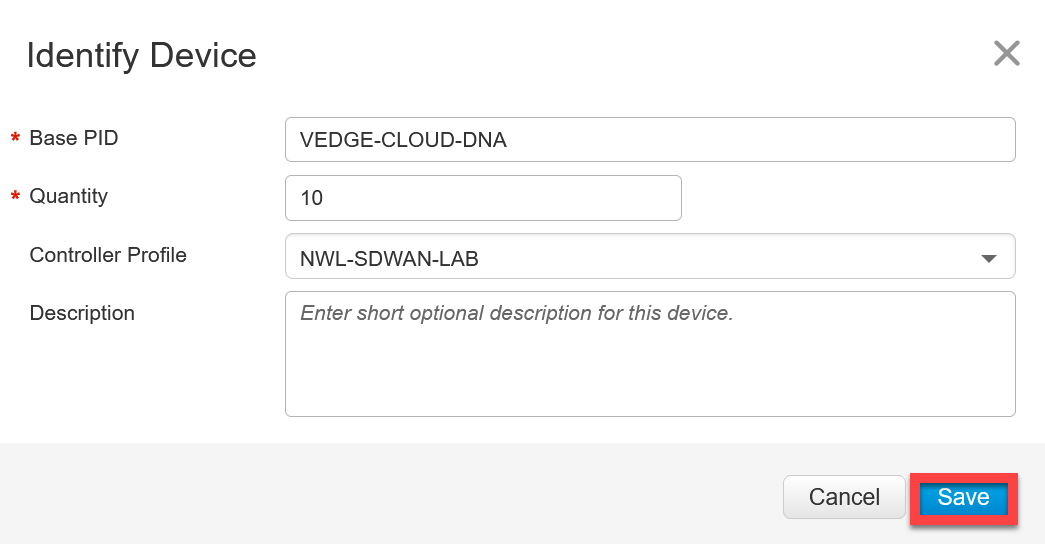
We’ll start with the vEdge devices. Enter VEDGE-CLOUD-DNA as the Base PID. I want 10 device licenses and the Controller Profile is the one we just created. Click on Save to continue:
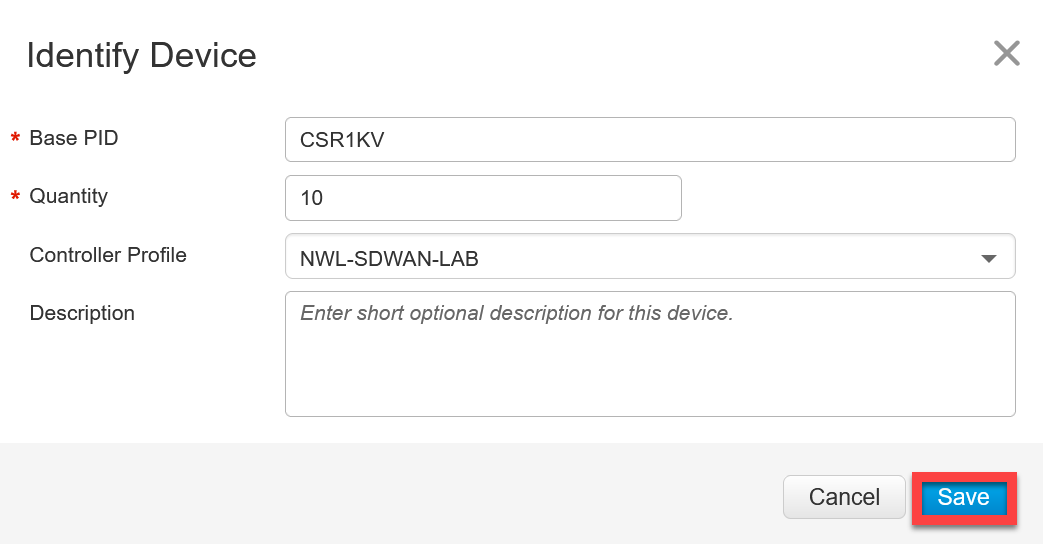
While we are at it, let’s add some licenses for the CSR1000V router as well. This can be useful if you want to test the cEdge routers. Click on Add Software Device one more time to add licenses for the CSR1000V router:
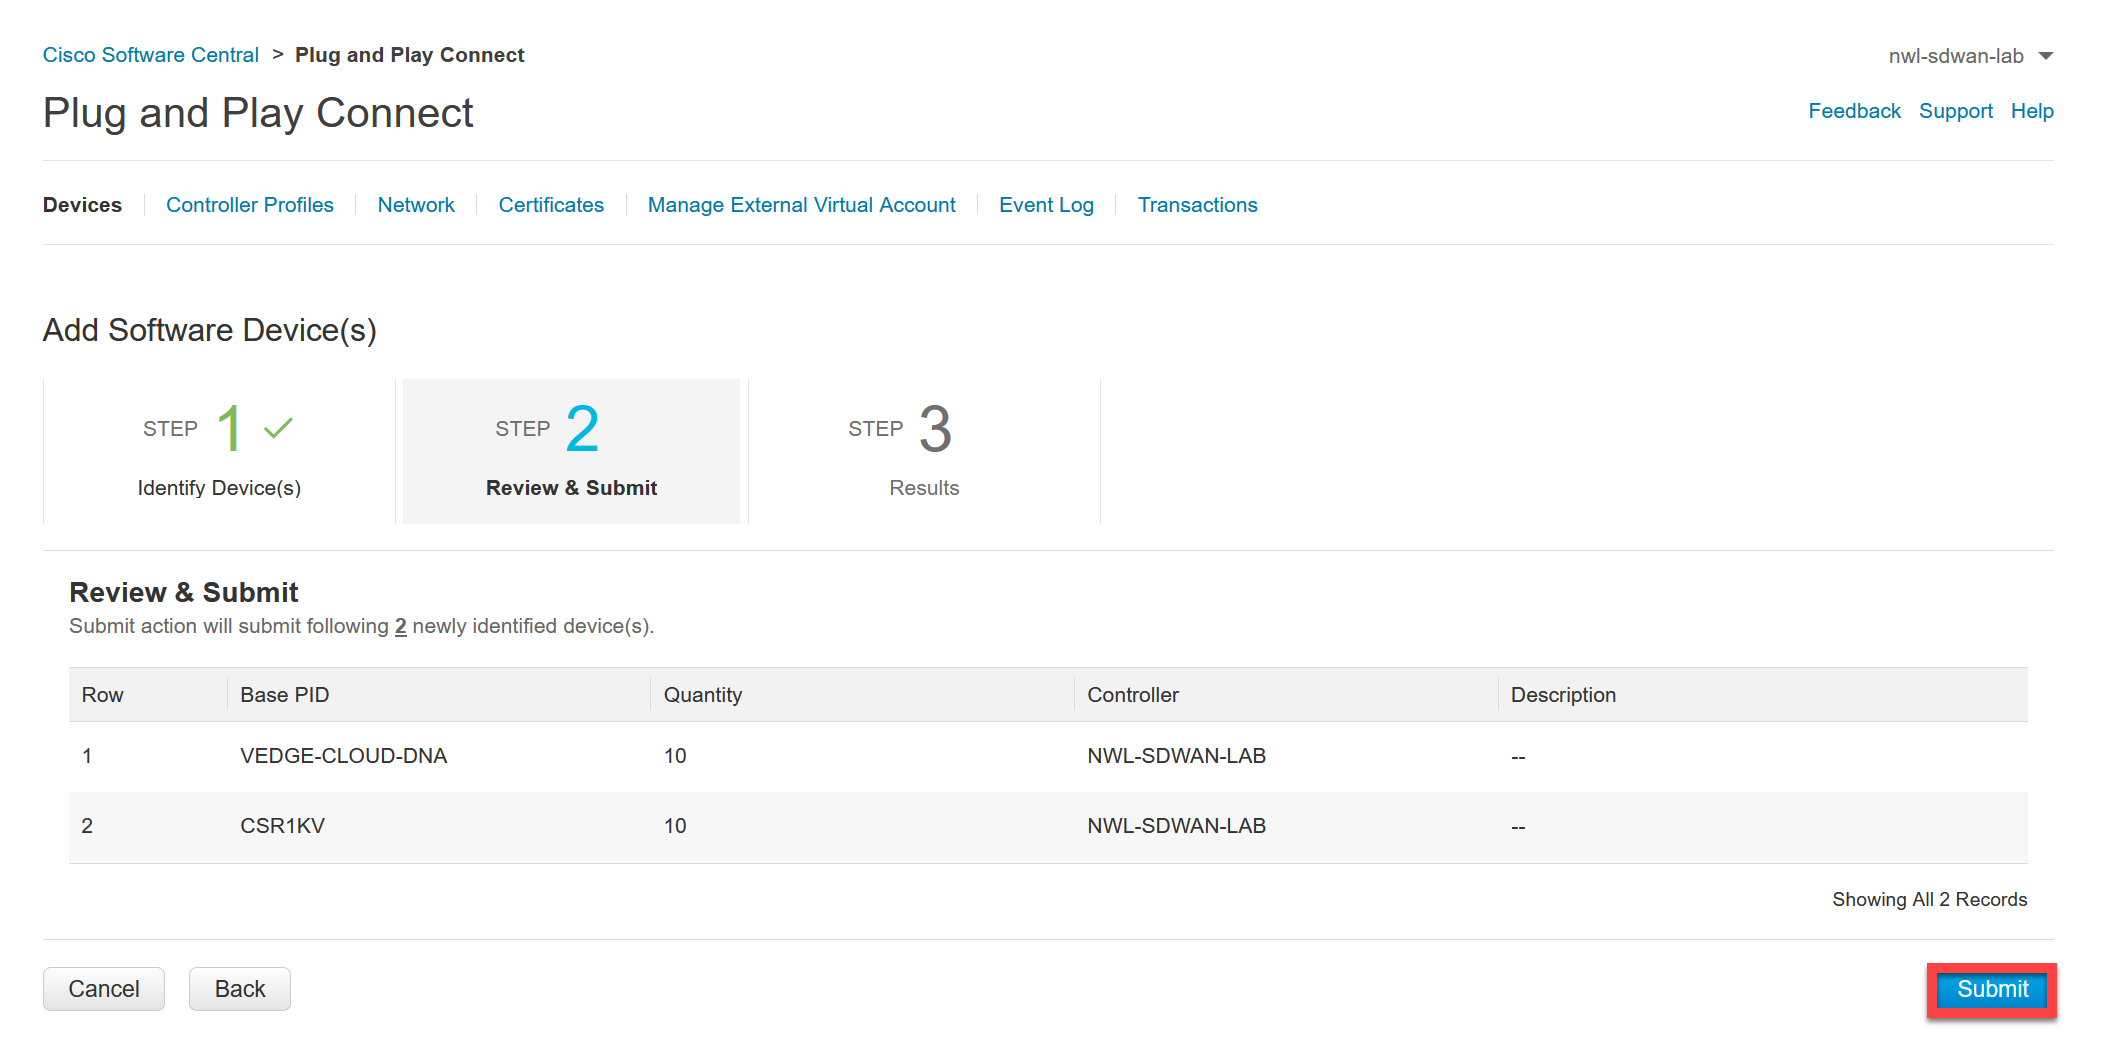
In the overview, you’ll see the device licenses that we want to create:
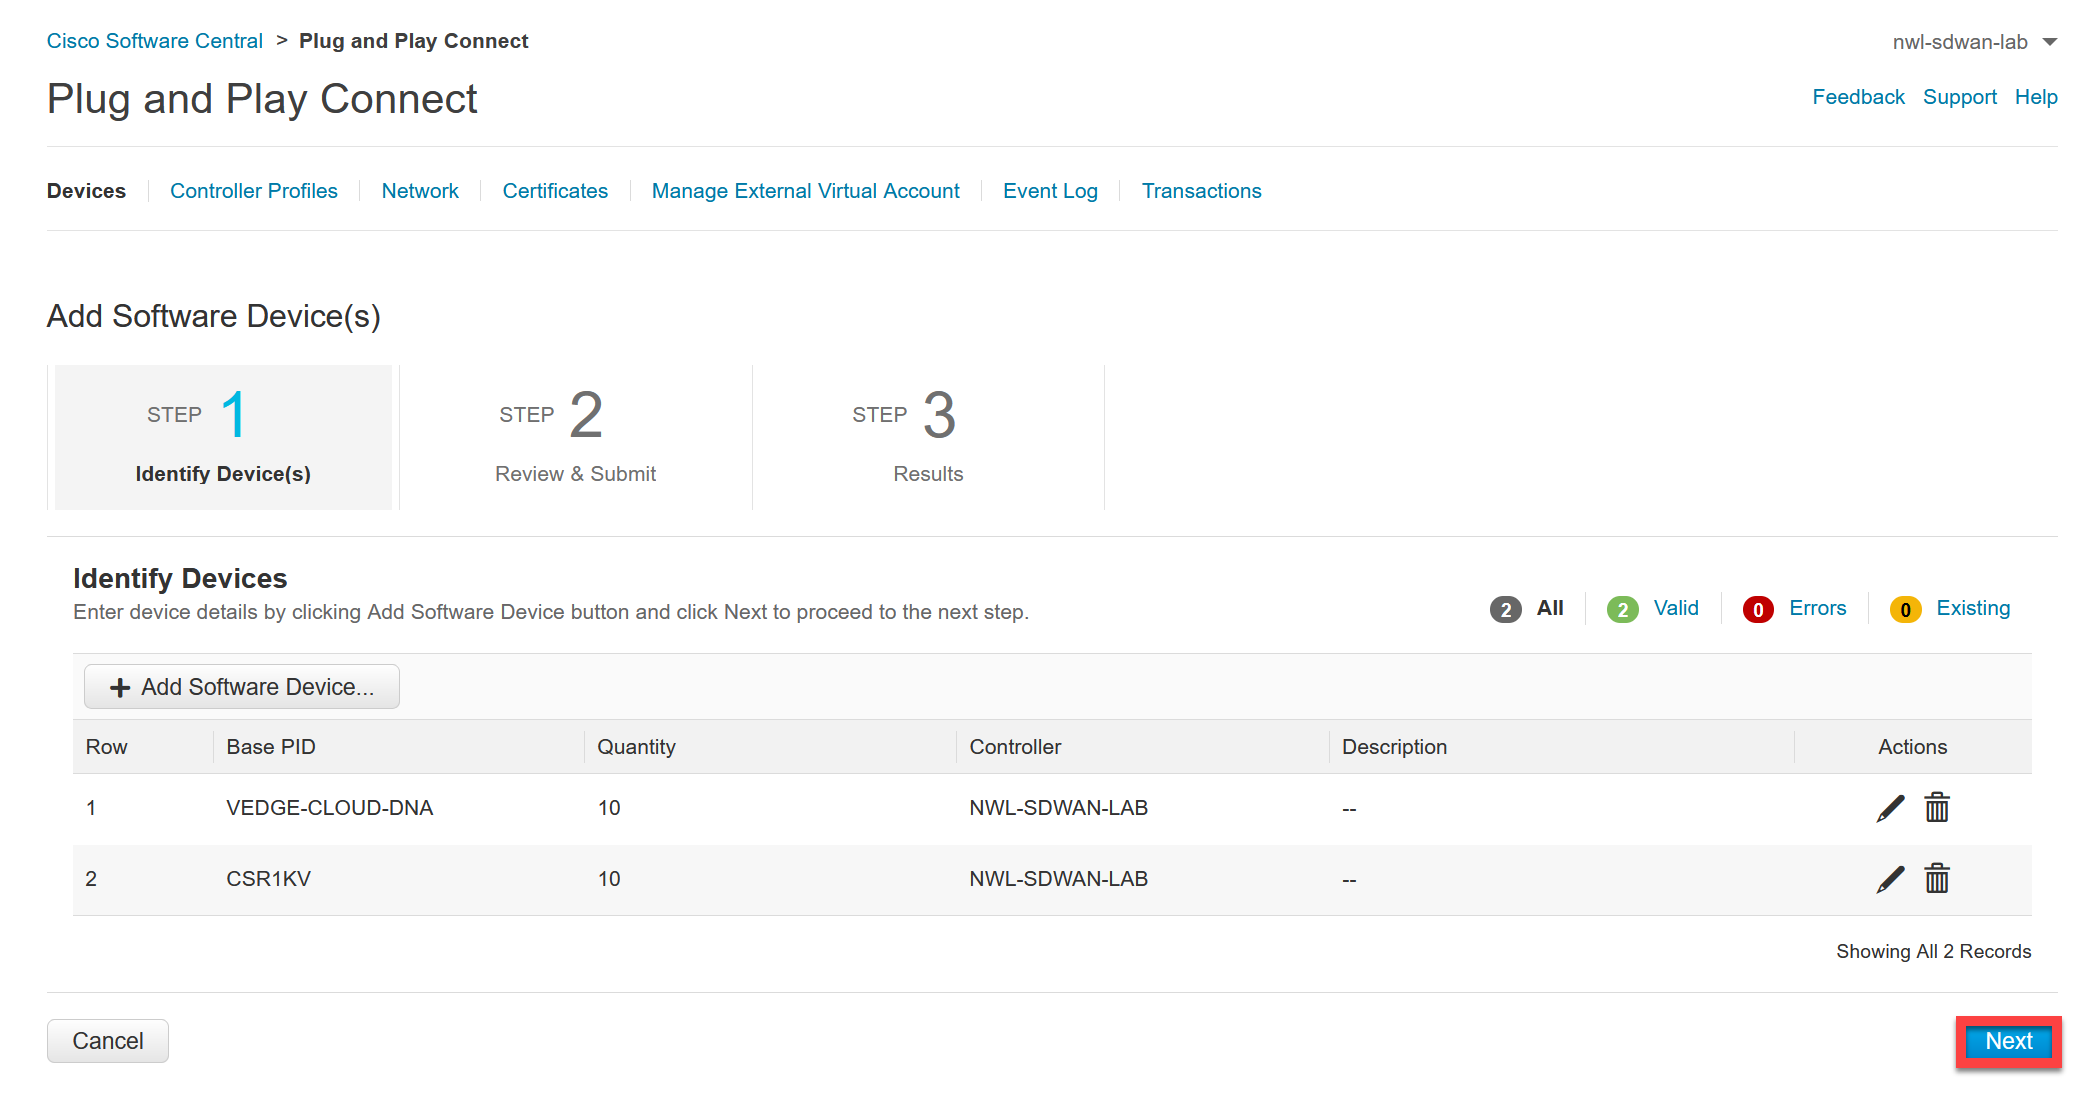
Click on Submit:
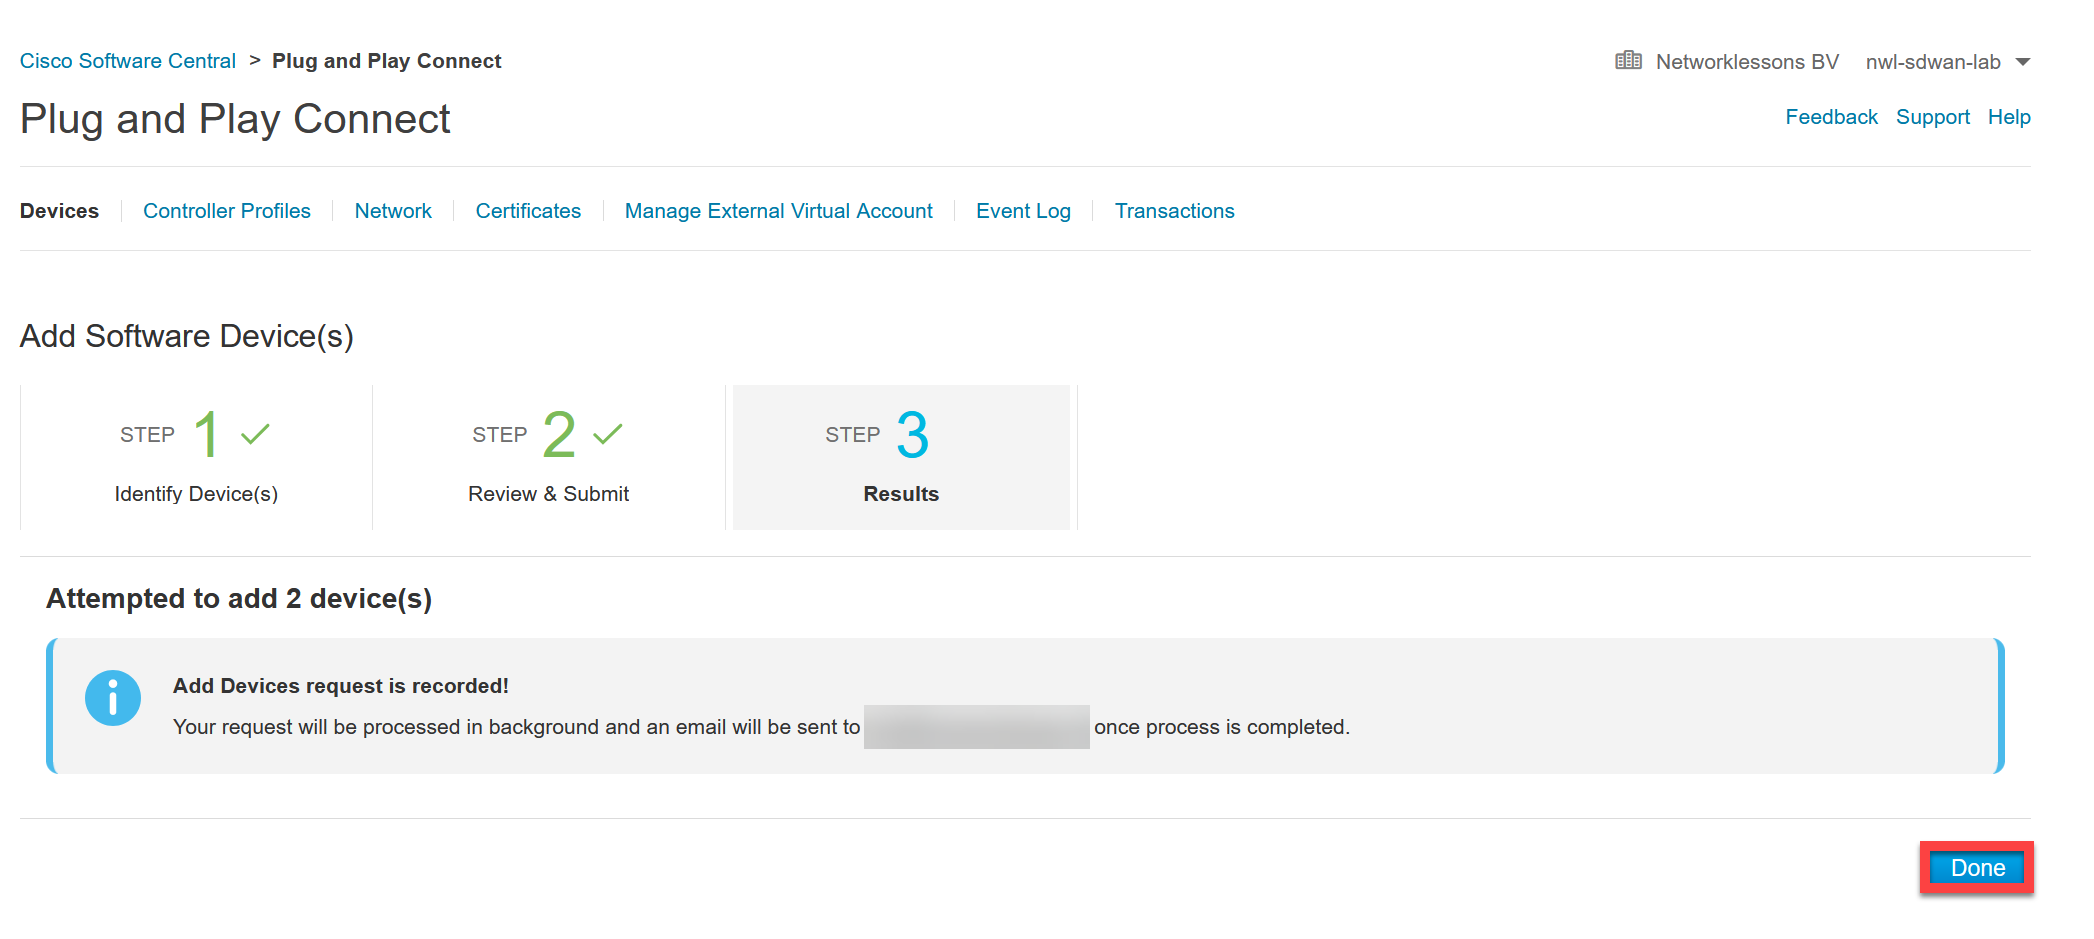
And you will see a message that a request has been recorded. Click on Done:
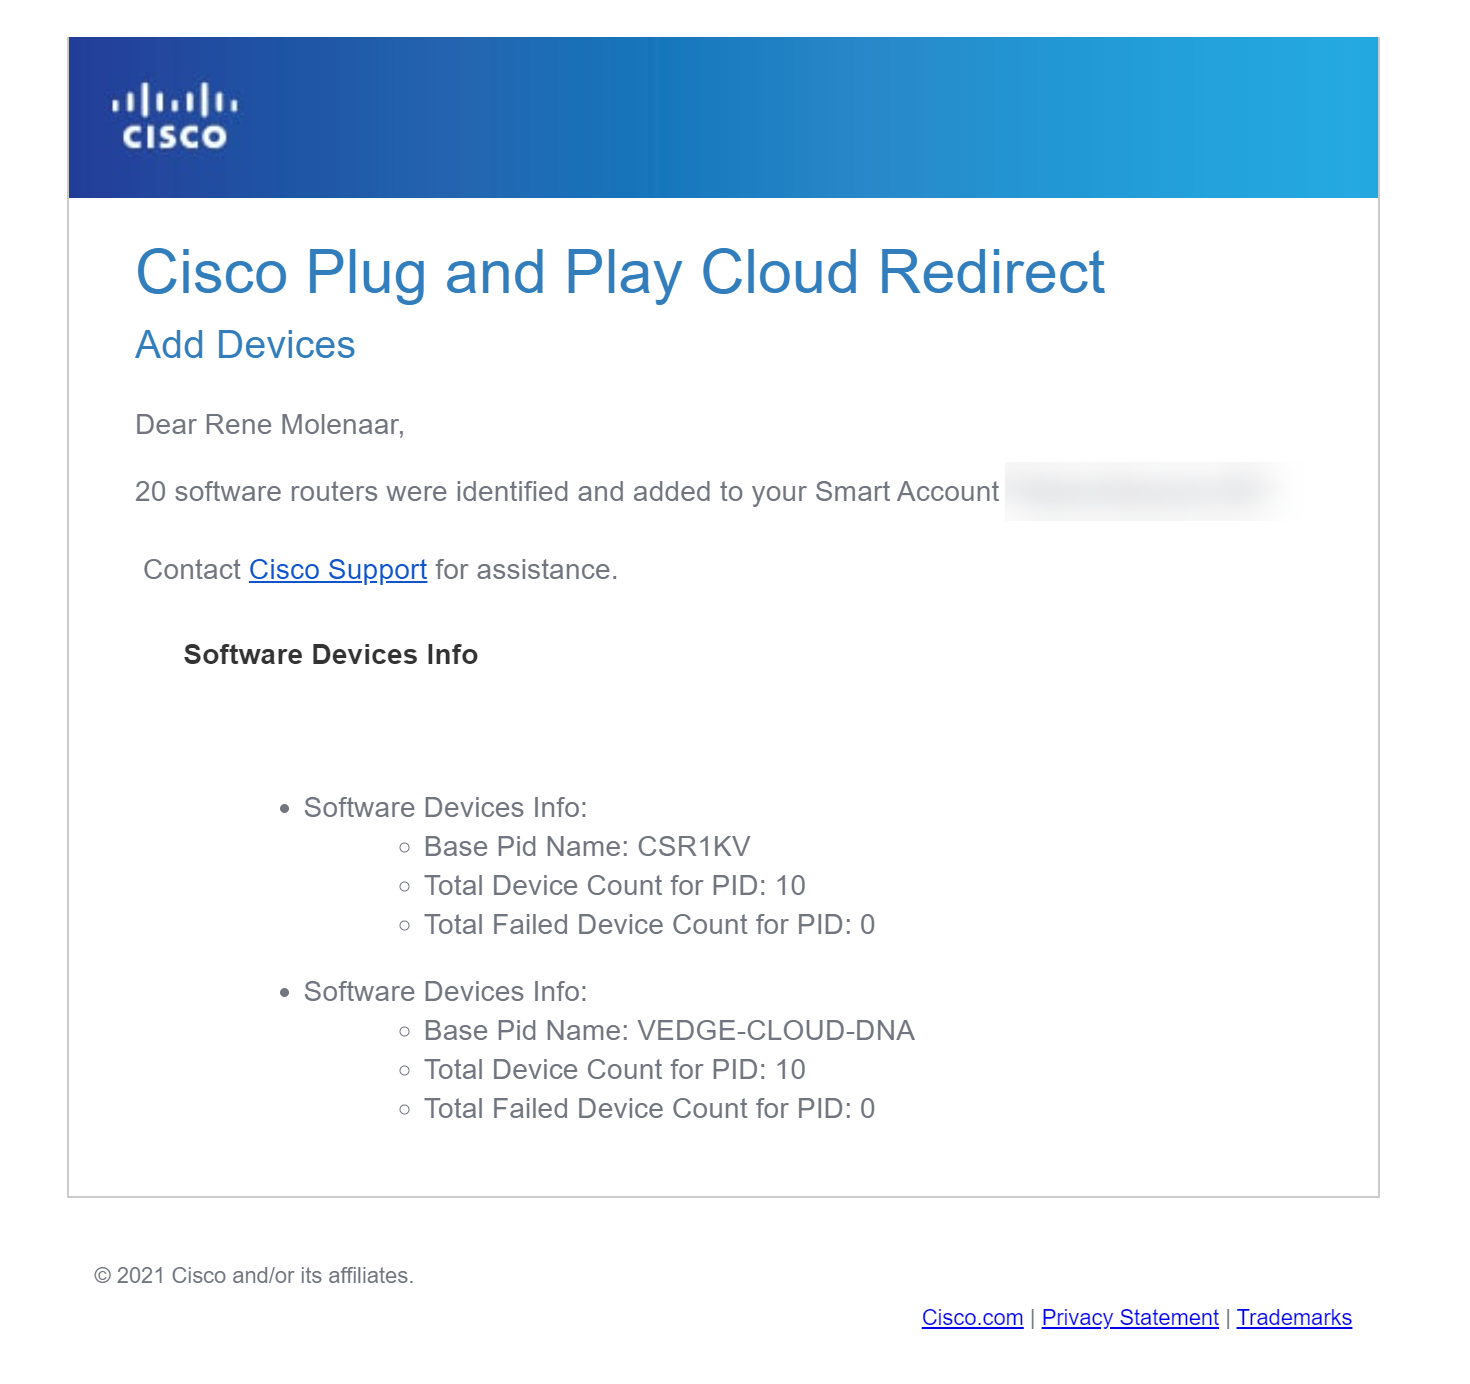
A short while later, you should receive an email that looks like this:
And the devices should show up as Provisioned in the overview:

Serial File
We can now download the file with the licenses. Go to Controller Profiles and click on Provisioning File:
Very important lesson, thanks for that.
Still very annoying cisco did that. I am in between jobs so I have only personal account which " does not have the privileges required to access “Manage Smart Account”" , but I will open a ticket in case cisco can help.
Quoted from the lesson:
As per above license requirement can be skipped if we use 19.x, trying to figure out how? if someone has already did it then please let me know
If I have organization name ABCDEF, what changes are needed below to generate the Root CA
Any way if I want to skip the vBond IP meaning I dont want to stick with one IP. There can be any topology and I can work. I have seen one Serial.viptela File where any vBond IP can be used but that is no more valid.
Can i mention 0.0.0.0 in vBond IP and use any IP with any lab
any thought?
Hello Asif
The particular attributes that are in your post are X.509 attributes. In particular, they are:
CN: CommonName
OU: OrganizationalUnit
O: Organization
L: Locality
S: StateOrProvinceName
C: CountryName
If you want to change the organization name to ABDCDEF you would change the “O” attribute like so:
O=ABCDEF
For more info about the X.509 certificate attributes, take a look at this documentation.
As for the vBond IP, when you onboard a vEdge, you must specify the IP address of the vBond controller as seen in the initial config of the vEdge device here:
h
... Continue reading in our forum