Lesson Contents
There are a number of options to build your own Cisco SD-WAN lab. If you want to build everything step-by-step from scratch, EVE-NG is a great option. If you don’t want to mess with the installation of controllers and routers, check out the Cisco SD-WAN CML Lab Installation lesson instead. In this lesson, I’ll show you everything you need to do to install EVE-NG and build your own Cisco SD-WAN lab. This includes:
- Downloading the required Cisco and EVE-NG images.
- Installing EVE-NG.
- Installing the images on your EVE-NG installation.
- Testing whether you can use the images.
Installation
You can run EVE-NG on physical hardware, or on a KVM or VMWare hypervisor. Details are on the EVE-NG requirements page. I’m going to install it on VMWare ESXi 7.
Images
To get started, we need to download the Cisco SD-WAN and EVE-NG images.
Cisco
To download the Cisco SD-WAN images, you need a CCO account with a contract. You can find the images at Cisco’s Software Download.

You can run Cisco SD-WAN on multiple platforms, including VMWare ESXi, KVM, or Microsoft Azure. We need the KVM images for EVE-NG.
EVE-NG
You can download EVE-NG from the download page. There are two options:
- Professional/Learning Center Version
- Community Edition Version
I downloaded the ISO of the professional version because of two reasons:
- It’s the latest version.
- It allows you to add/remove links without shutting down virtual devices.
The professional version requires a license but it’s definitely worth the money. Copy the ISO image to the datastore of your VMware ESXi server.
VMWare ESXi
Let’s create a virtual machine for EVE-NG.
Port Groups
Before we create the virtual machine, we need to create some additional port groups. Take a look at the following picture:
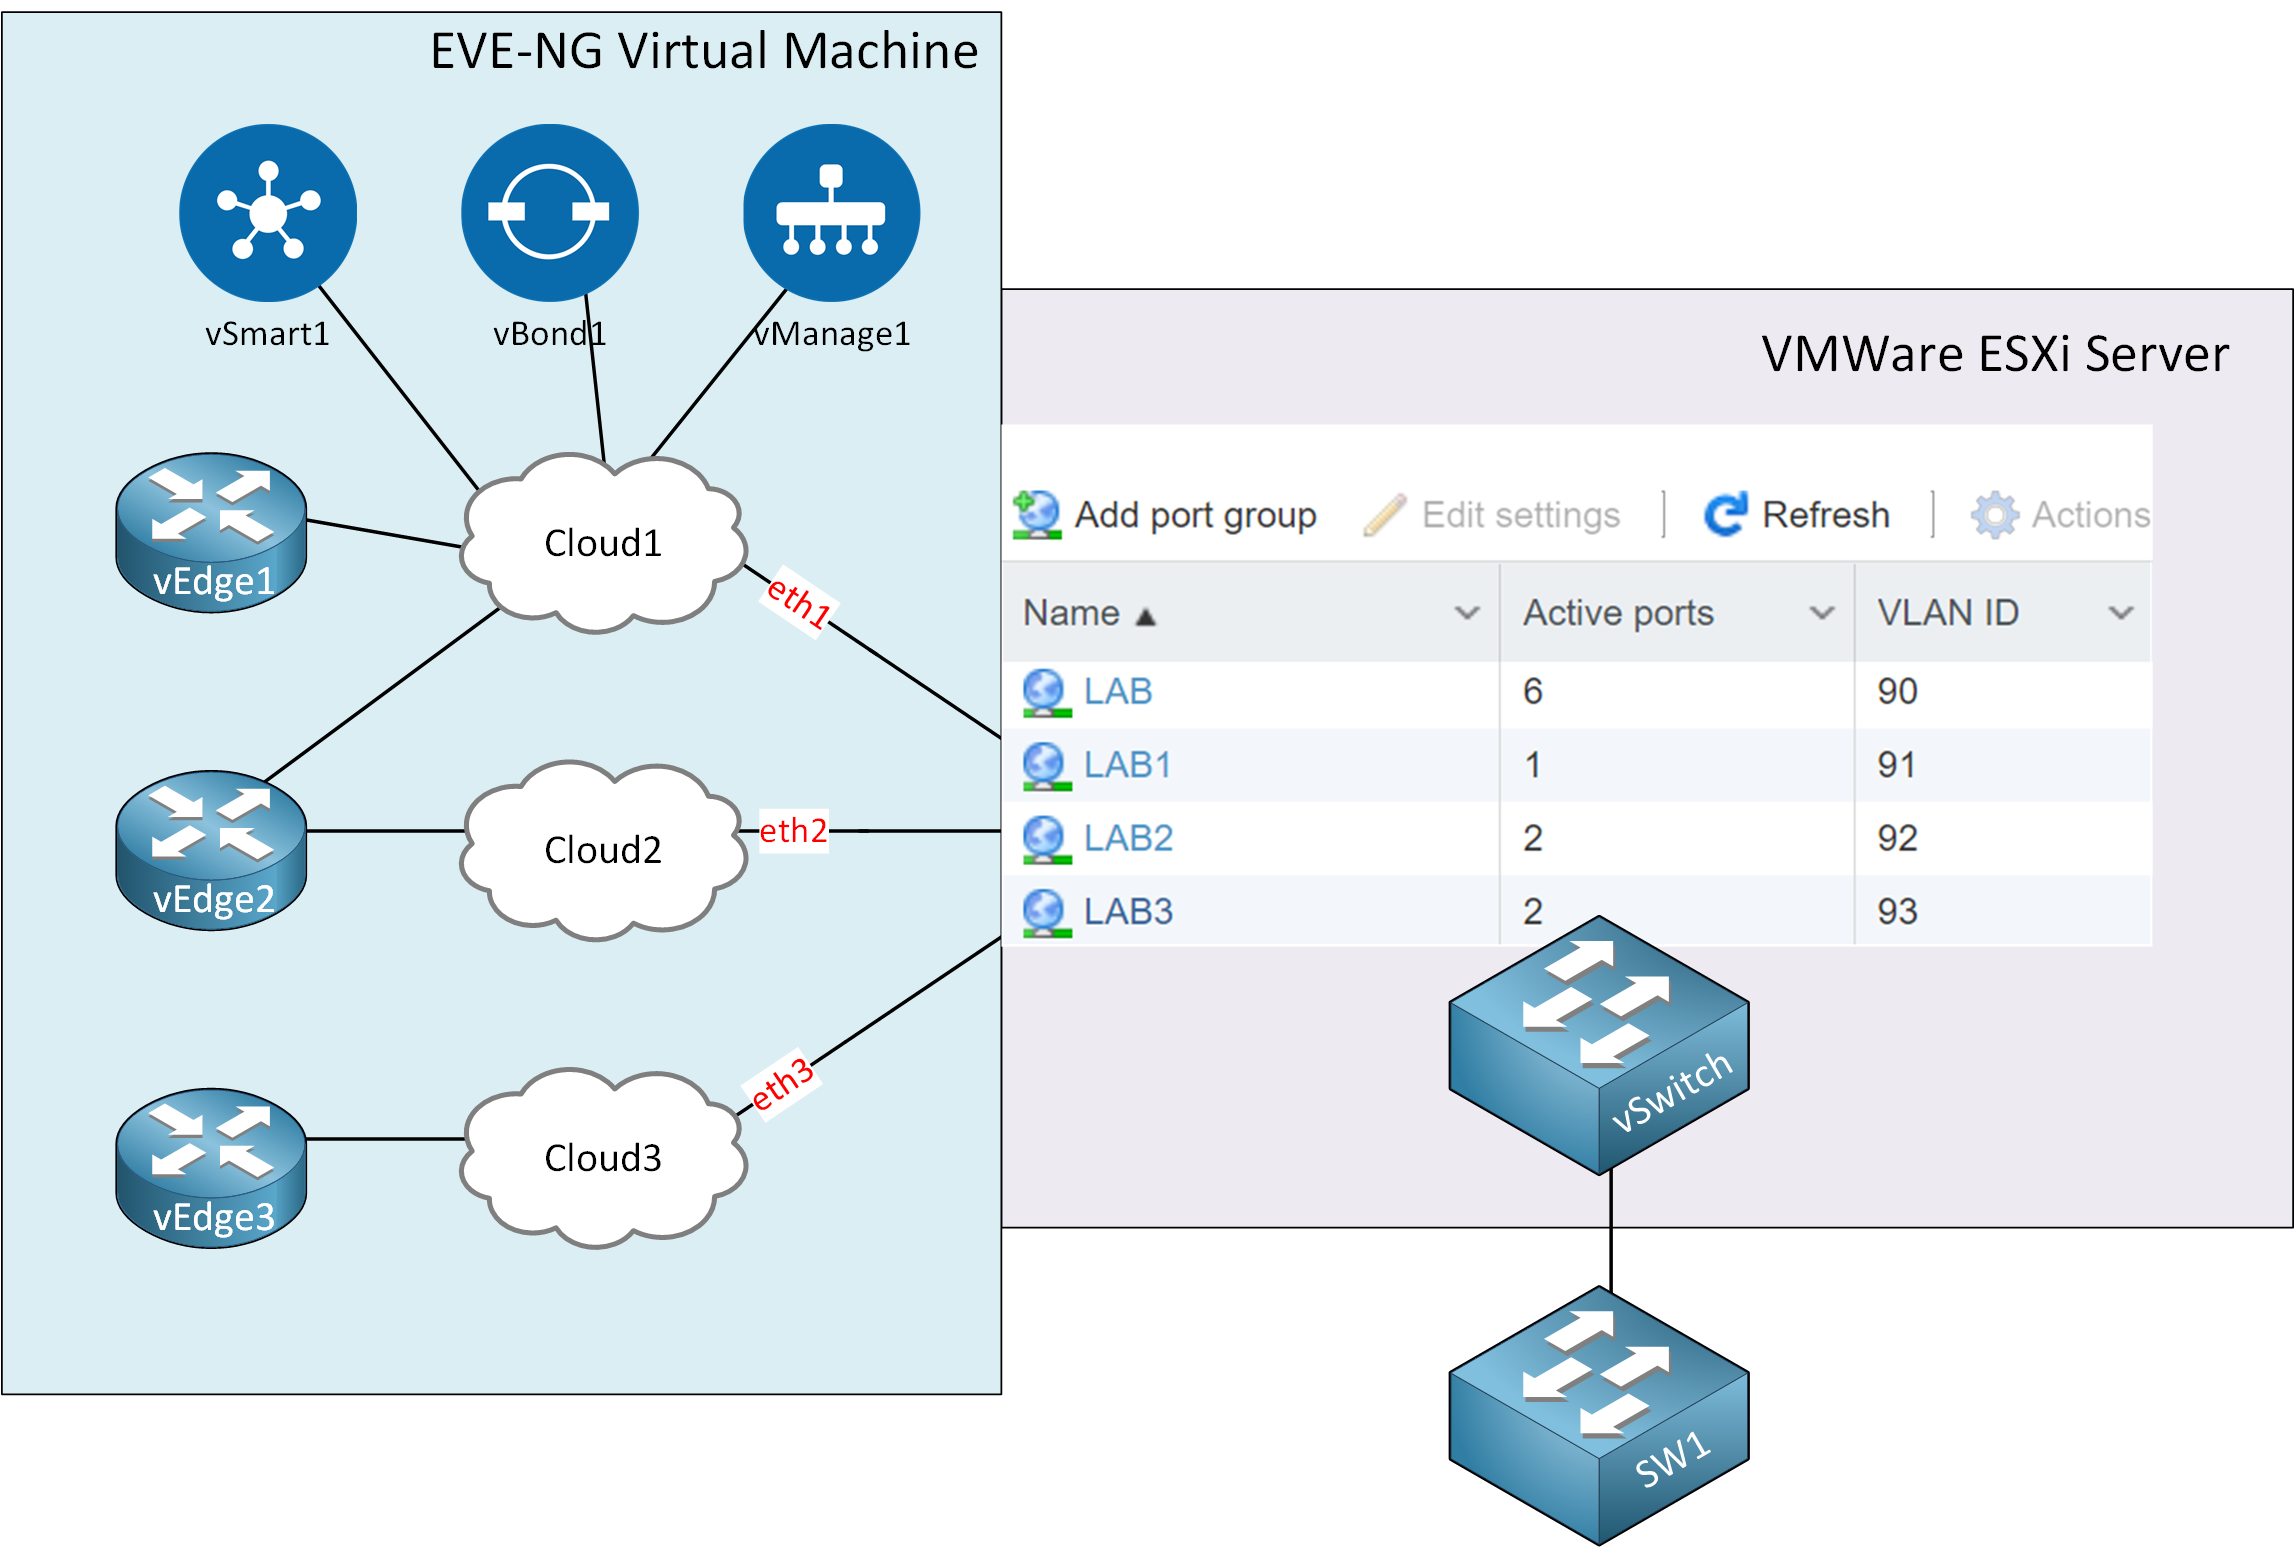
I’m creating four port groups. The first port group (LAB) connects to the eth0 interface of the EVE-NG virtual machine. We use this so we can access the EVE-NG GUI or access it with SSH.
The other three port groups connect to different “cloud” networks that we can use within EVE-NG. We can use these to bridge virtual devices to our physical network. Each of the port groups uses a different VLAN. These cloud icons are useful for SD-WAN because we are going to use them to simulate different WAN connections.
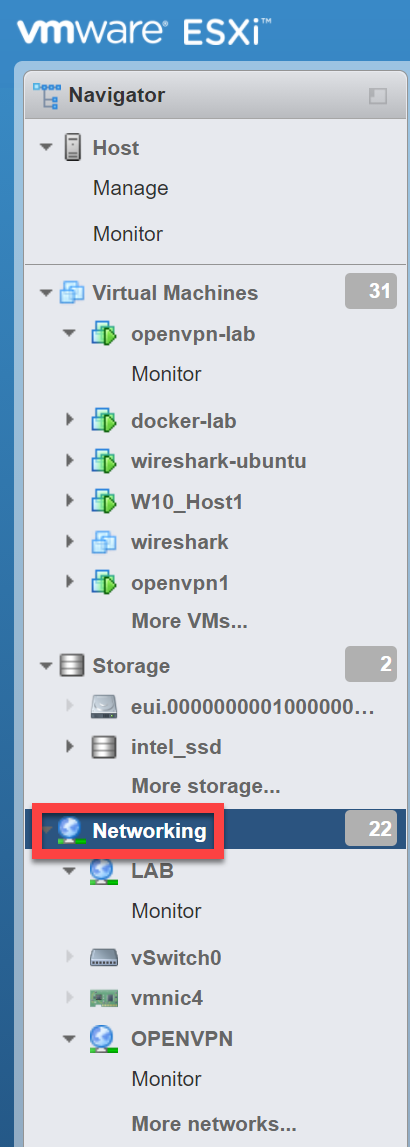
Let’s create the port groups. Go to Networking in the Navigator:
Click on Add port group and create them:
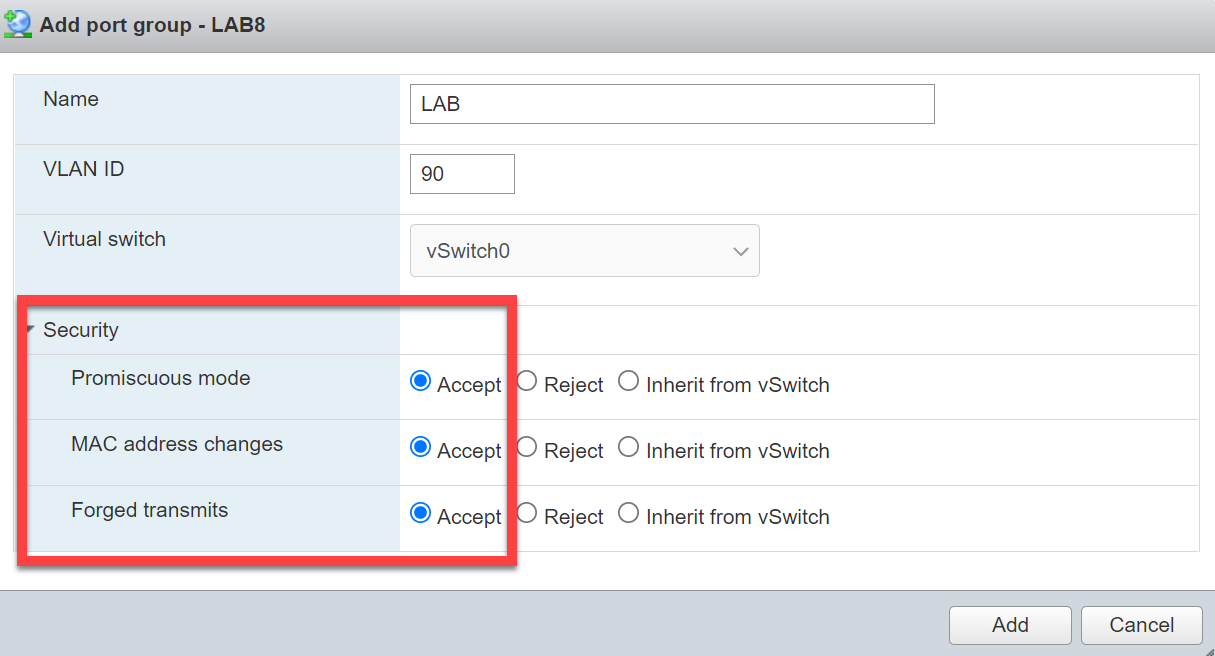
Make sure you change the security options to Accept on all port groups:
- Promiscuous mode
- MAC address changes
- Forged transmits
We need this because the EVE-NG virtual machine creates different MAC addresses for the virtual devices. It’s also nice that we can use Wireshark if we ever want to look at our traffic.
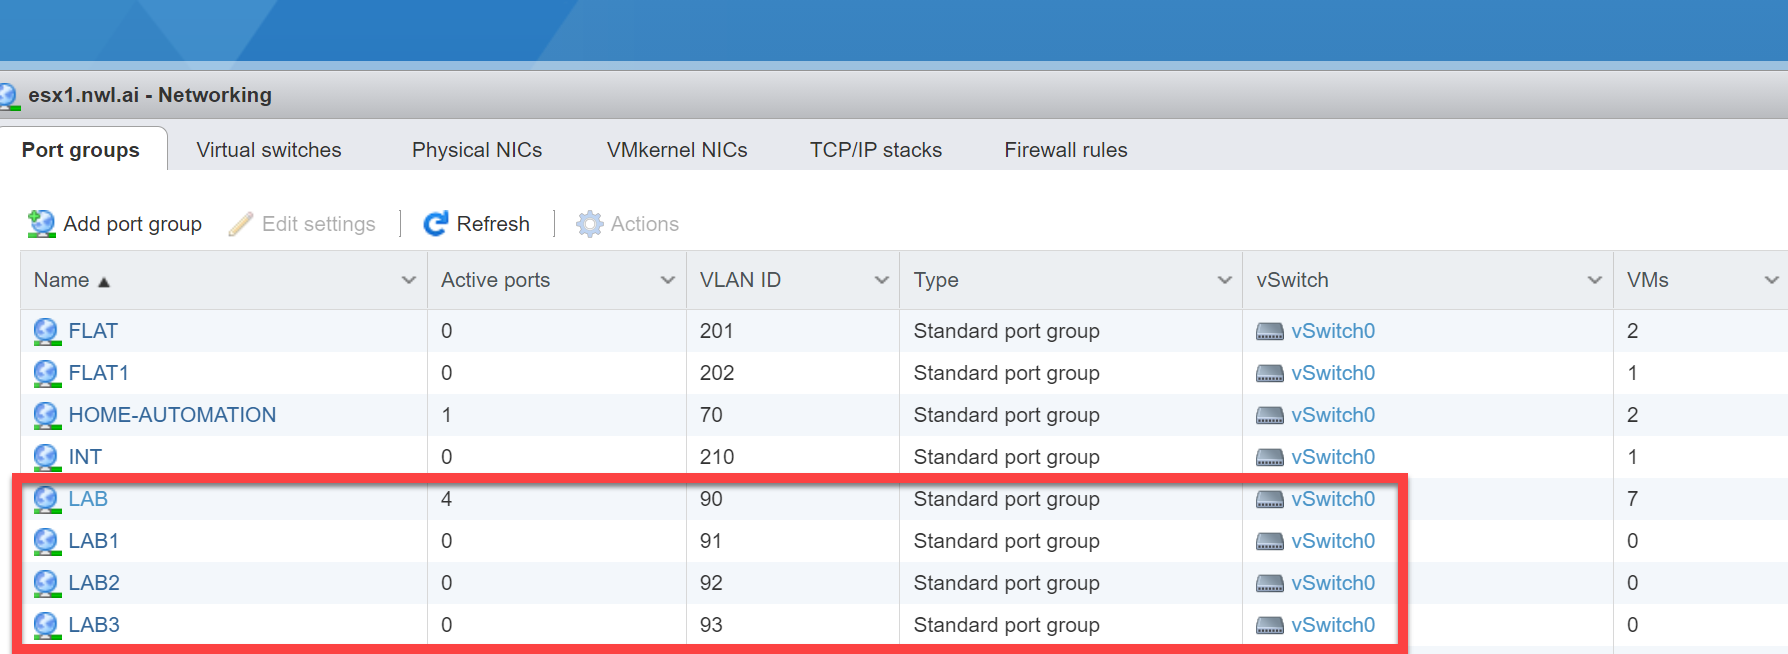
Here’s what the end result looks like:
Virtual Machine
Now we can create the virtual machine. Go to Virtual Machines in the Navigator:
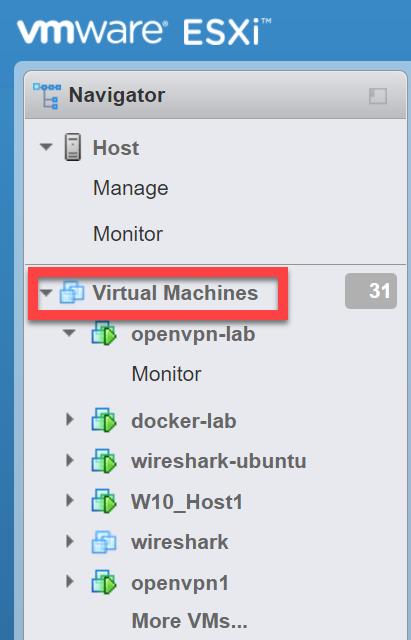
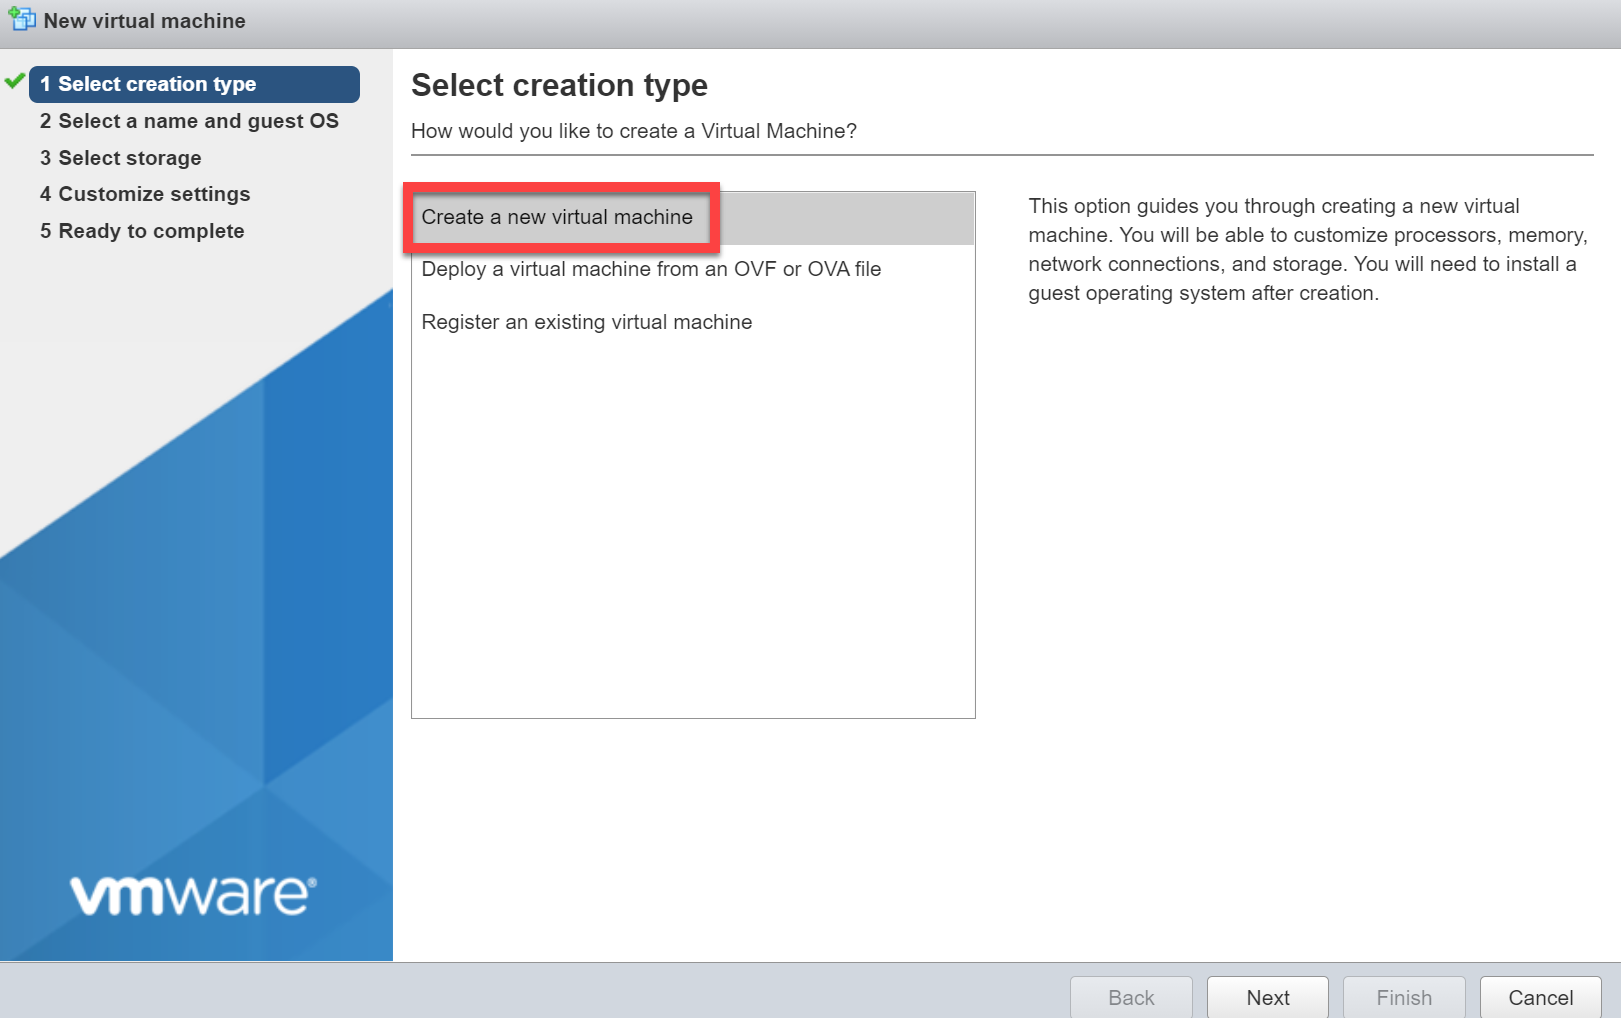
Click Create / Register VM and select Create a new virtual machine:
Now we need to configure some parameters:
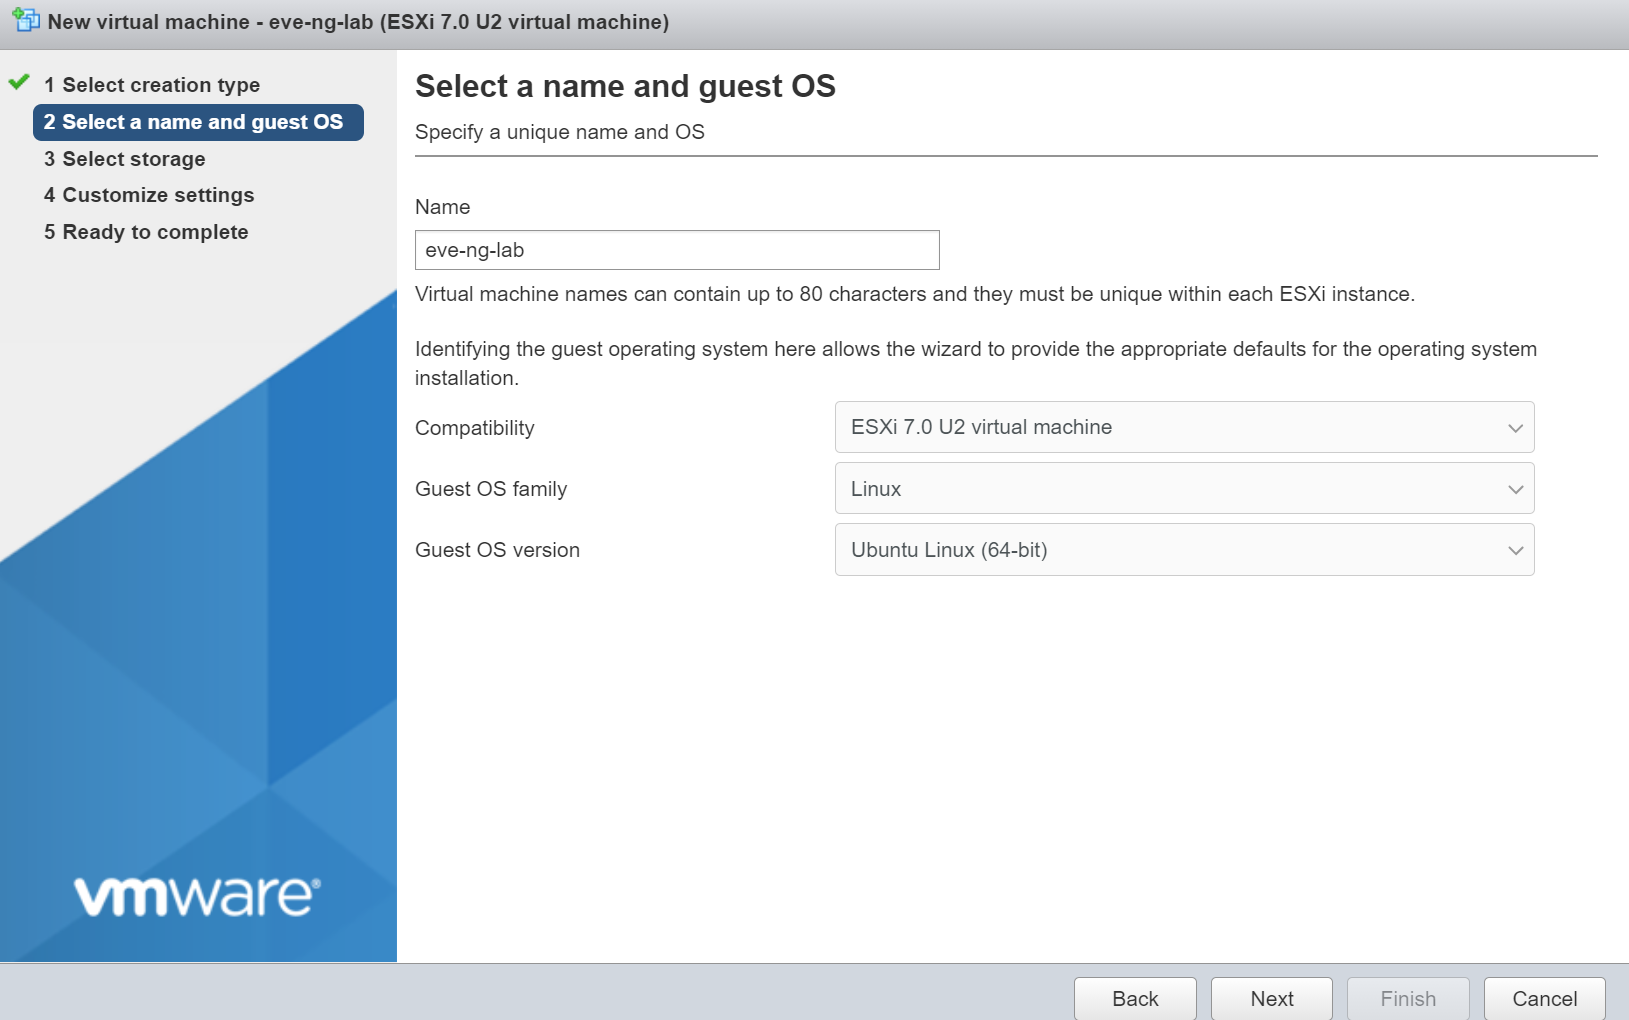
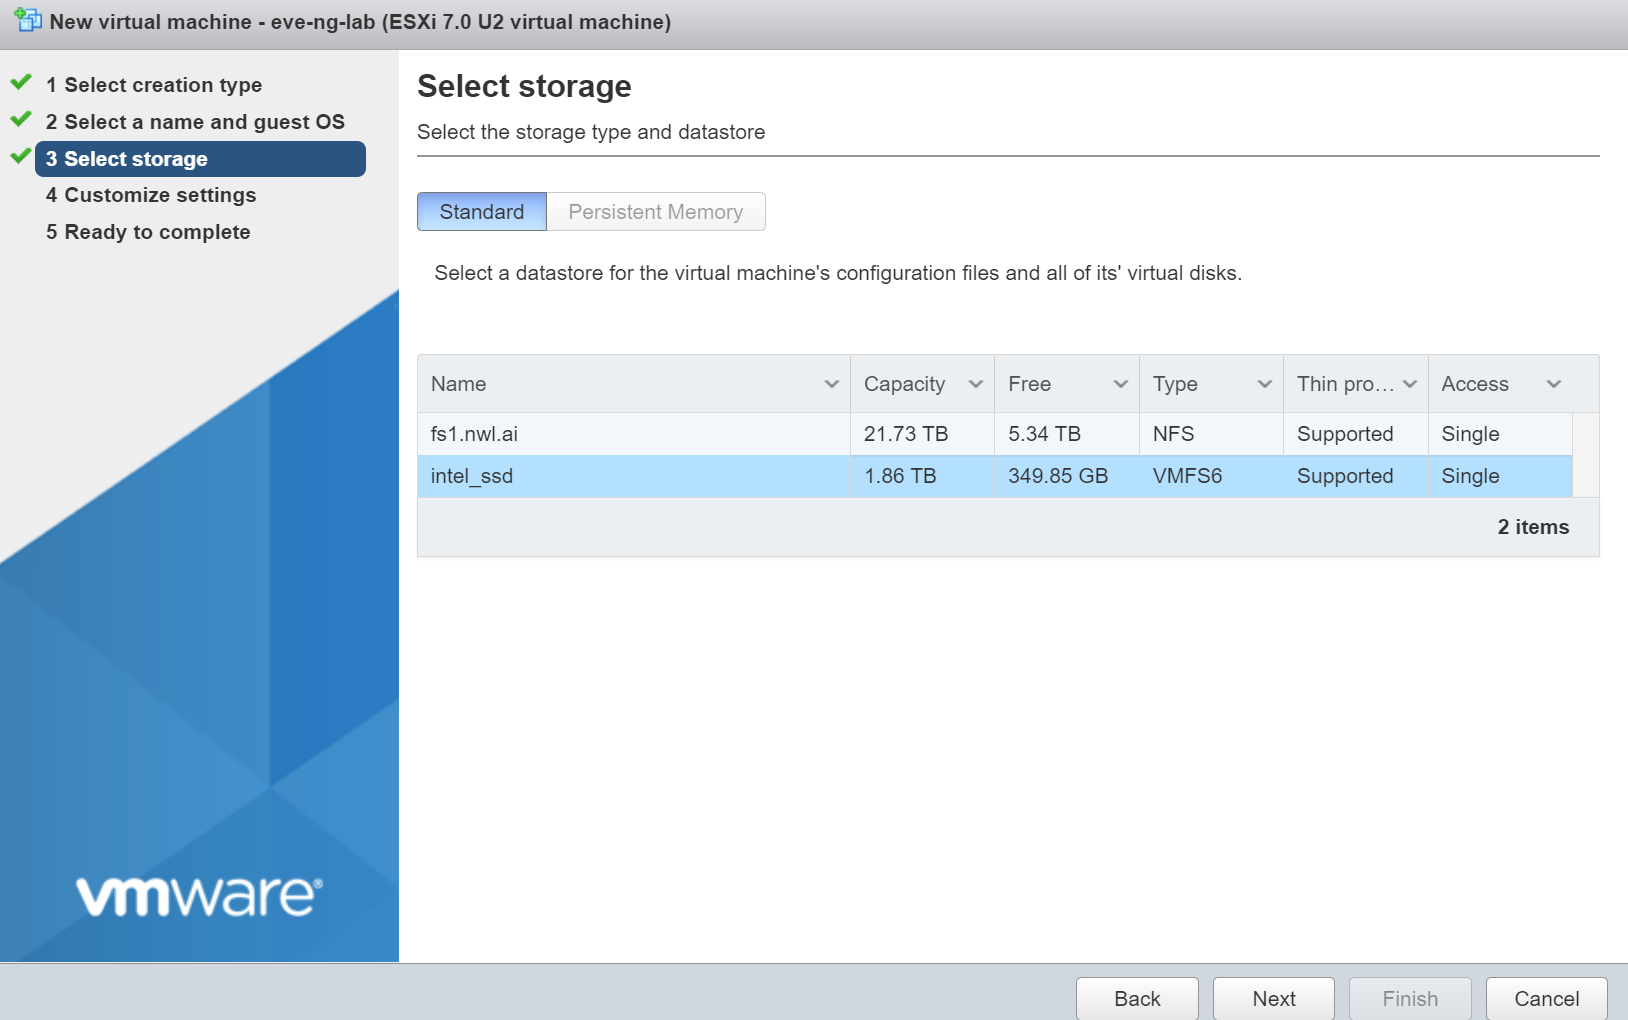
Set the Guest OS family to Linux and the Guest OS version to Ubuntu Linux (64-bit). Choose a data storage:
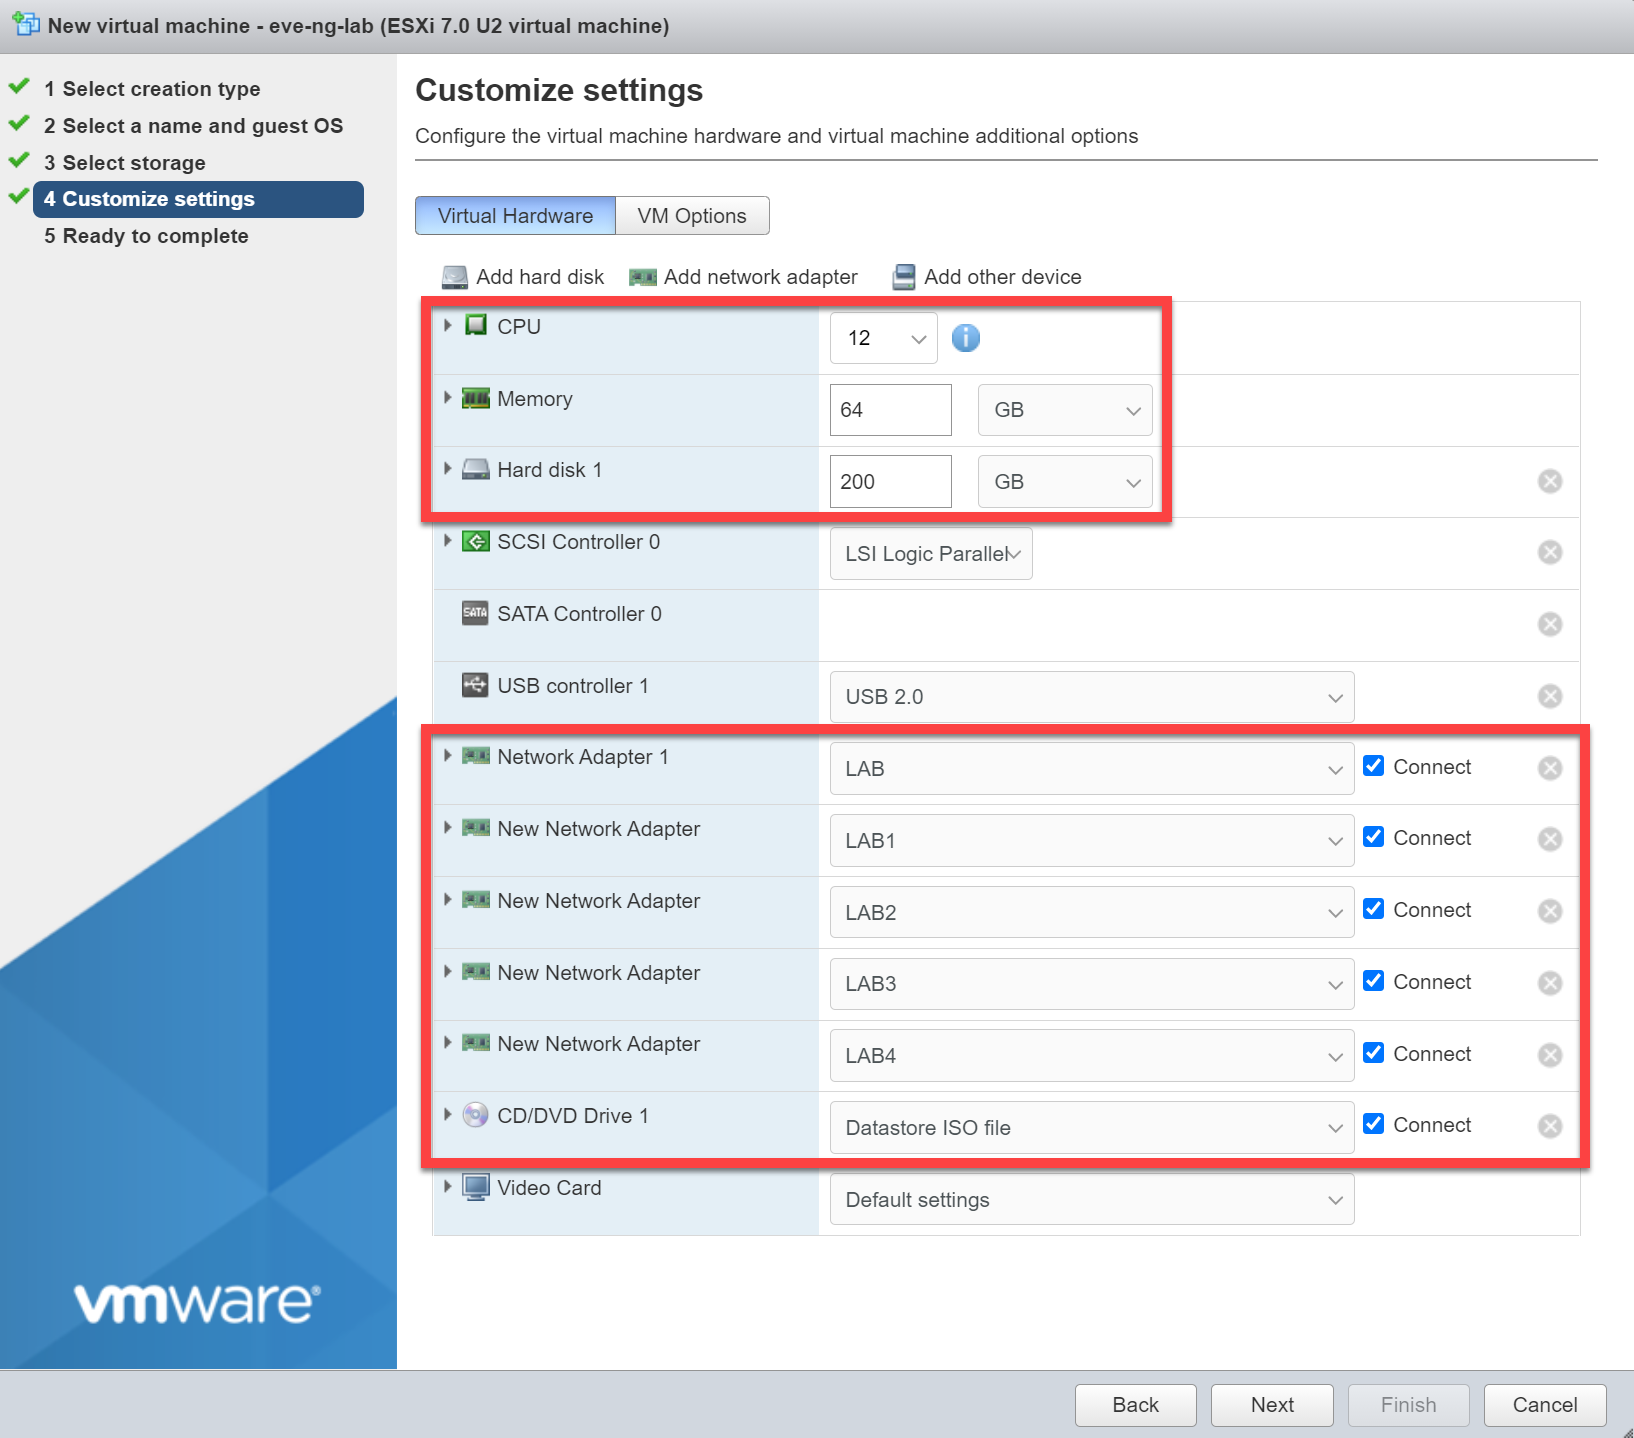
Now we have to customize our virtual machine hardware. Don’t be shy with resources, you’ll need them. You need at least 19 GB of RAM and 6 vCPUs to run the Cisco SD-WAN controllers. You need more than that because we need to run vEdge routers and some “regular” IOS devices.
The vManage controller requires a 100 GB hard disk so make sure your EVE-NG virtual machine has plenty of storage. You can set the hard disk as “thin provisioned” because it probably won’t really use 100 GB of storage. Don’t forget to add network cards that map to your port groups. Also, map the CD/DVD drive to the EVE-NG ISO image you uploaded to the datastore:
Click on Next and Finish, then power on the virtual machine.
EVE-NG installation
All right, it’s time to install EVE-NG. The next few steps are probably familiar to you’ve if you installed Ubuntu before. Most of the steps are self-explanatory but let’s go through them anyway. Let’s select a language:

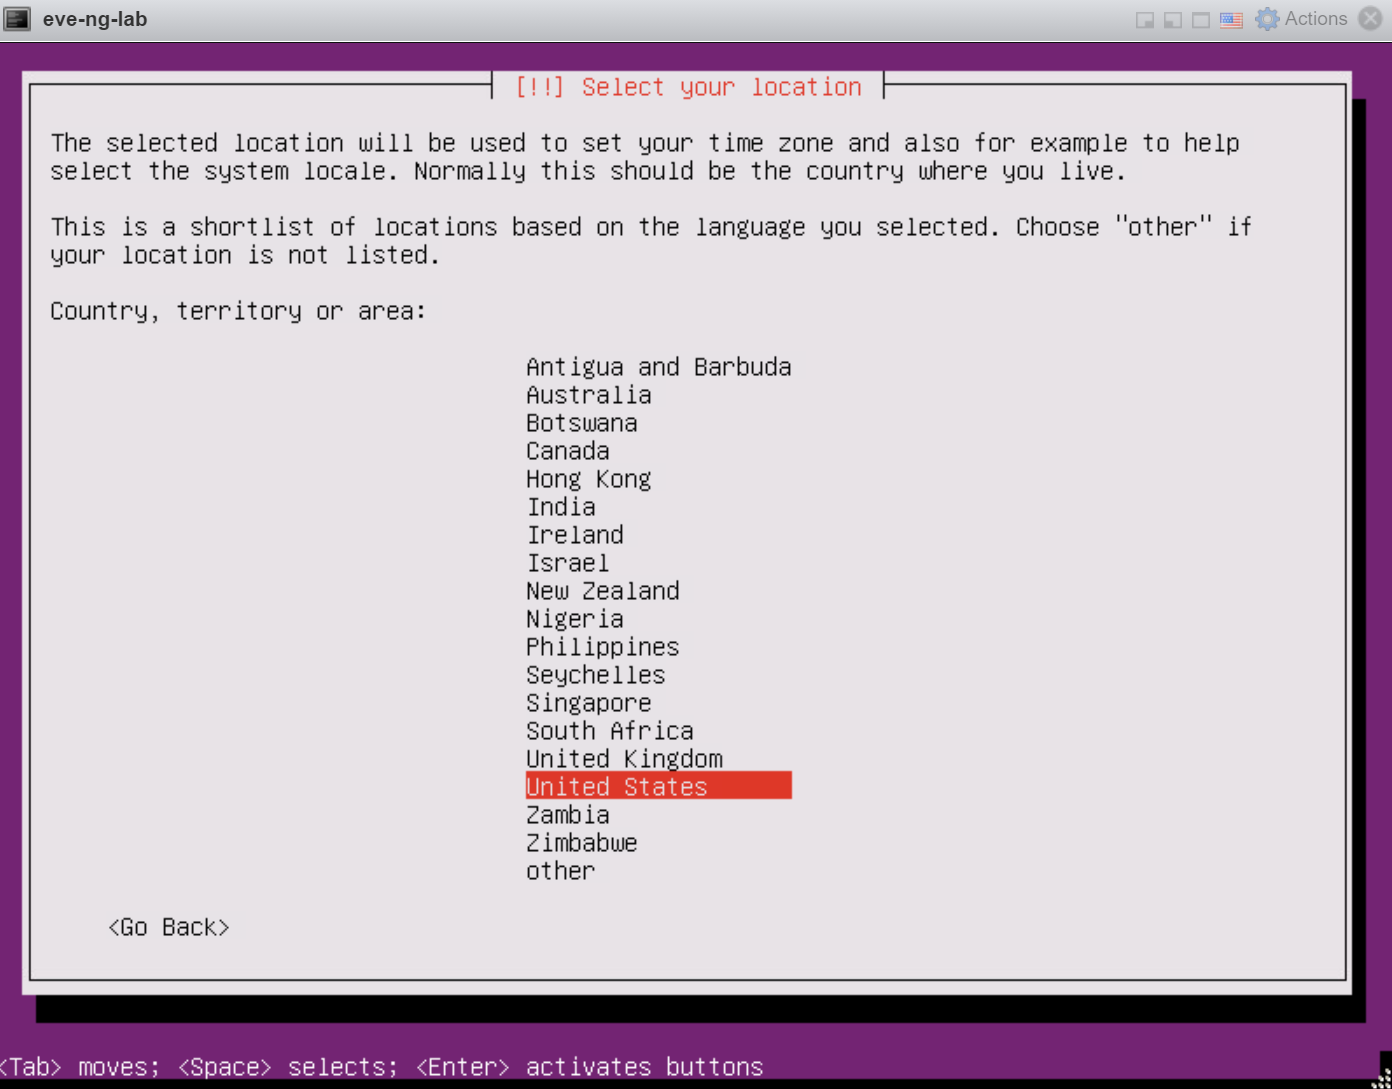
And select your location:
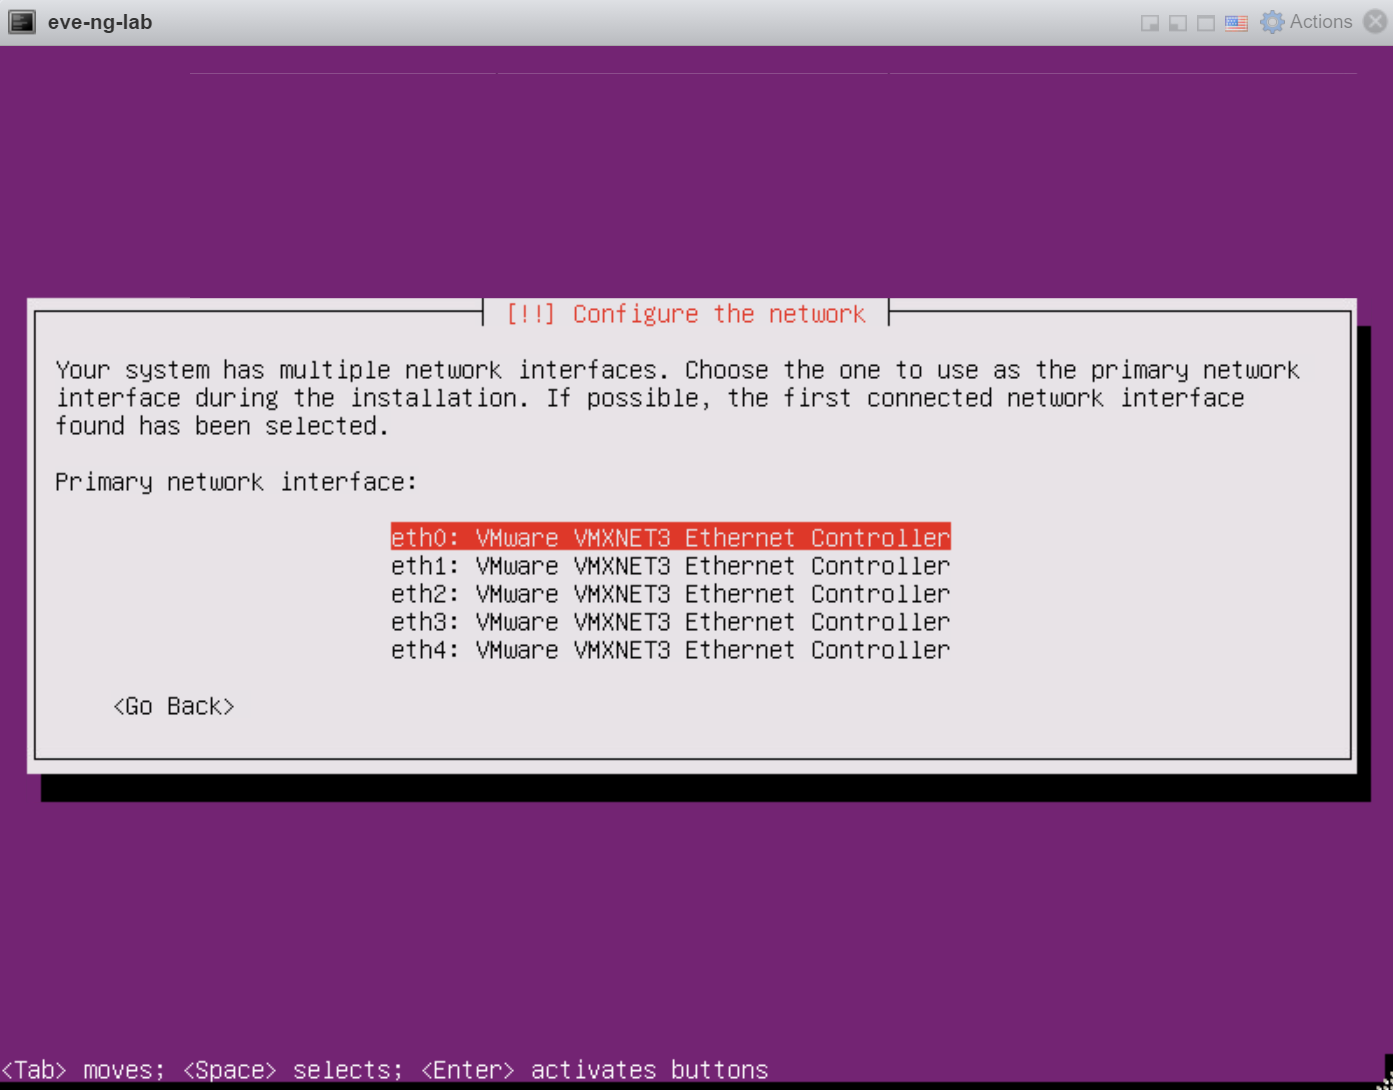
Now we need to select our network interface. This is what we’ll use to connect SSH into EVE-NG or access the GUI. Make sure you select the eth0 interface:
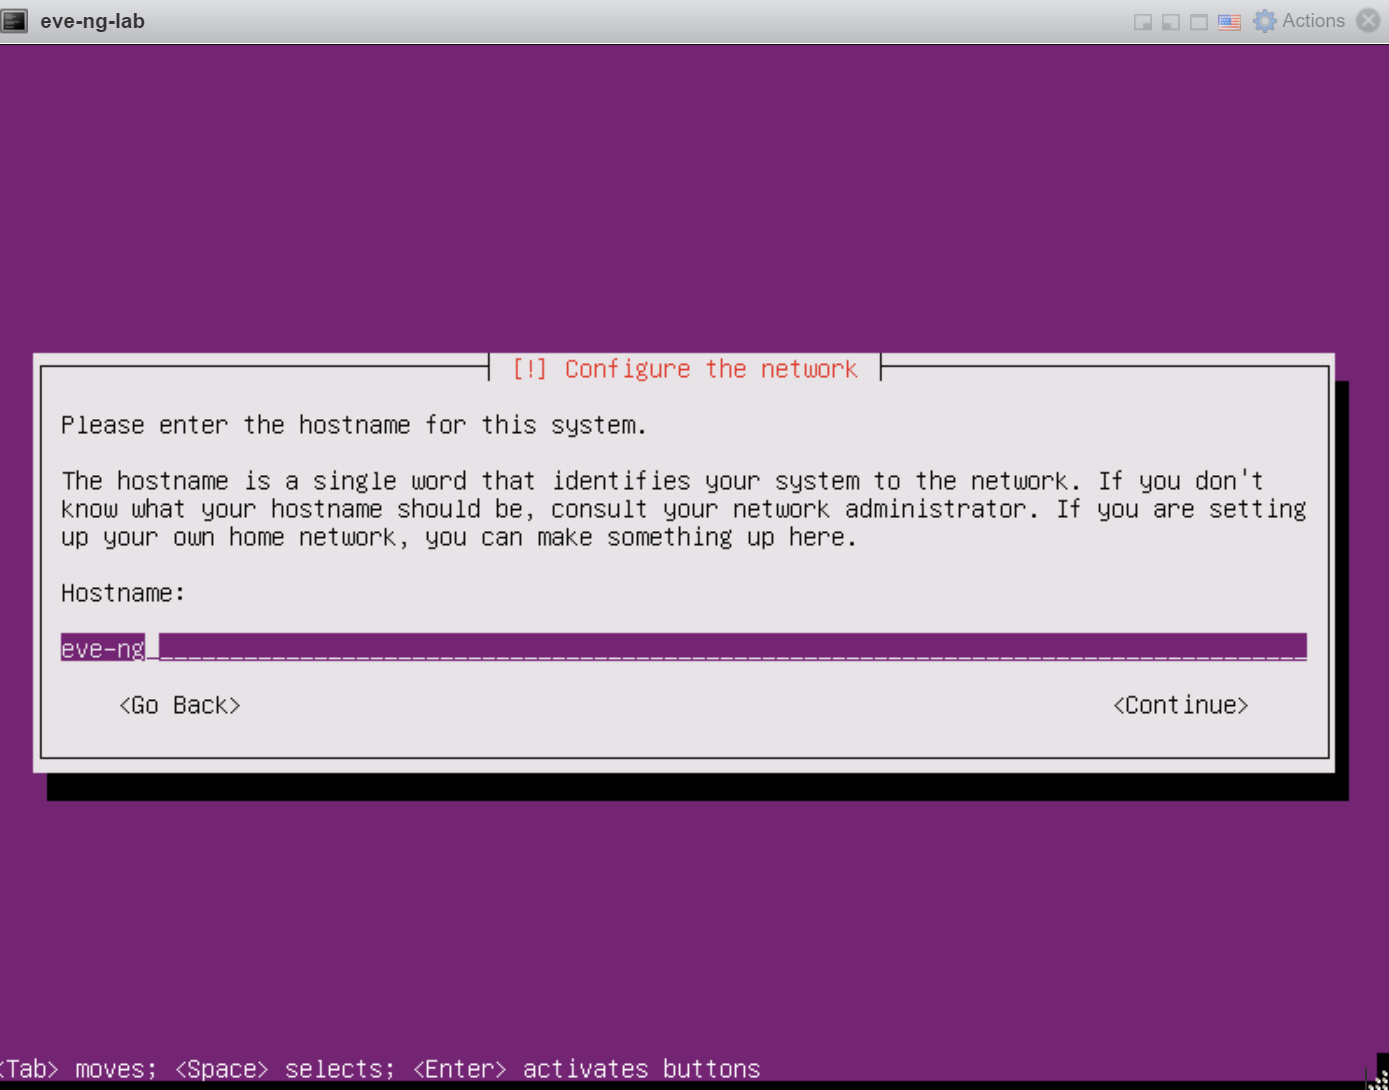
We have to set a hostname:
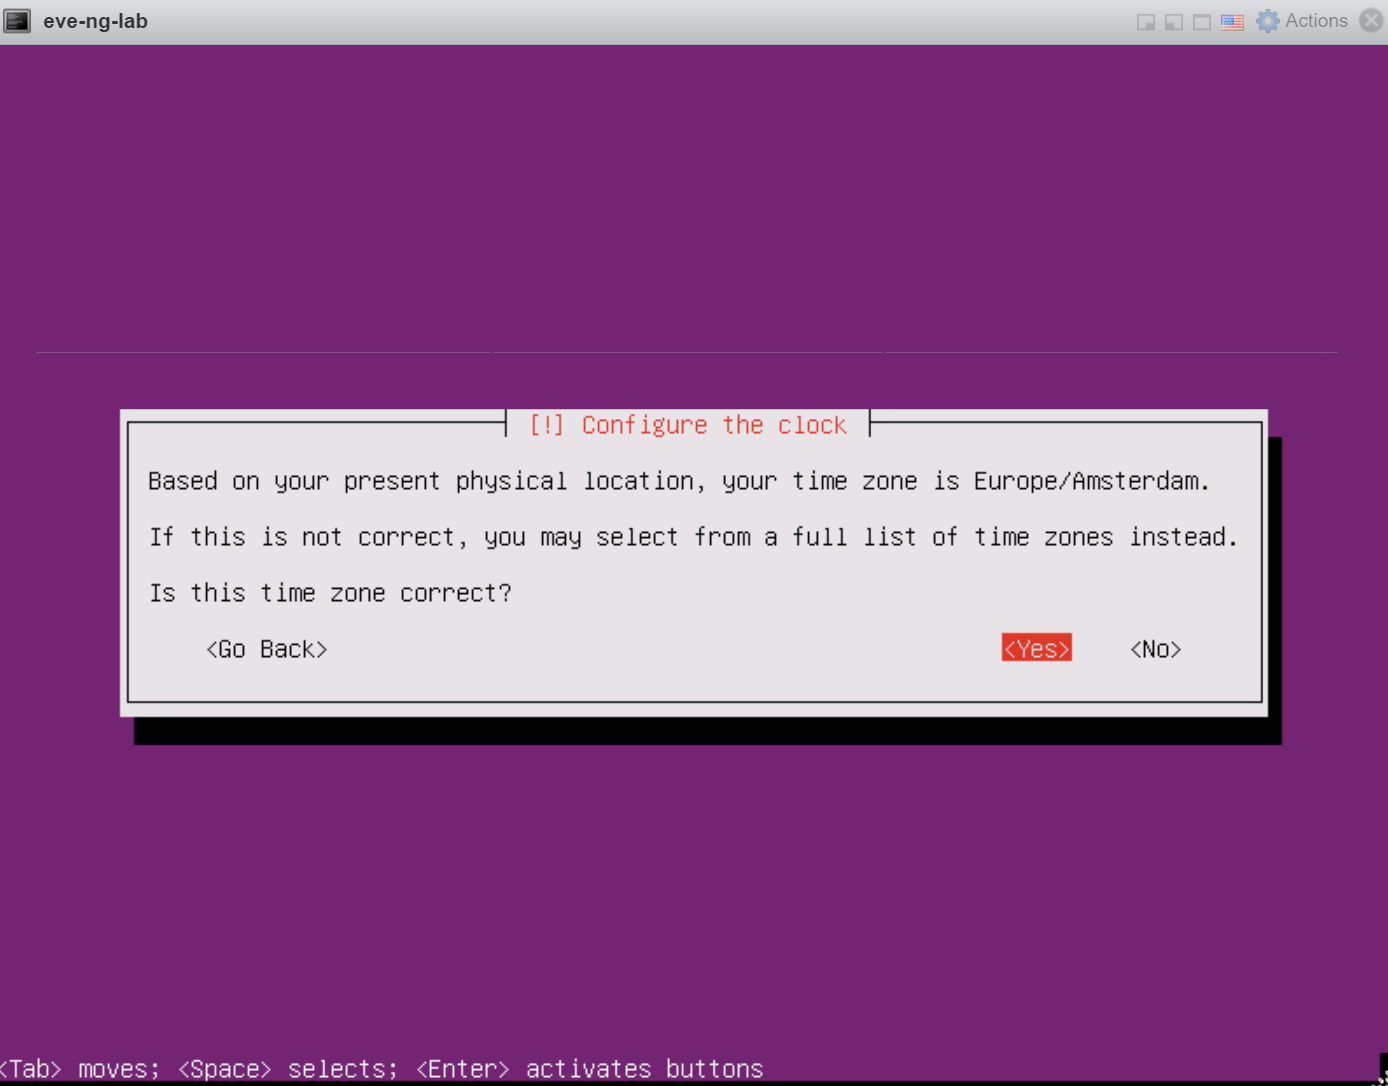
Set the time zone:
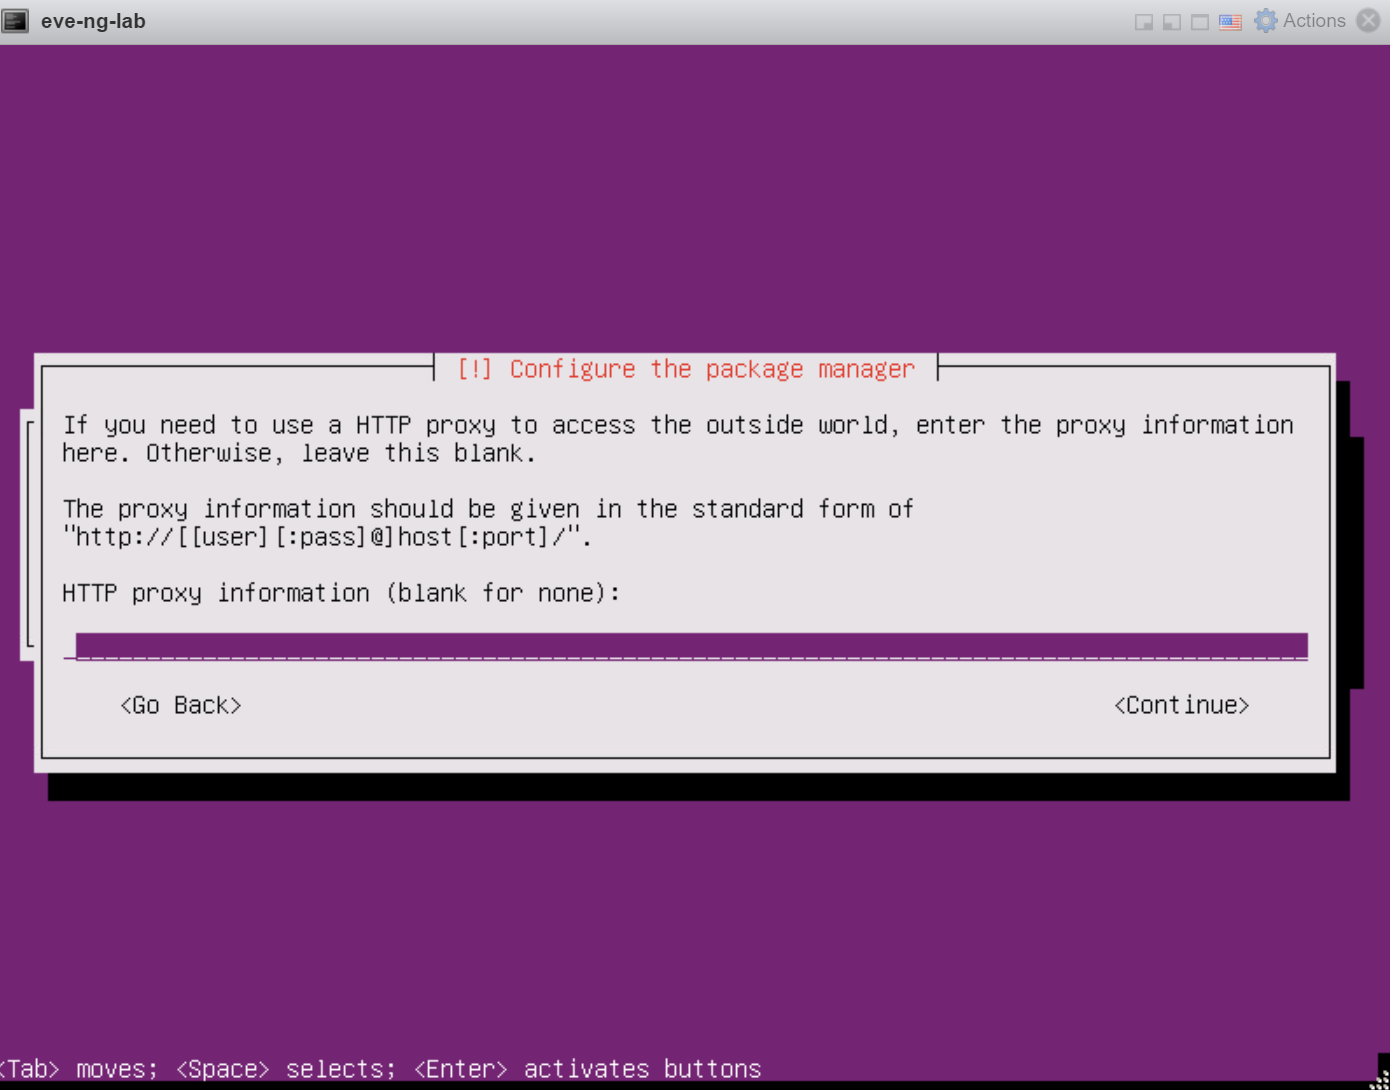
Hit Enter if you don’t use a proxy:
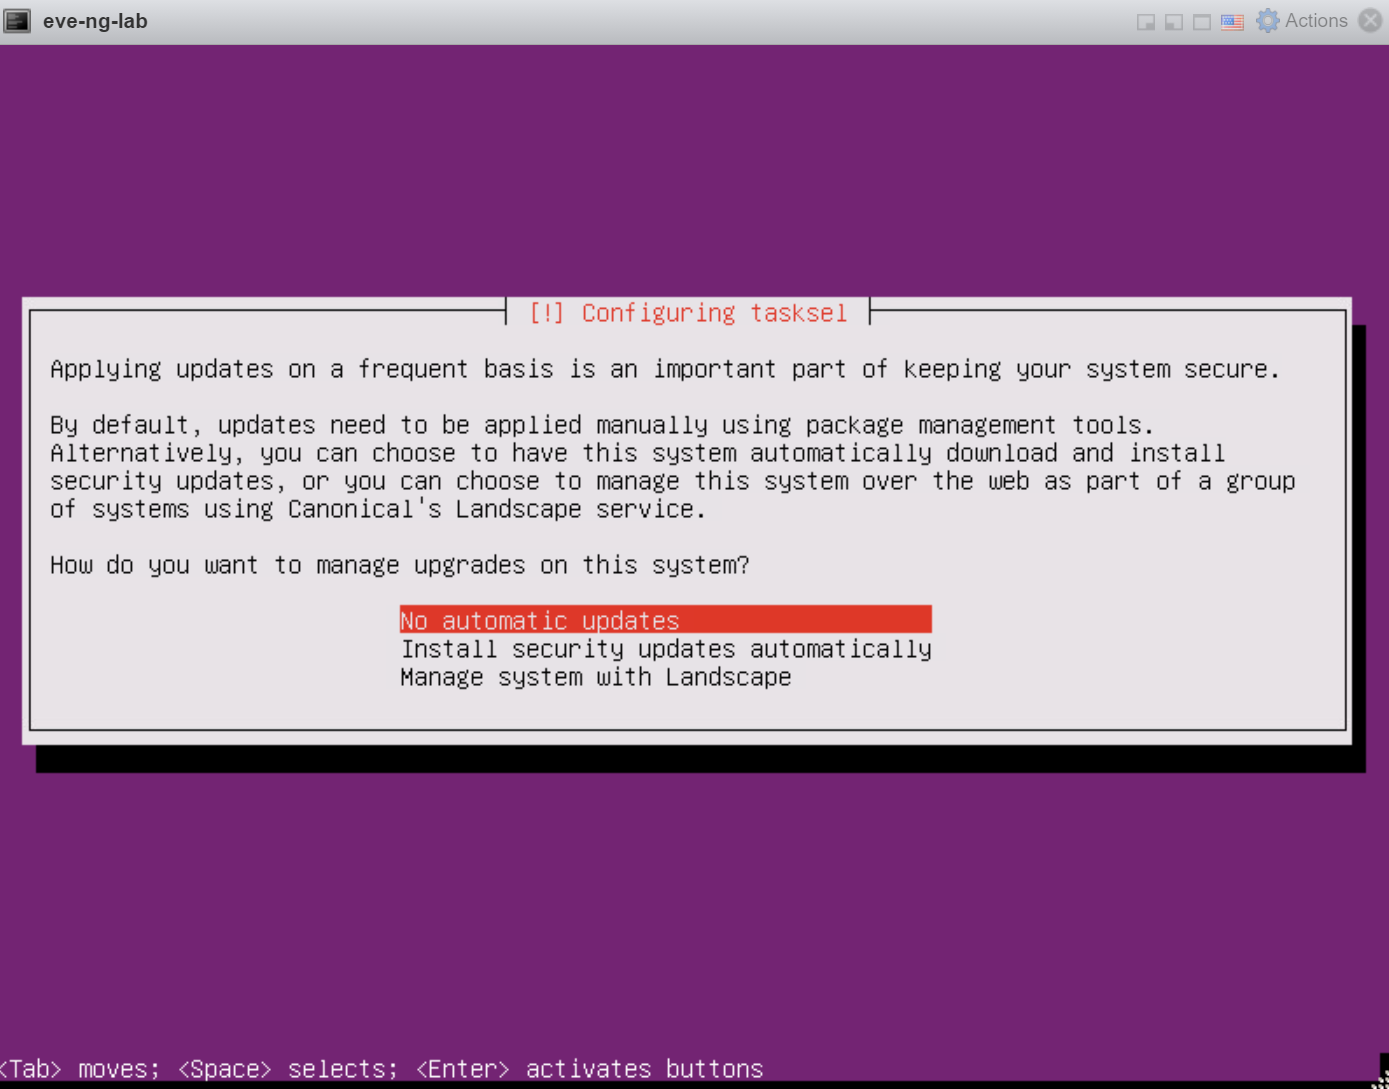
Optionally, you can install security updates automatically. If you plan to use this virtual machine for a long time then it might be a good idea to do so:
The installation will take a few minutes to complete.
Setup
Once the installation is complete, the virtual machine reboots and you see the following screen:
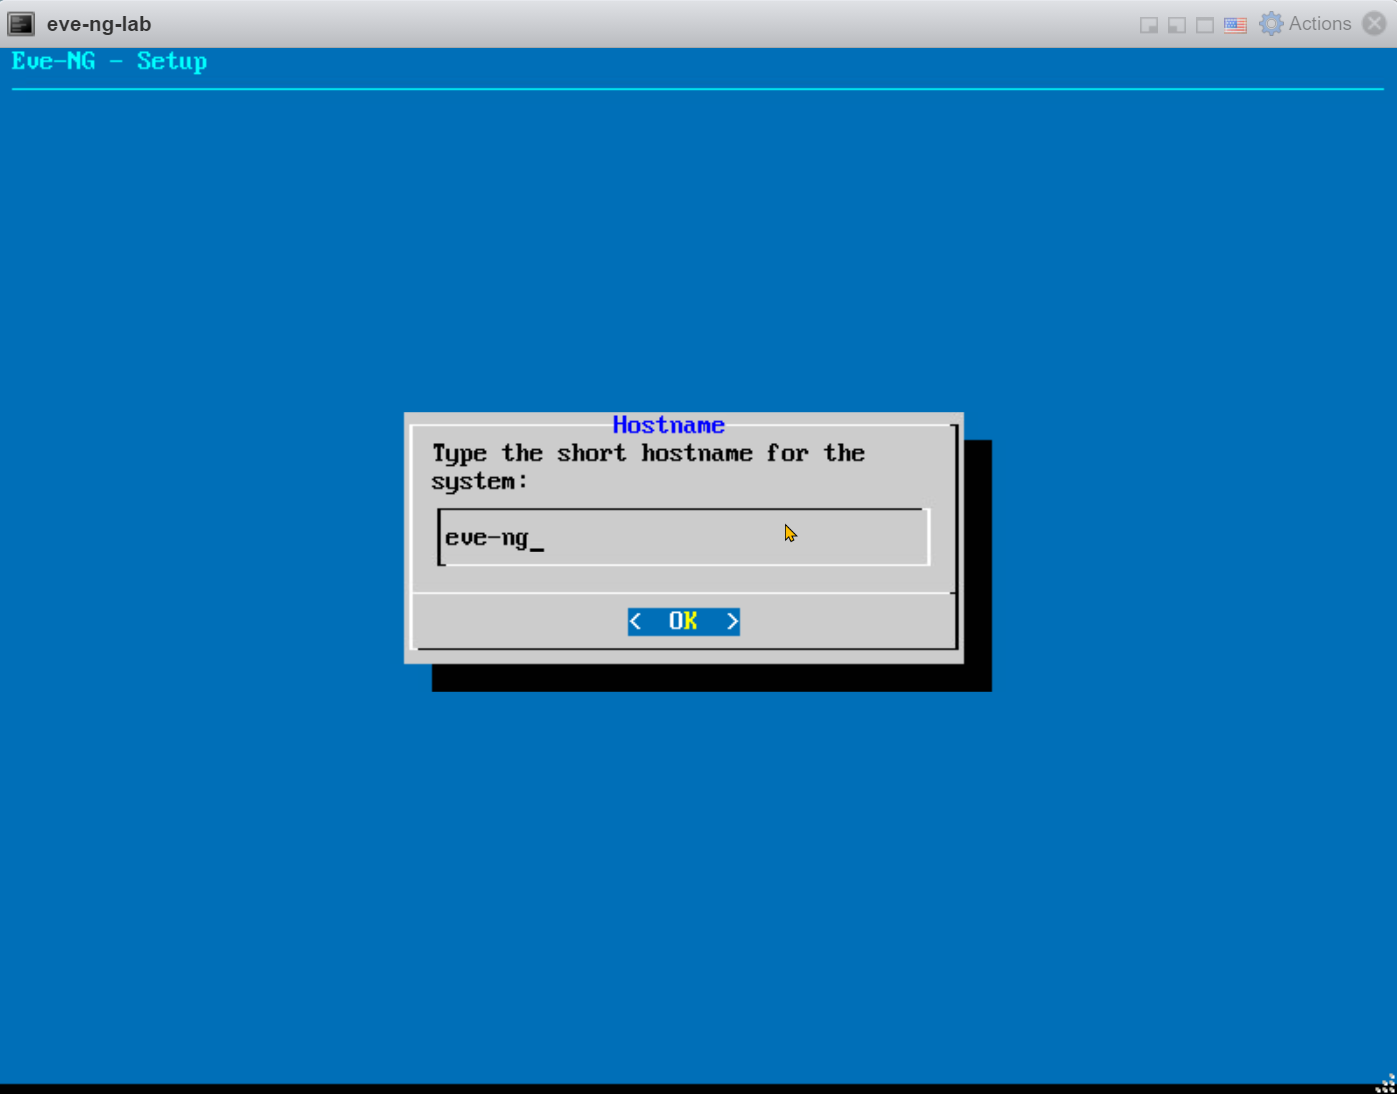
Log in and you are greeted with a setup screen. You need to set the hostname again:
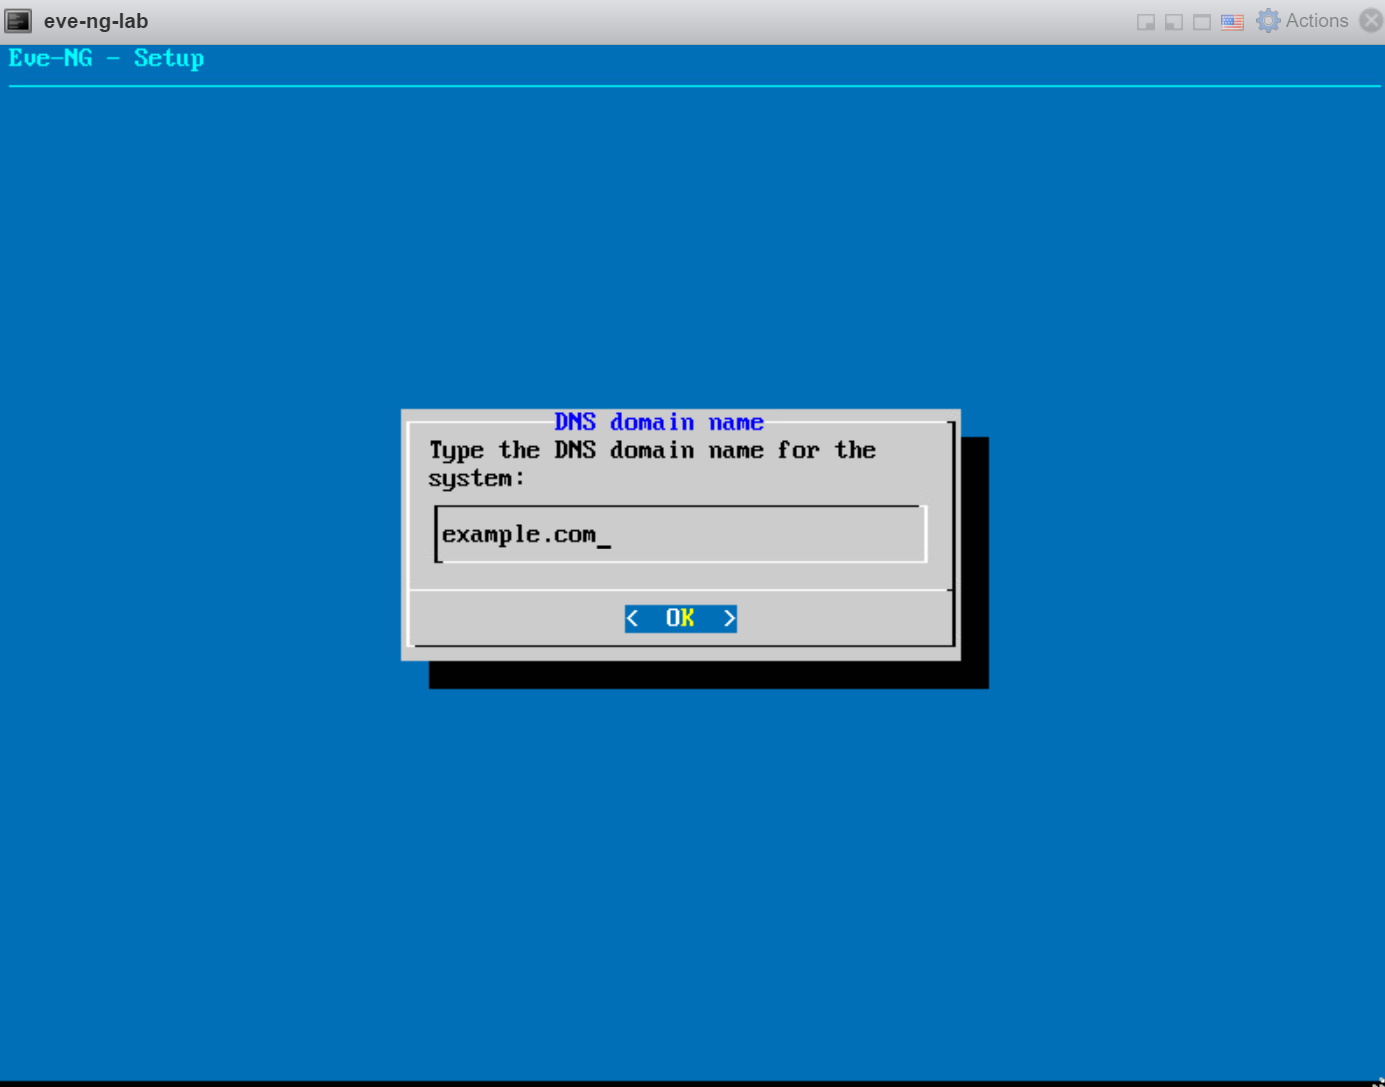
And (optionally) a DNS domain name:
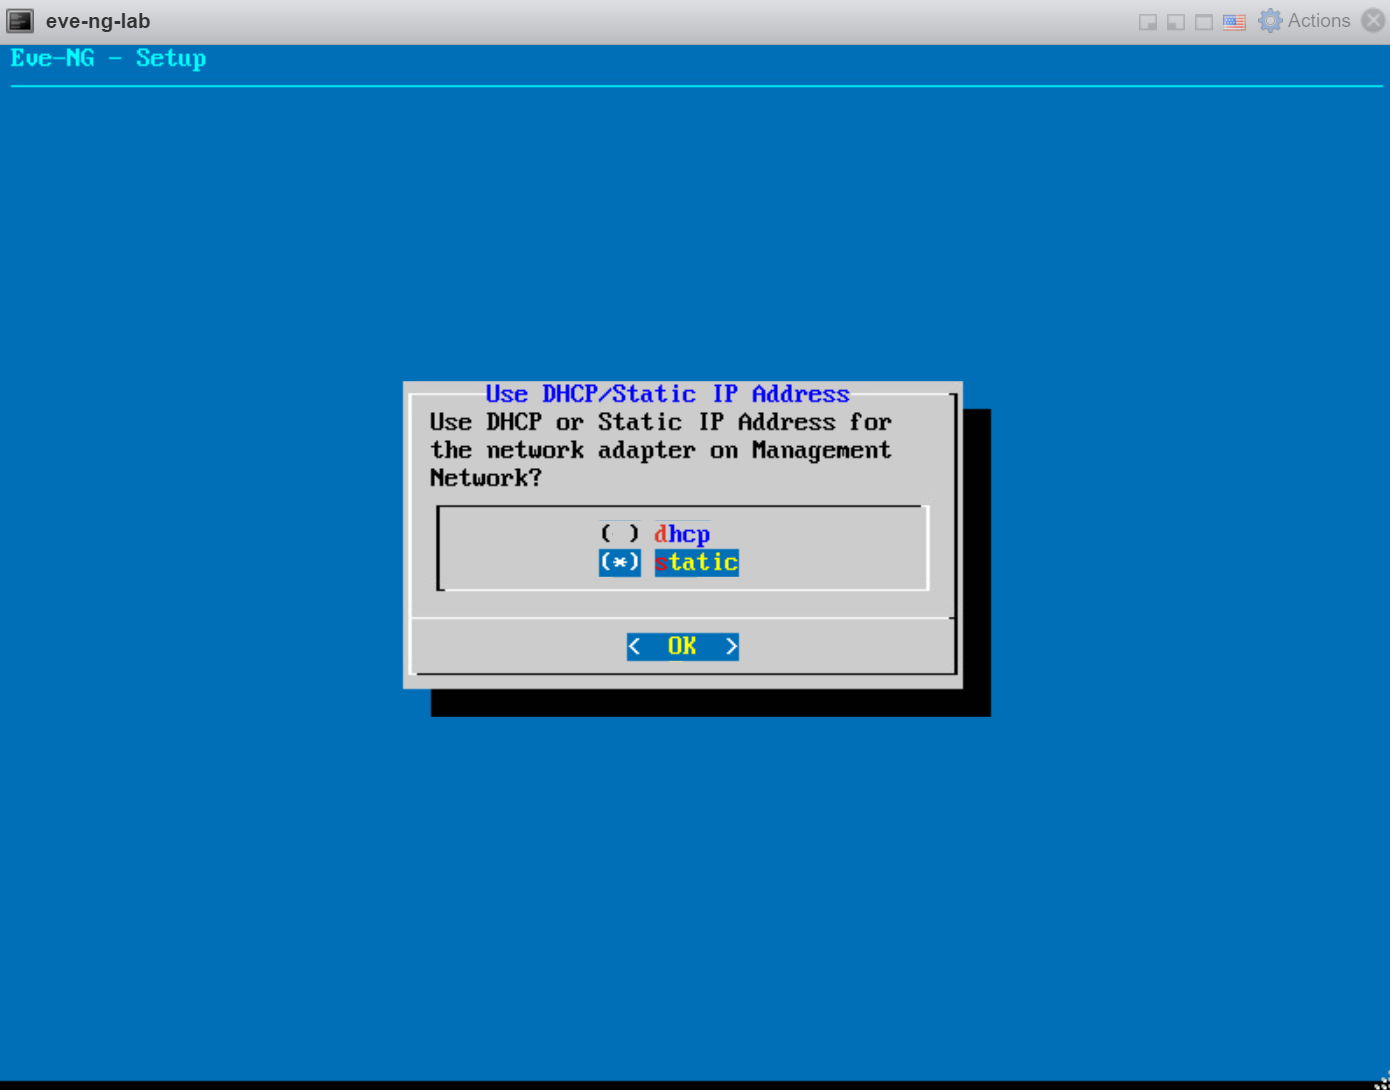
We can use DHCP or a static IP address. I’ll use a static IP address:
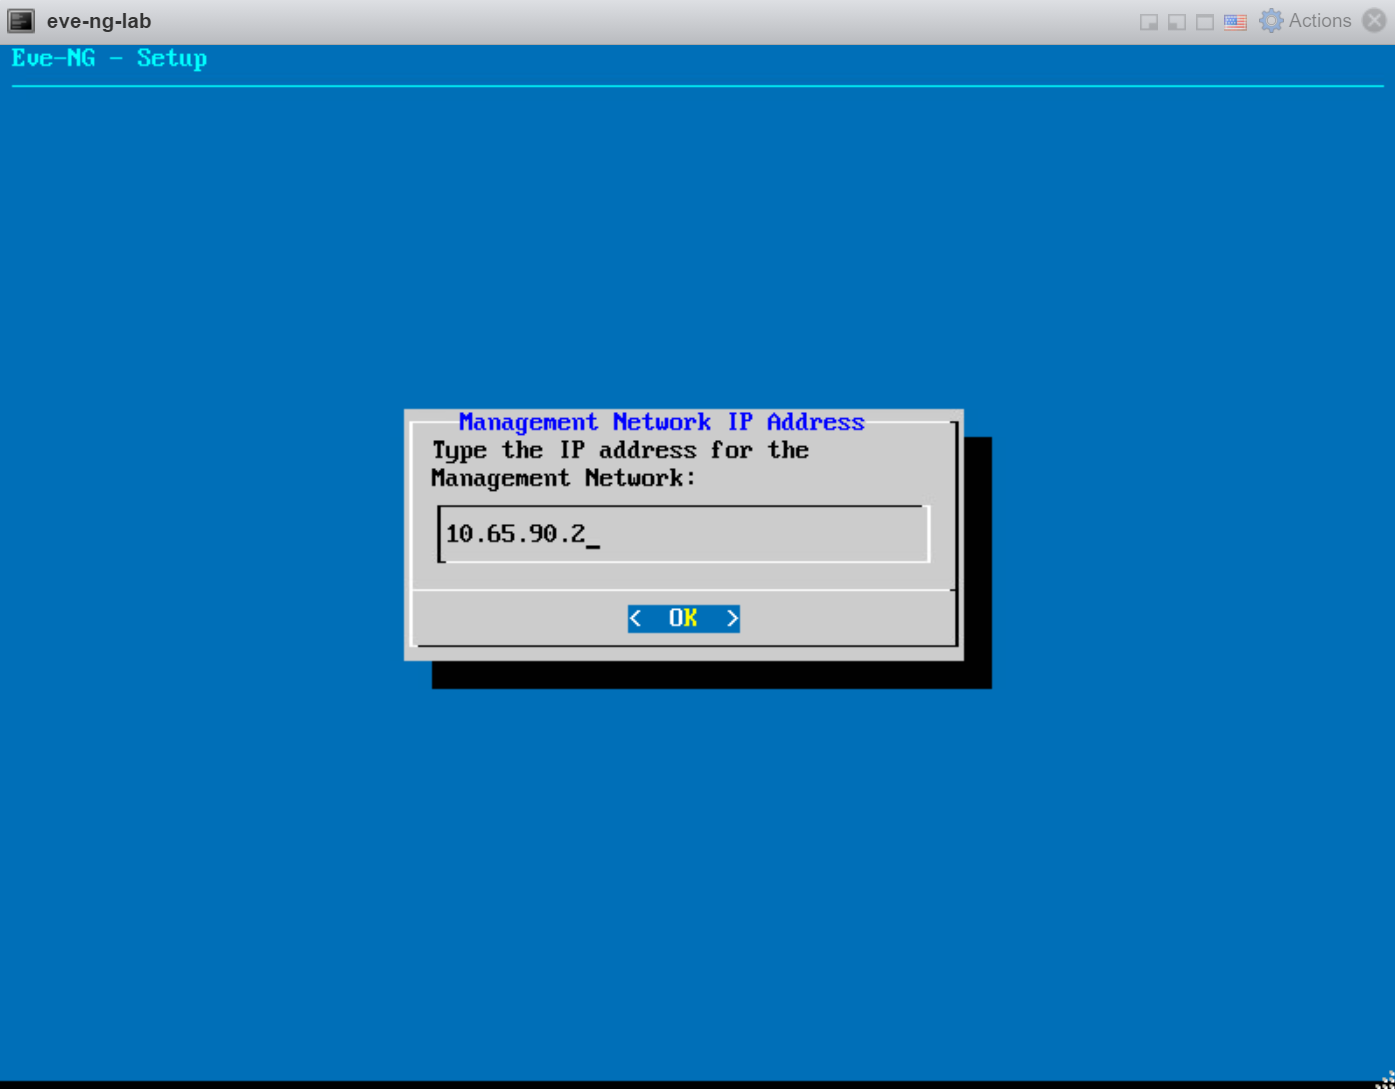
Enter the IP address you want to use:
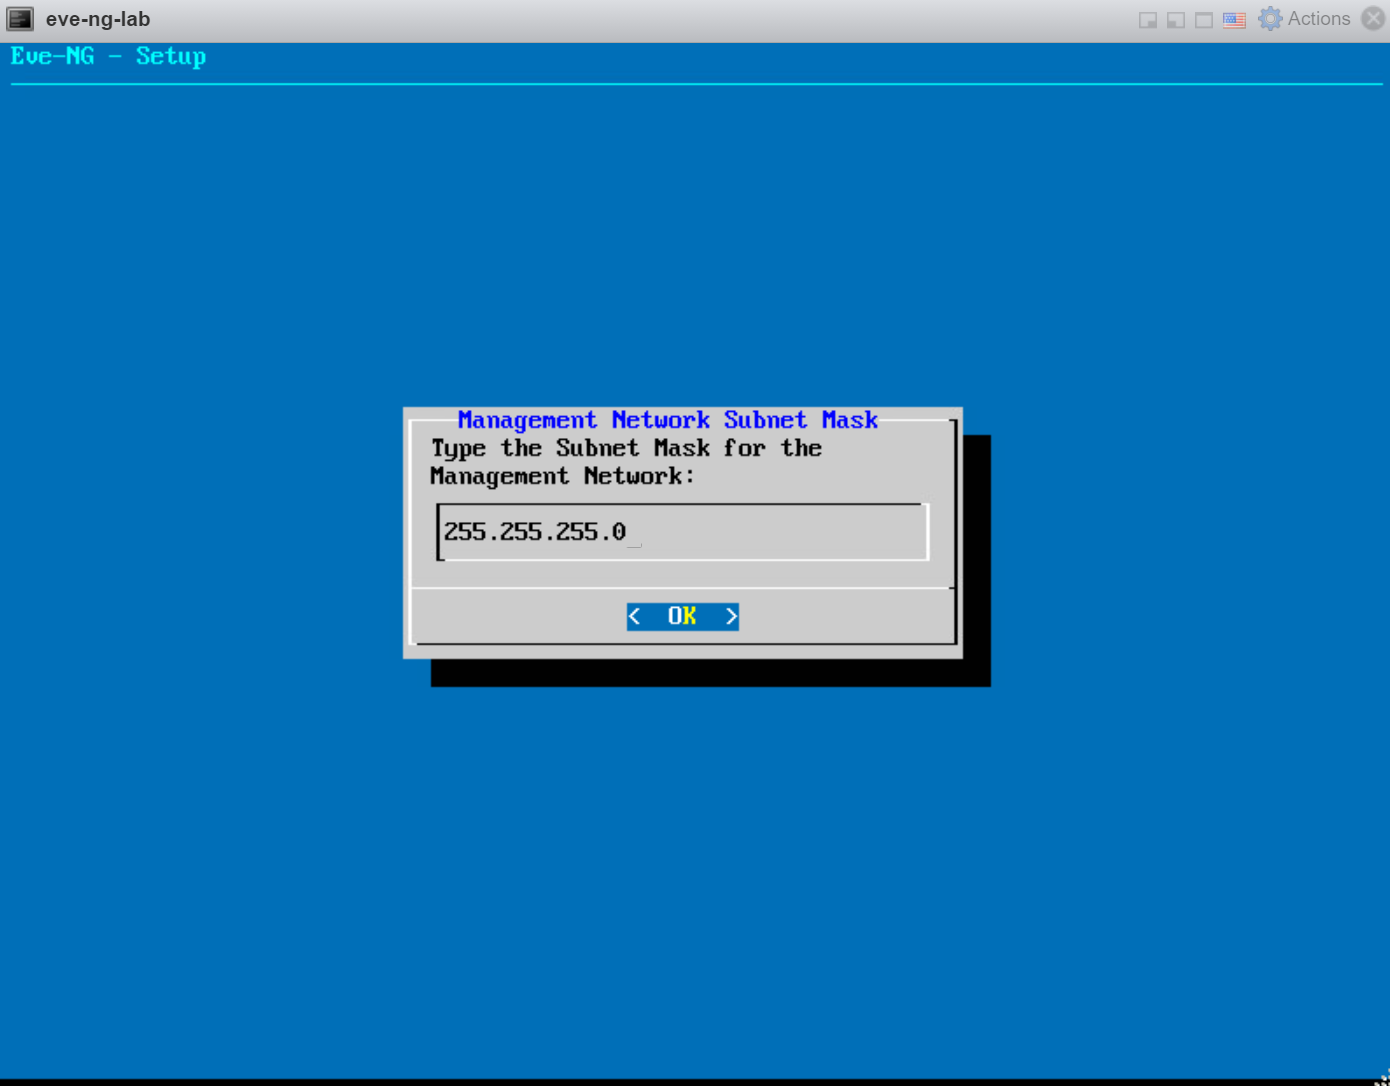
With the subnet mask:
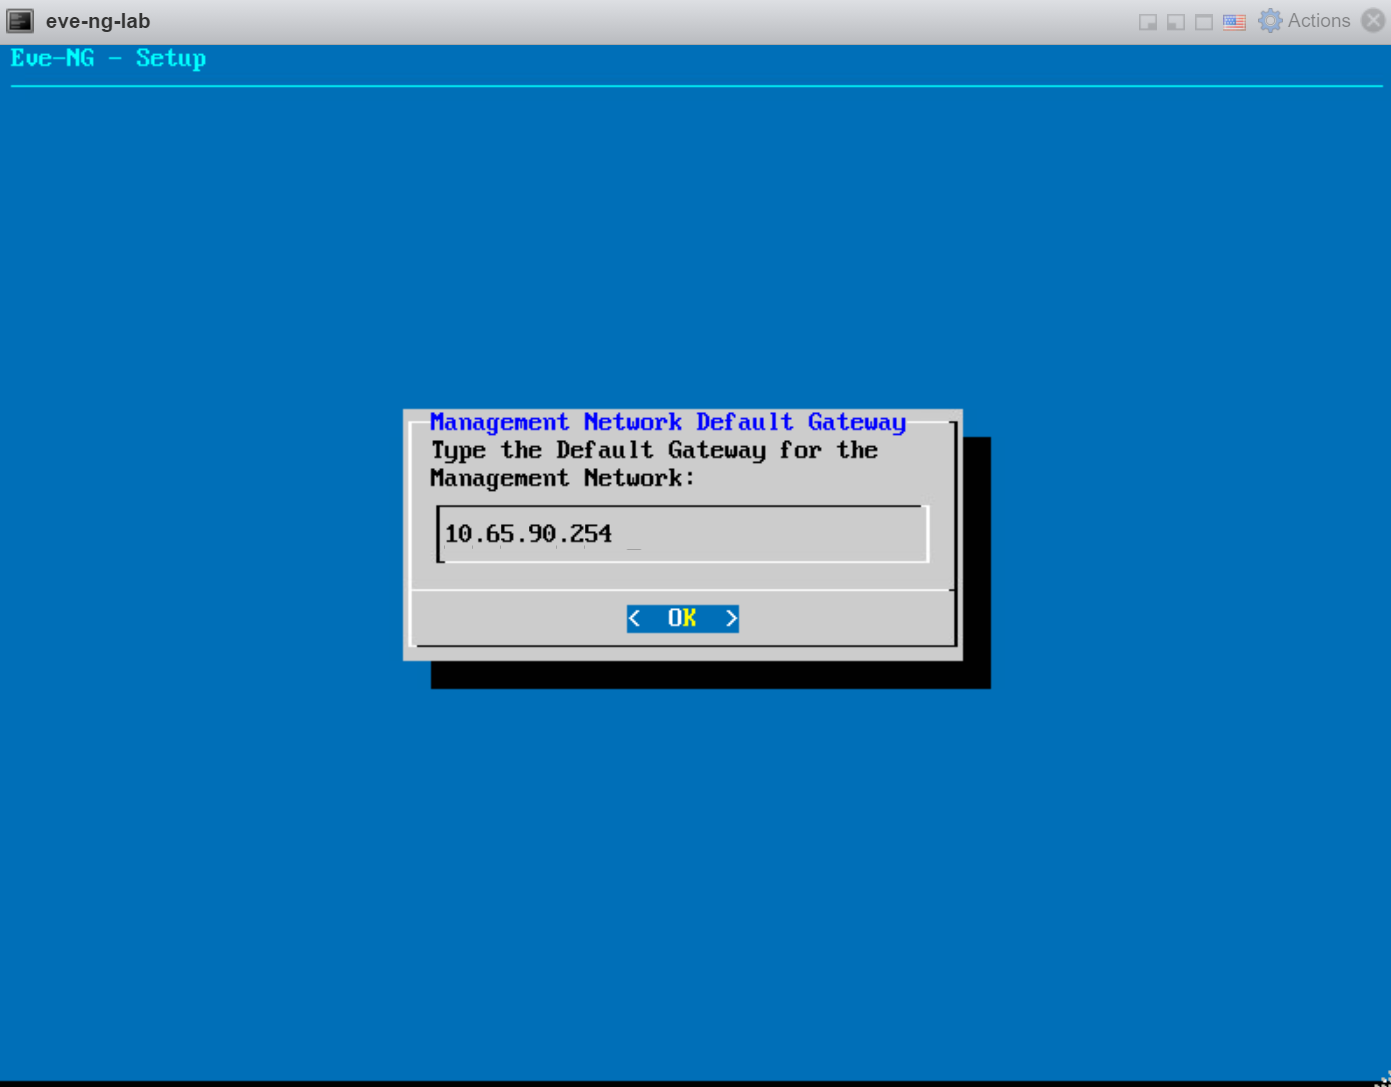
And a default gateway:
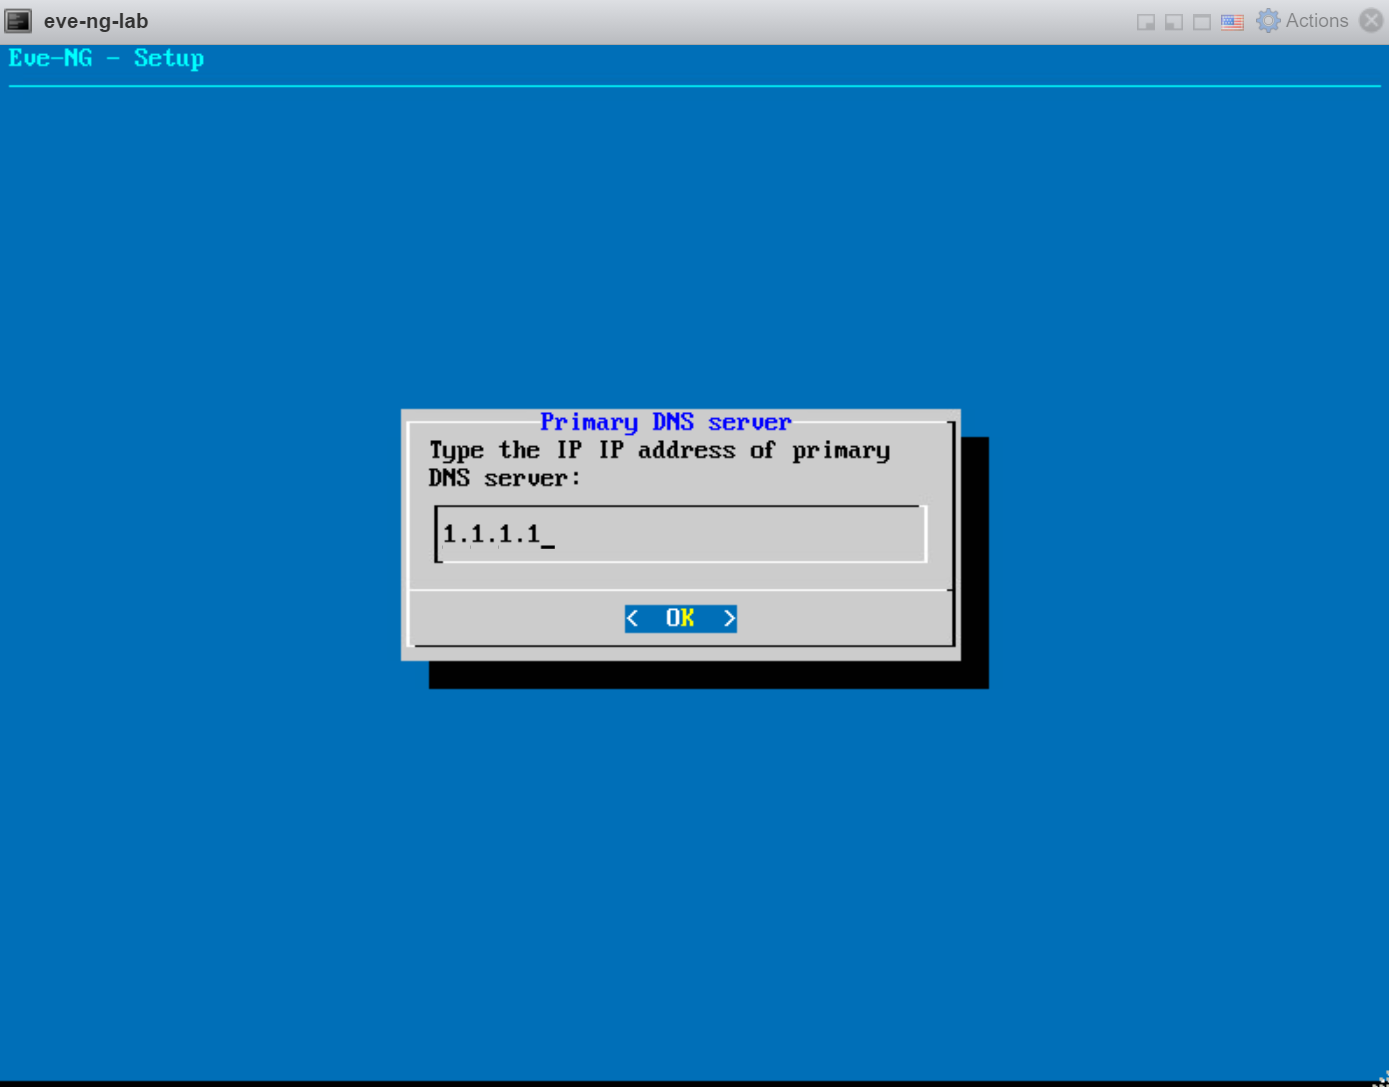
Enter the primary DNS server:
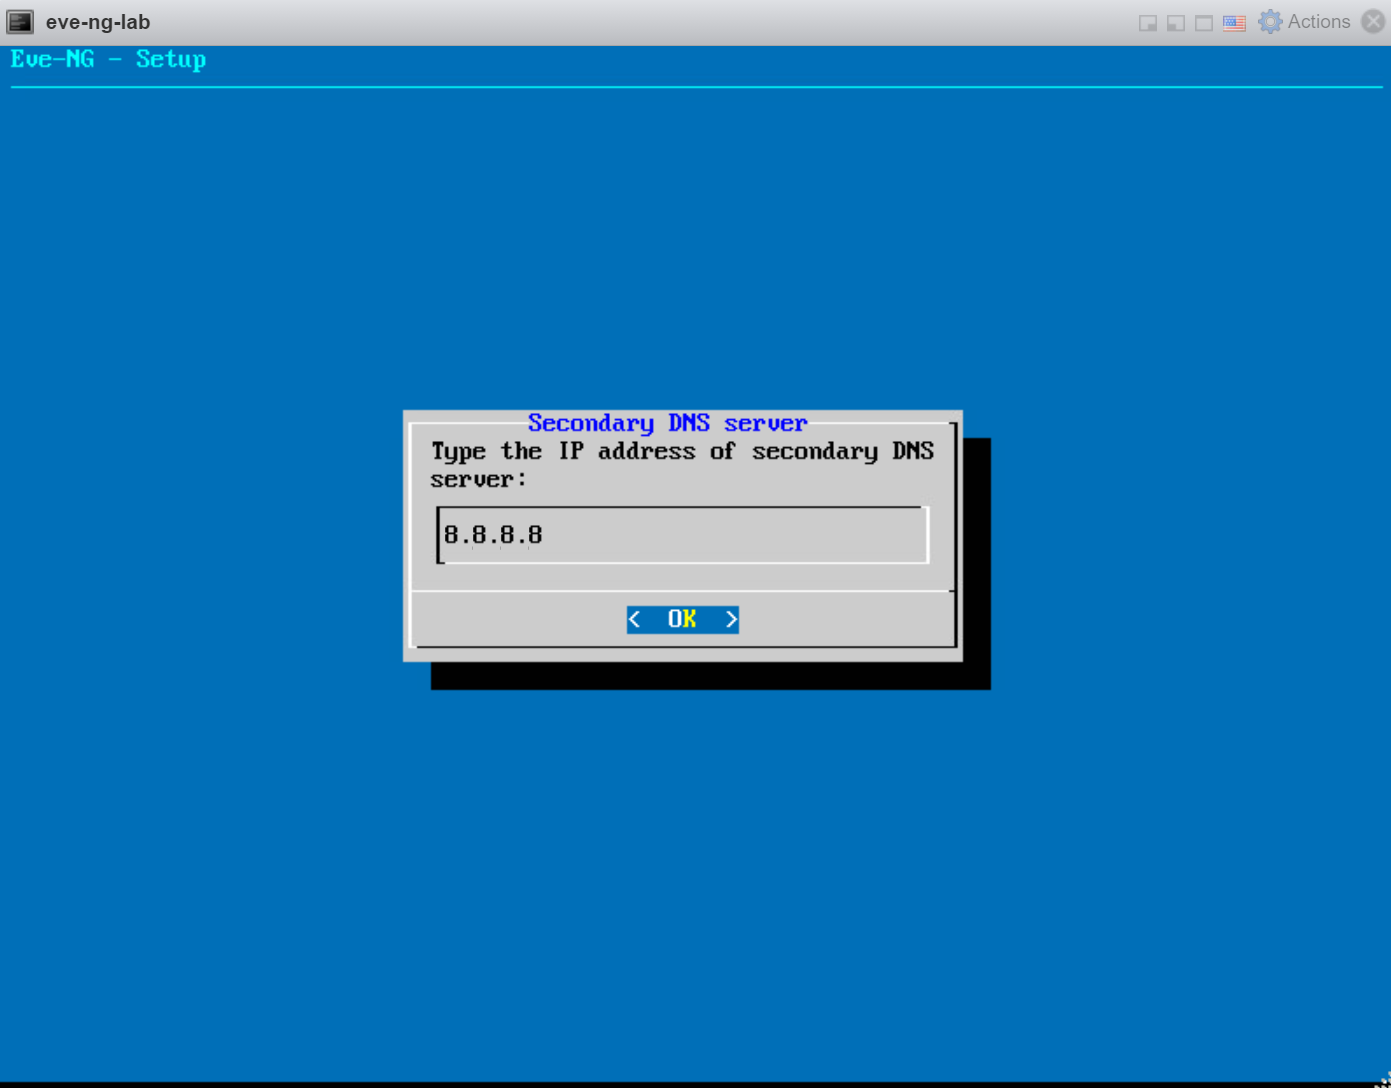
And the secondary DNS server:
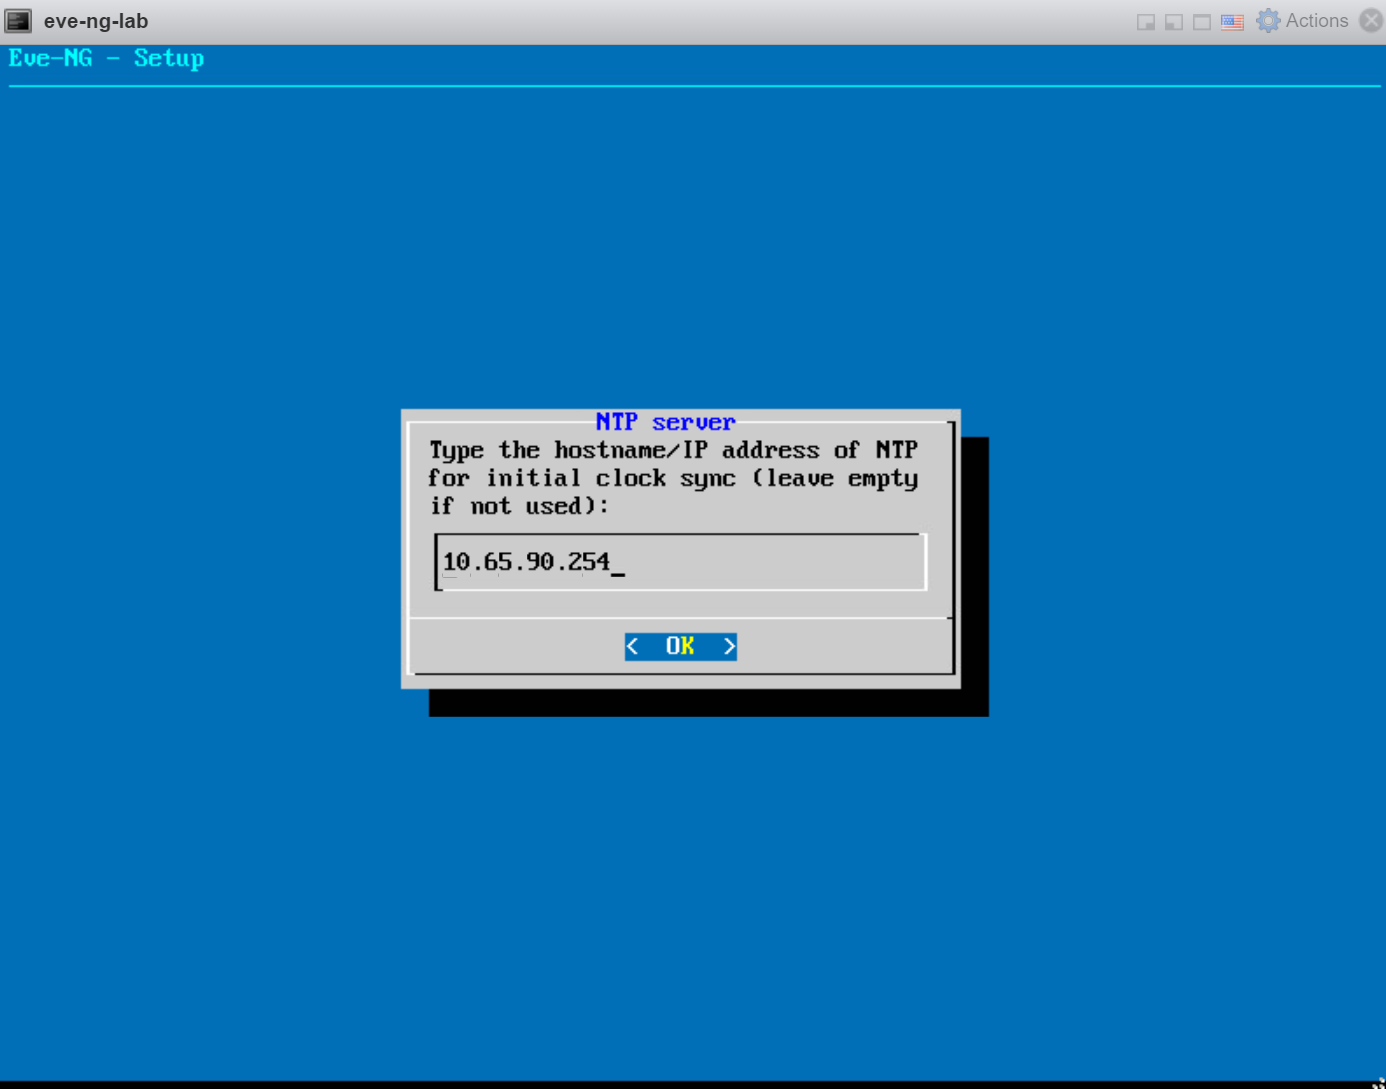
If you have an NTP server, enter the address here:
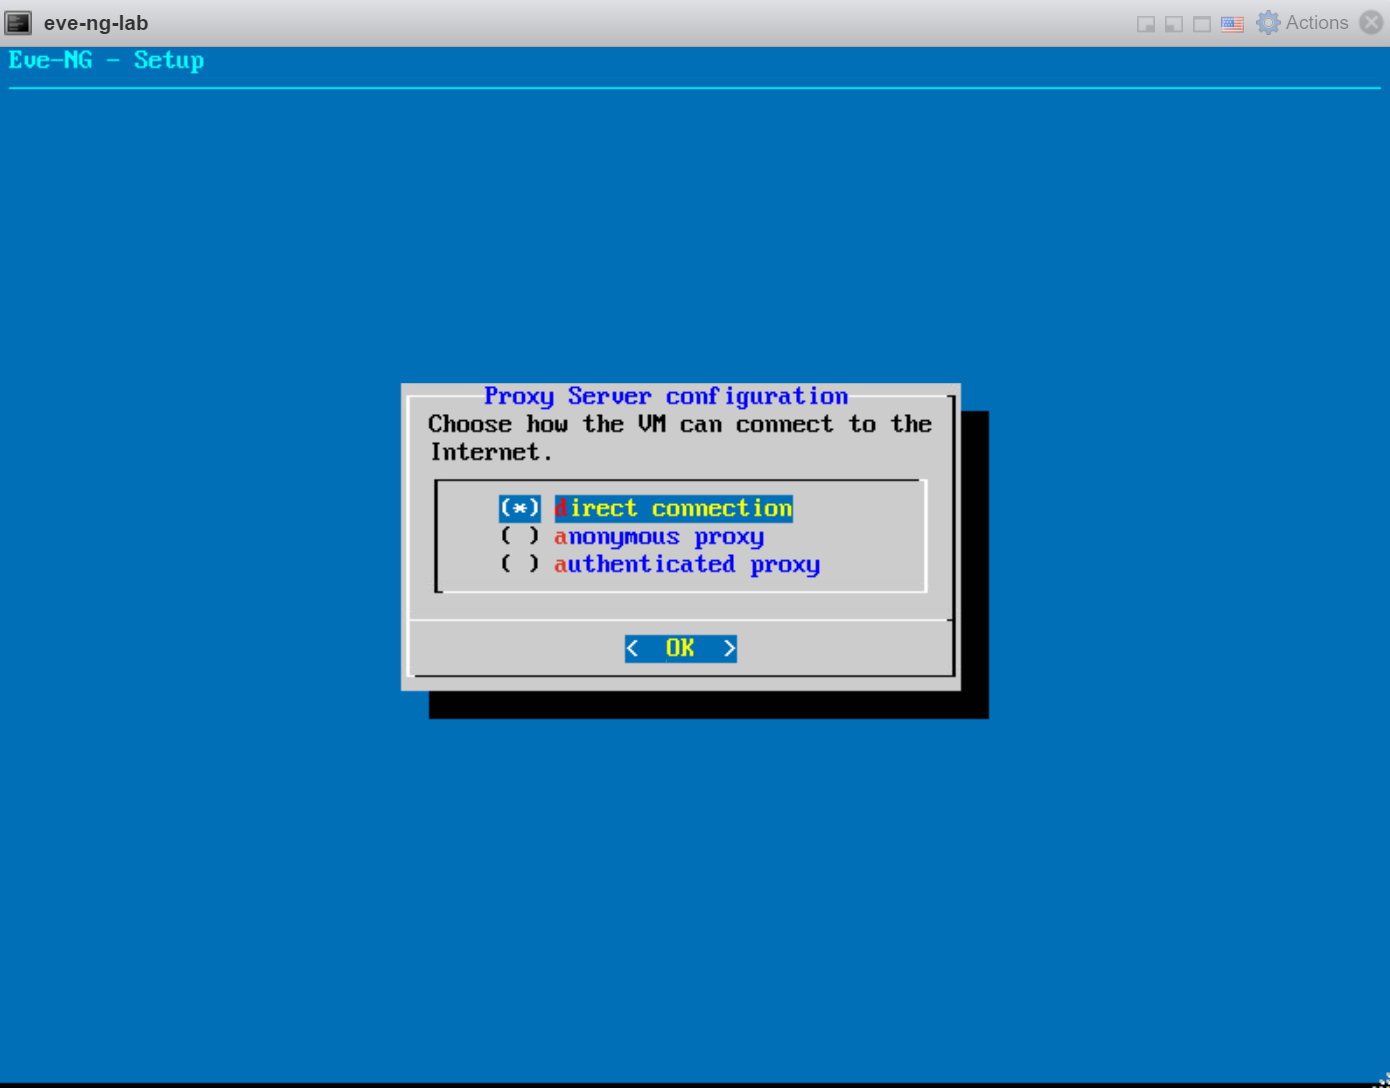
If you have a proxy server, configure it here:
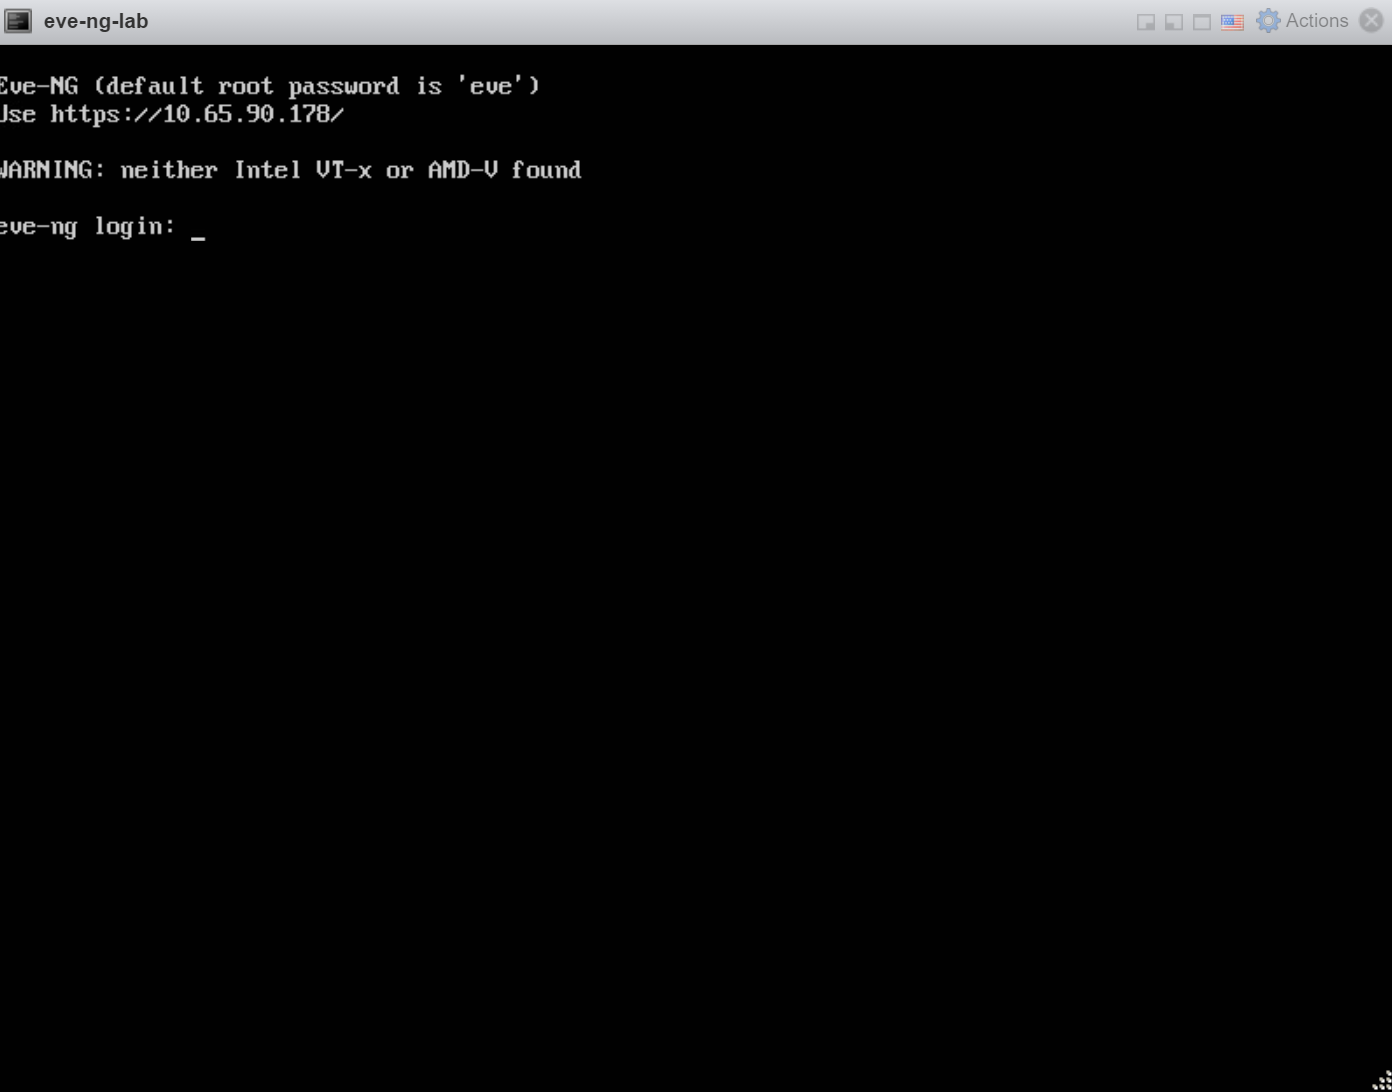
Once the setup completes, you’ll see the IP address on the CLI:
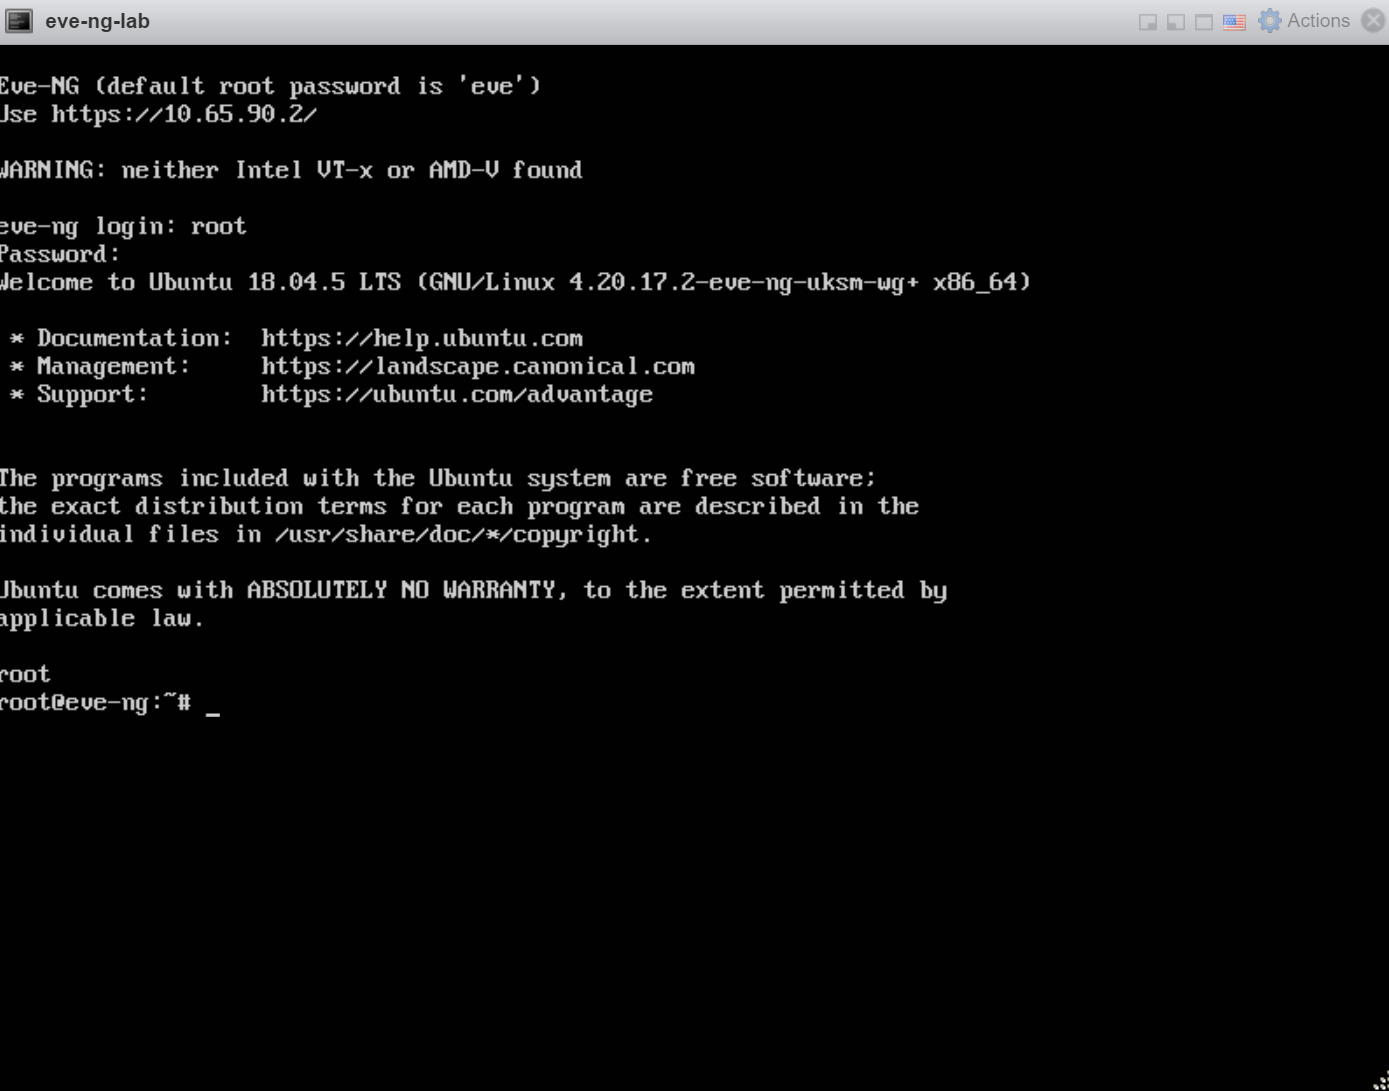
You can now access EVE-NG through the GUI or with SSH.
Add Images
With EVE-NG up and running, we can add the Cisco SD-WAN images.
Open a web browser and type in the IP address of your EVE-NG virtual machine. You’ll see this screen:
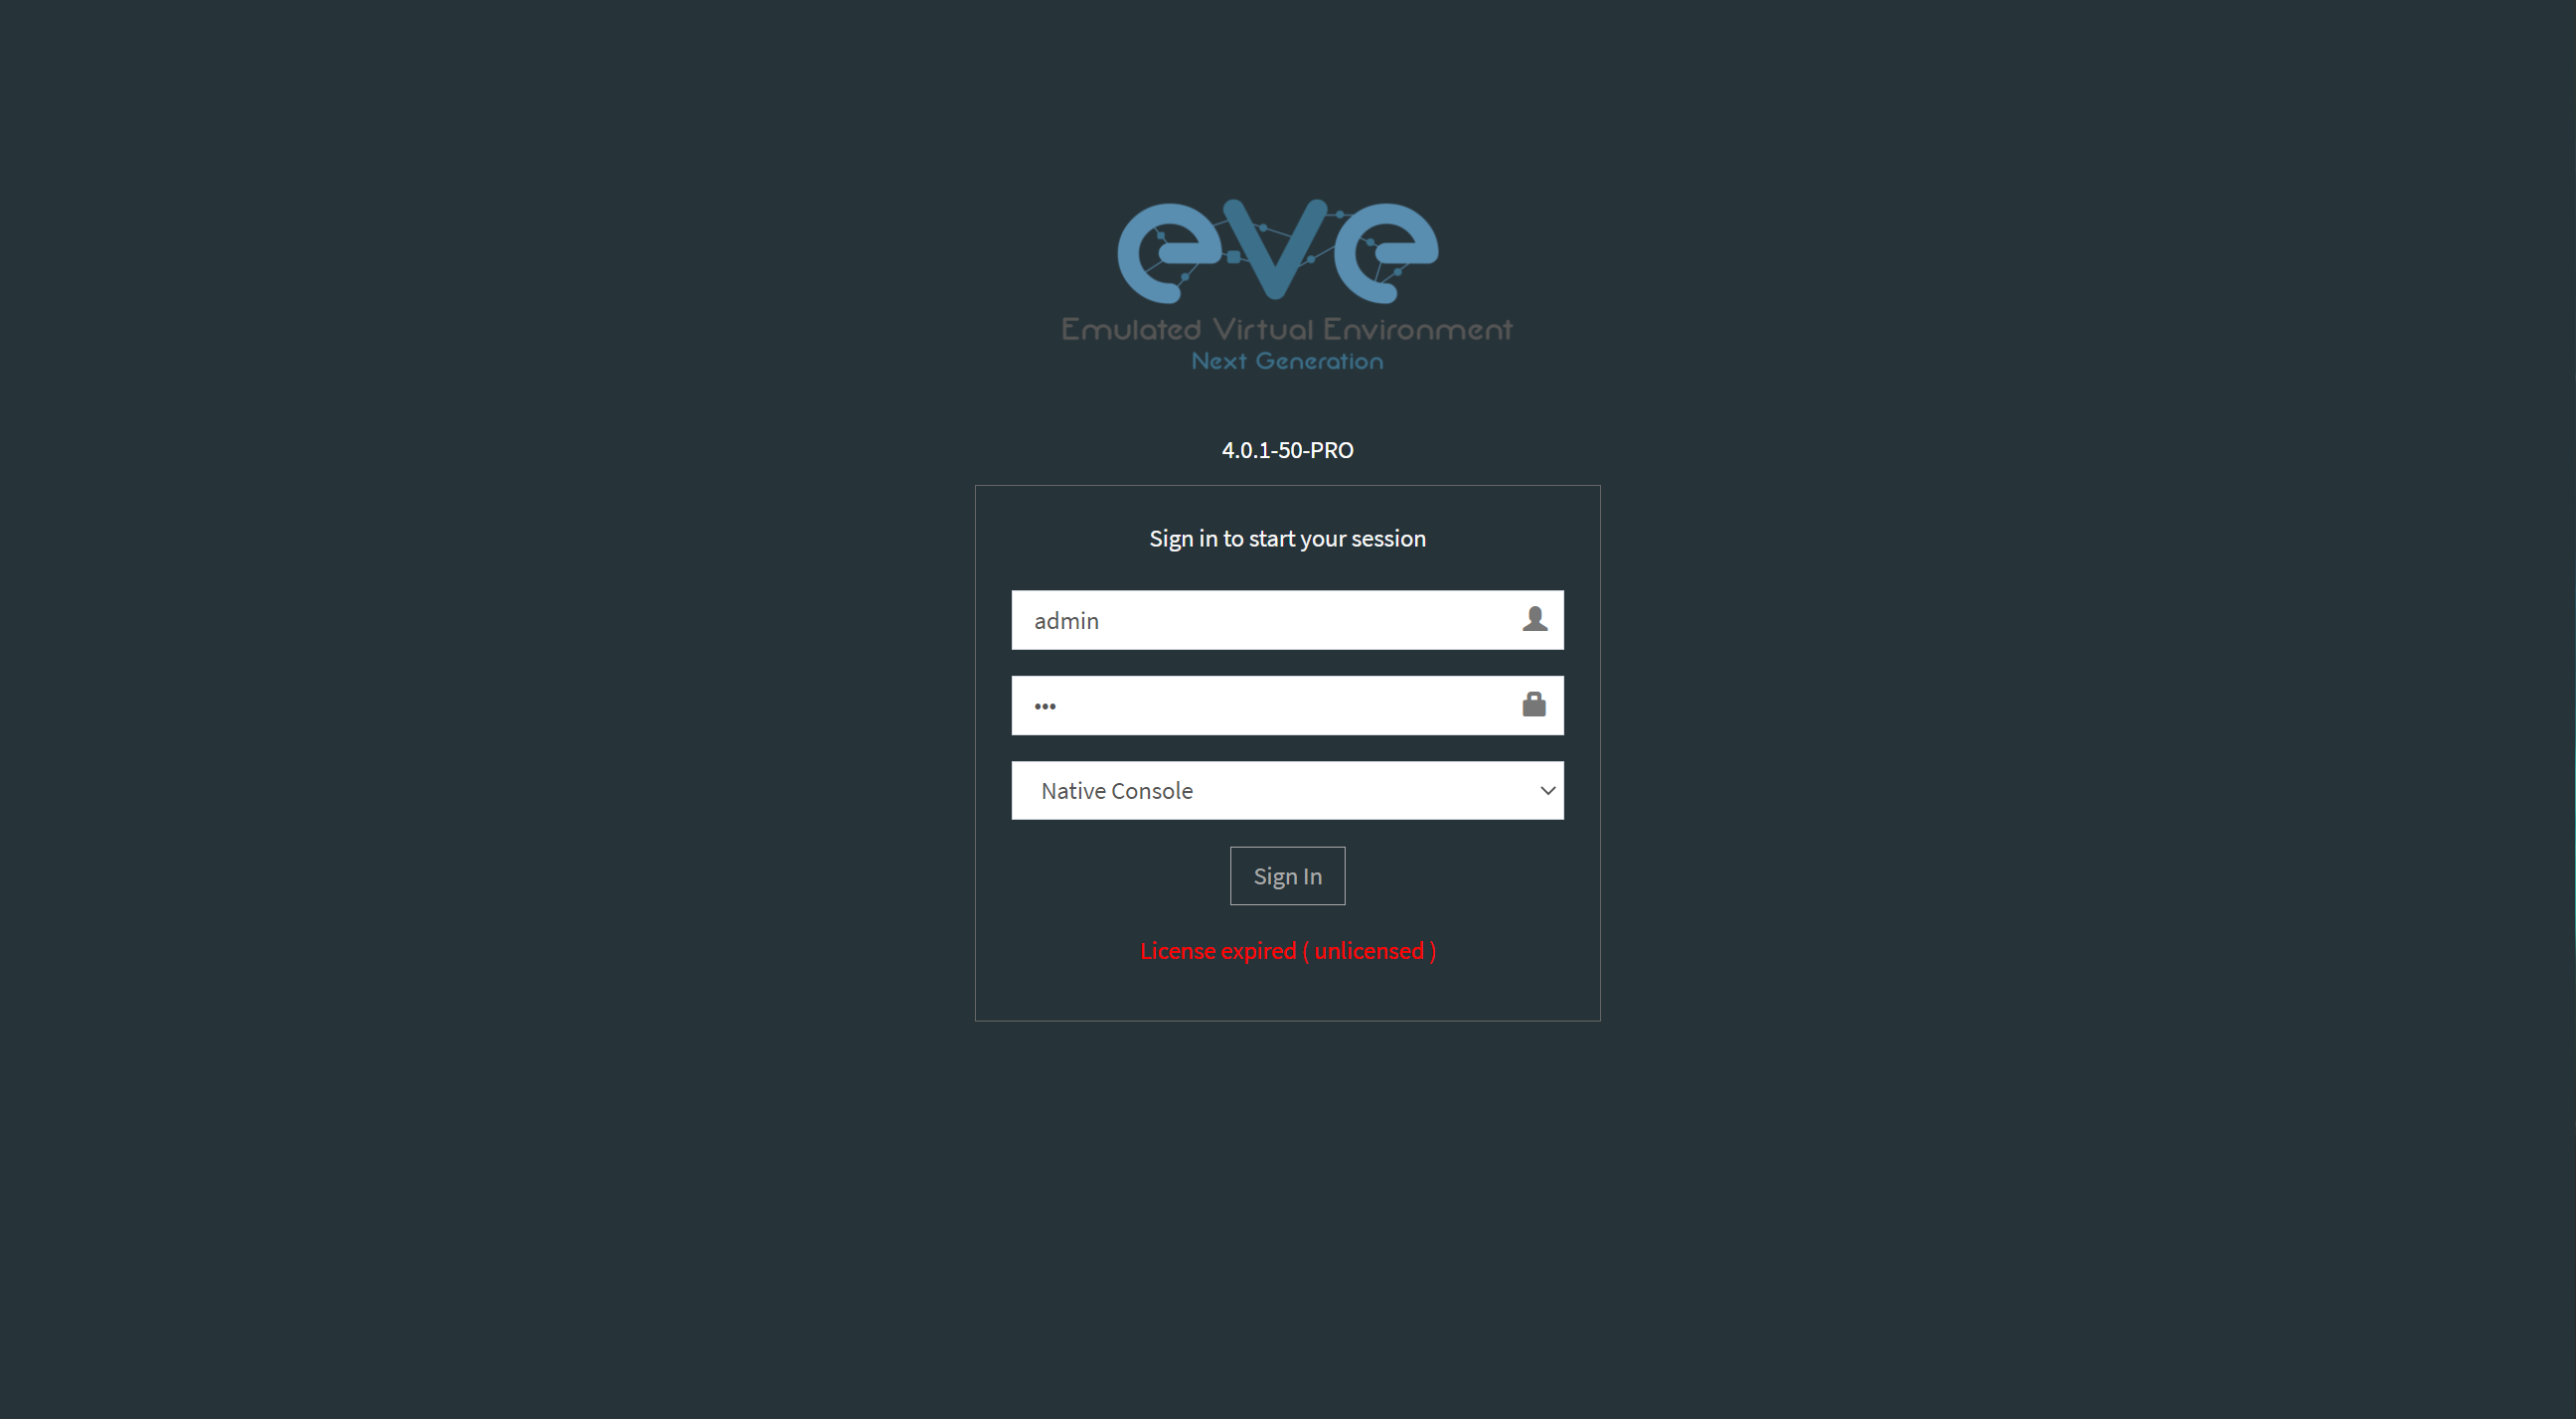
If you use the HTML5 console, you can access the CLI of your virtual devices through the web browser. I prefer the Native Console because it allows you to use your own applications like Putty or SecureCRT.
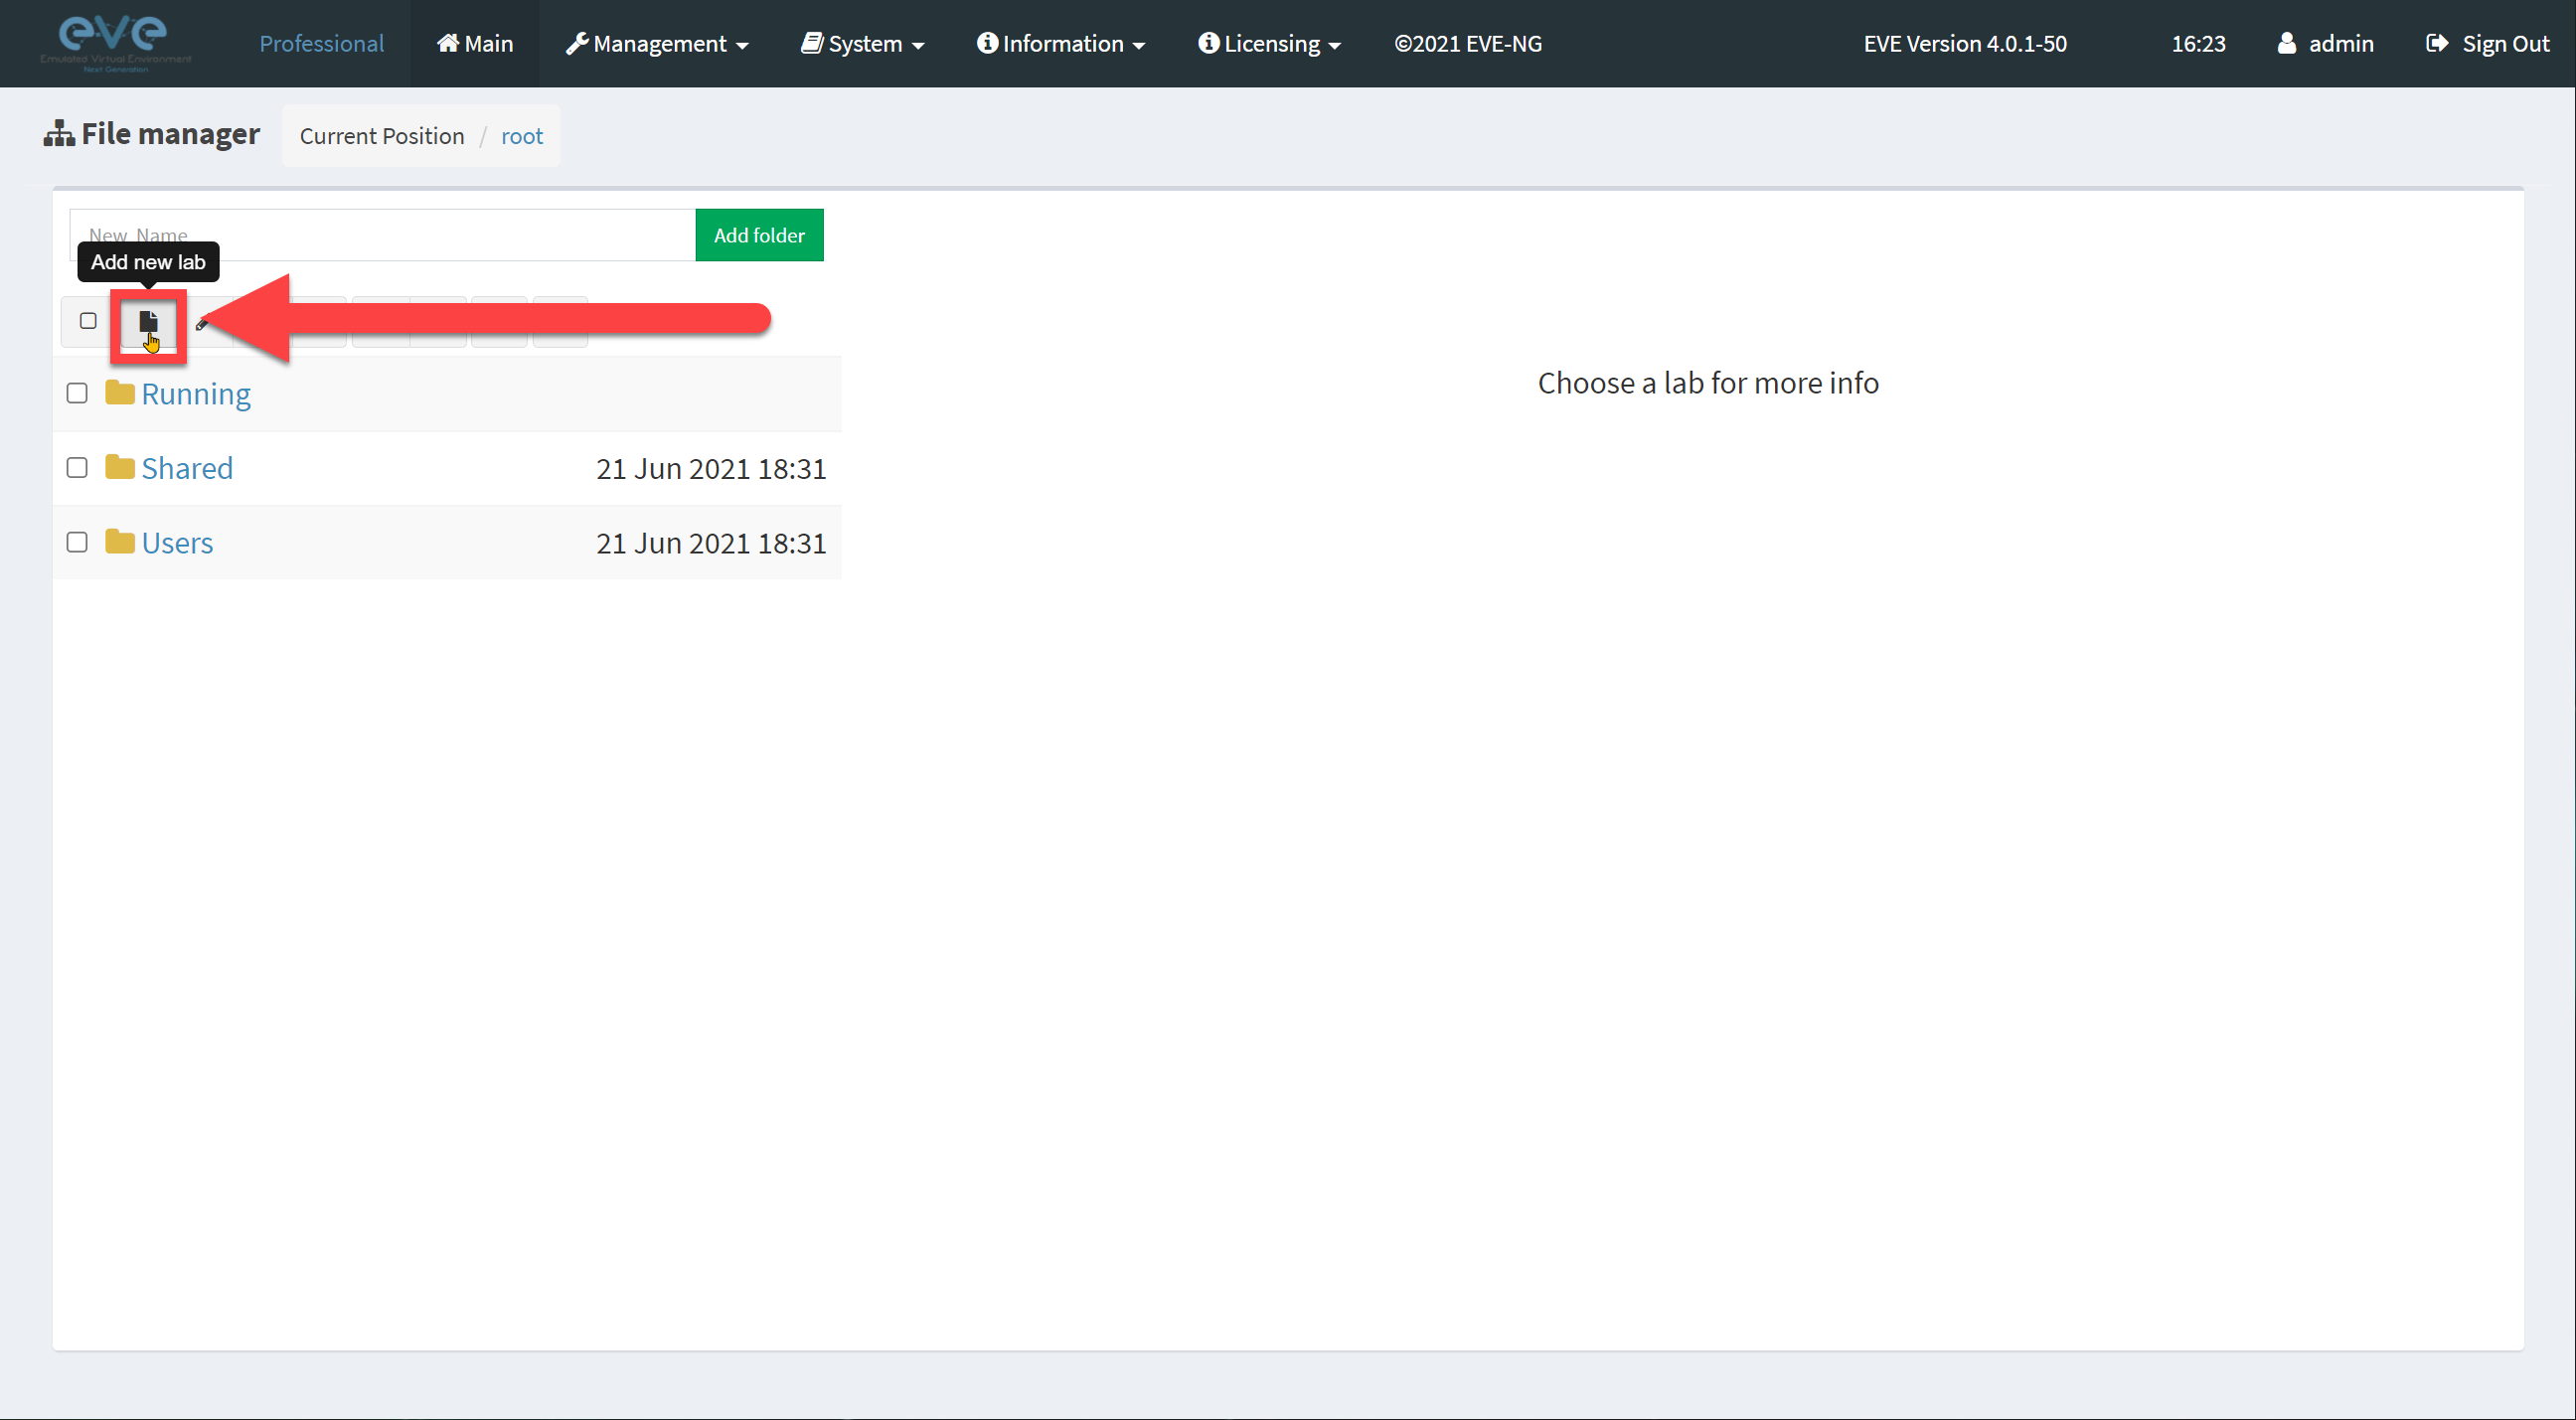
Once you are logged in, click on the Add new lab button:
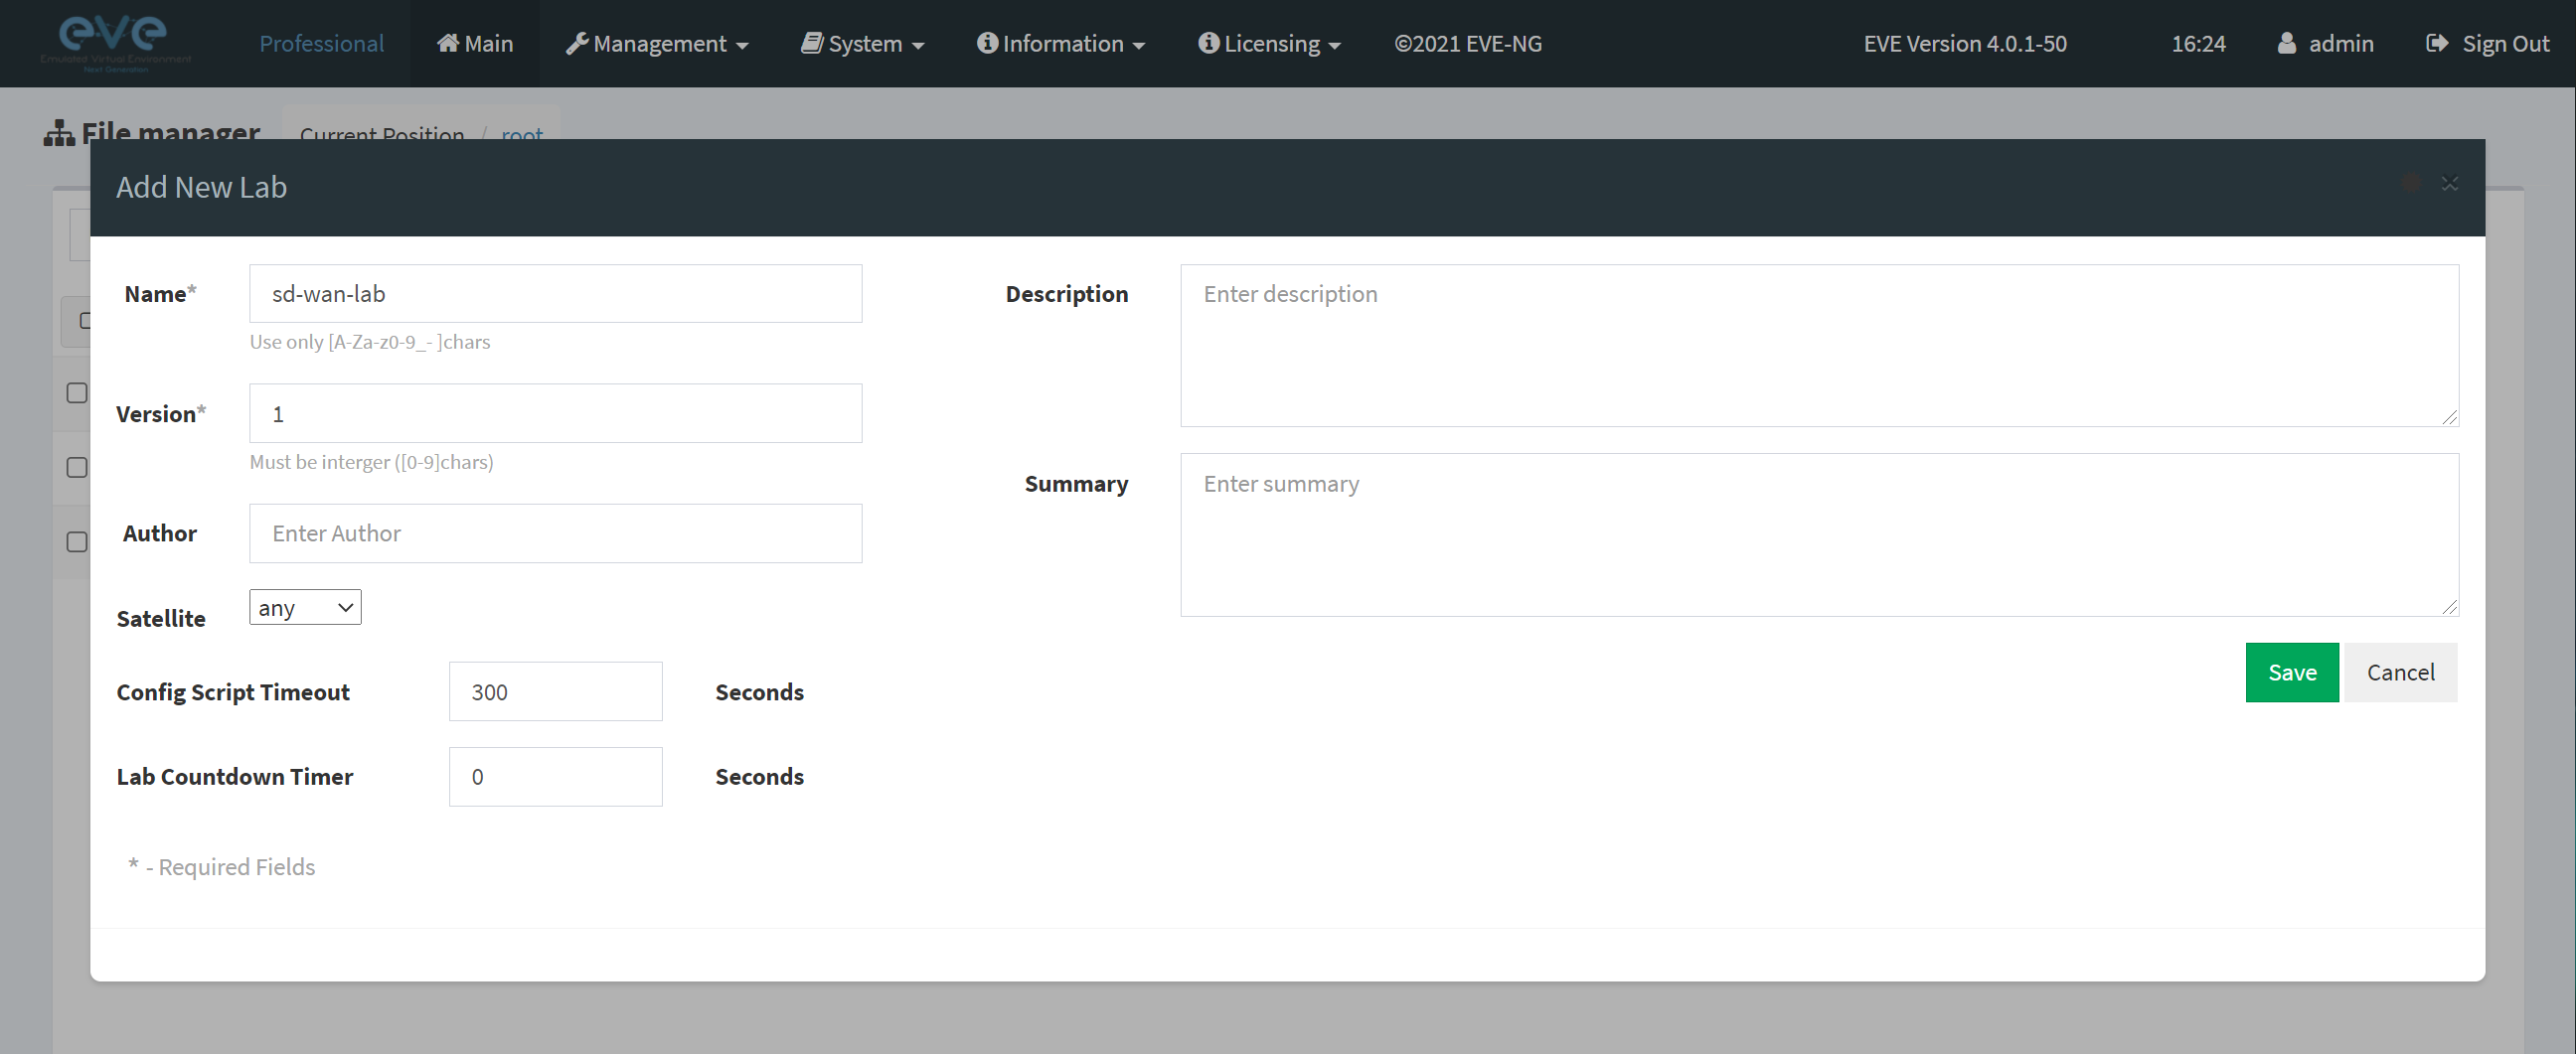
Give your lab a name nd click on Save:
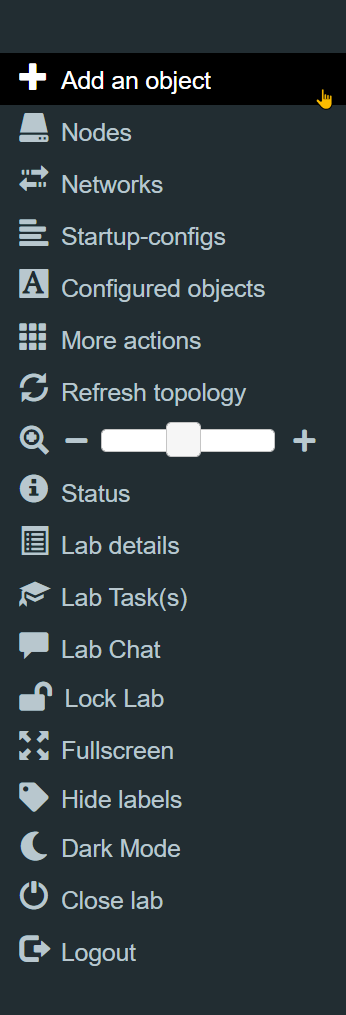
In the left menu, choose Add an object:
And select Node:
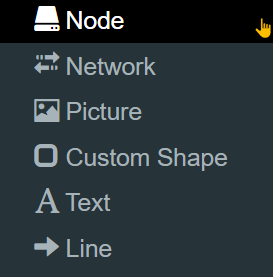
In the dropdown, you only have two options at the moment:
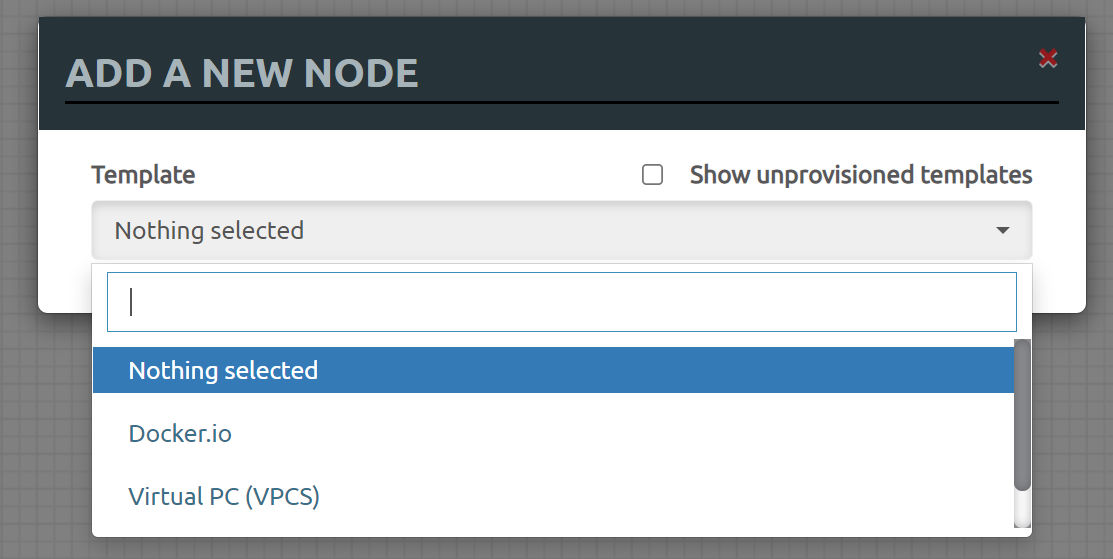
When we add new images, they will automatically show up here. This is how you can check whether EVE-NG detected your installed images.
Cisco SD-WAN Images
EVE-NG has an excellent tutorial that explains how to add the Cisco SD-WAN images. I’m using these three images:
- viptela-vmanage-19.3.0-genericx86-64.qcow2
- viptela-smart-19.3.0-genericx86-64.qcow2
- viptela-edge-19.3.0-genericx86-64.qcow2
We need to copy these files and add them to the following folder:
/opt/unetlab/addons/qemu/Let’s create these folders.
# mkdir /opt/unetlab/addons/qemu/vtbond-19.3.0
# mkdir /opt/unetlab/addons/qemu/vtedge-19.3.0
# mkdir /opt/unetlab/addons/qemu/vtsmart-19.3.0
# mkdir /opt/unetlab/addons/qemu/vtmgmt-19.3.0
The name before the dash (-) has to match. You can add the version number behind the dash.
Use an application like SecureCRT, WinSCP, or Filezilla to copy the image files to the above folders. The vEdge image is also used for the vBond controller. Your folders and files should look like this now:
# ls -lR /opt/unetlab/addons/qemu
/opt/unetlab/addons/qemu:
total 16
drwxr-xr-x 2 root root 4096 Jul 15 16:47 vtbond-19.3.0
drwxr-xr-x 2 root root 4096 Jul 15 16:46 vtedge-19.3.0
drwxr-xr-x 2 root root 4096 Jul 15 16:47 vtmgmt-19.3.0
drwxr-xr-x 2 root root 4096 Jul 15 16:47 vtsmart-19.3.0

/opt/unetlab/addons/qemu/vtbond-19.3.0:
total 241284
-rw-r--r-- 1 root root 247070720 Feb 20  2020 viptela-edge-19.3.0-genericx86-64.qcow2

/opt/unetlab/addons/qemu/vtedge-19.3.0:
total 241284
-rw-r--r-- 1 root root 247070720 Feb 20  2020 viptela-edge-19.3.0-genericx86-64.qcow2

/opt/unetlab/addons/qemu/vtmgmt-19.3.0:
total 1084676
-rw-r--r-- 1 root root 1110704128 Feb 20  2020 viptela-vmanage-19.3.0-genericx86-64.qcow2

/opt/unetlab/addons/qemu/vtsmart-19.3.0:
total 241280
-rw-r--r-- 1 root root 247070720 Feb 20  2020 viptela-smart-19.3.0-genericx86-64.qcow2
We have to rename the image file names to virtioa.qcow2. Let’s use the mv command for this. Here’s the vBond image:
# cd /opt/unetlab/addons/qemu/vtbond-19.3.0/
# mv viptela-edge-19.3.0-genericx86-64.qcow2 virtioa.qcow2
The vEdge image:
# cd /opt/unetlab/addons/qemu/vtedge-19.3.0/
# mv viptela-edge-19.3.0-genericx86-64.qcow2 virtioa.qcow2
vSmart image:
# cd /opt/unetlab/addons/qemu/vtsmart-19.3.0/
# mv viptela-smart-19.3.0-genericx86-64.qcow2 virtioa.qcow2
And the vManage image:
# cd /opt/unetlab/addons/qemu/vtmgmt-19.3.0/
# mv viptela-vmanage-19.3.0-genericx86-64.qcow2 virtioa.qcow2
For the vManage image we have to do one more thing. This image requires a 100 GB hard disk. You can create it with the following command:
# /opt/qemu/bin/qemu-img create -f qcow2 virtiob.qcow2 100G
Formatting 'virtiob.qcow2', fmt=qcow2 size=107374182400 encryption=off cluster_size=65536 lazy_refcounts=off refcount_bits=16
And we need to set some permissions:
# cd
# /opt/unetlab/wrappers/unl_wrapper -a fixpermissions
Let’s take another look at our folders so we can see the end result:
# ls -lR /opt/unetlab/addons/qemu
/opt/unetlab/addons/qemu:
total 16
drwxr-xr-x 2 root root 4096 Jul 15 16:49 vtbond-19.3.0
drwxr-xr-x 2 root root 4096 Jul 15 16:50 vtedge-19.3.0
drwxr-xr-x 2 root root 4096 Jul 15 16:52 vtmgmt-19.3.0
drwxr-xr-x 2 root root 4096 Jul 15 16:50 vtsmart-19.3.0

/opt/unetlab/addons/qemu/vtbond-19.3.0:
total 241284
-rw-r--r-- 1 root root 247070720 Feb 20  2020 virtioa.qcow2

/opt/unetlab/addons/qemu/vtedge-19.3.0:
total 241284
-rw-r--r-- 1 root root 247070720 Feb 20  2020 virtioa.qcow2

/opt/unetlab/addons/qemu/vtmgmt-19.3.0:
total 1084872
-rw-r--r-- 1 root root 1110704128 Feb 20  2020 virtioa.qcow2
-rw-r--r-- 1 root root     198656 Jul 15 16:52 virtiob.qcow2

/opt/unetlab/addons/qemu/vtsmart-19.3.0:
total 241280
-rw-r--r-- 1 root root 247070720 Feb 20  2020 virtioa.qcow2
In the output above, you can see the 100 GB hard disk (virtiob.qcow2) that we created. It’s only using 198656 bytes at the moment.
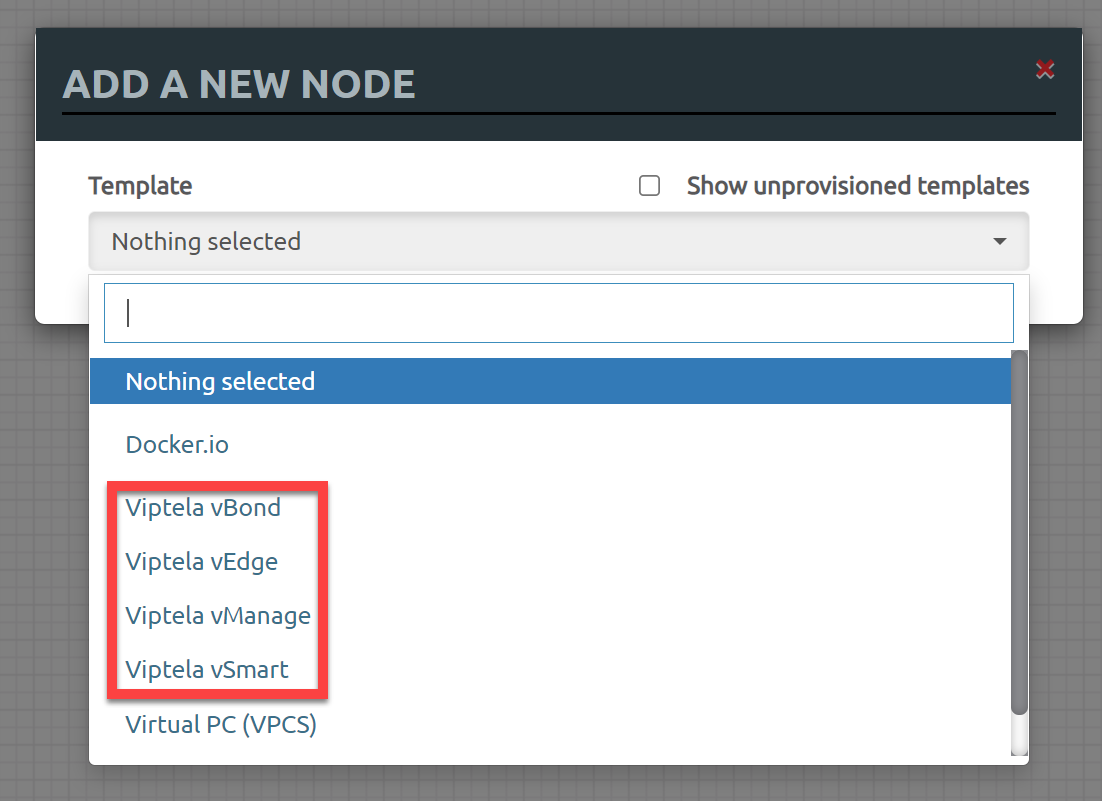
That’s all we have to do on the CLI. When you go back to the GUI and try to add a new node, you should see more options:
You can now add one of the Cisco SD-WAN nodes. For example:
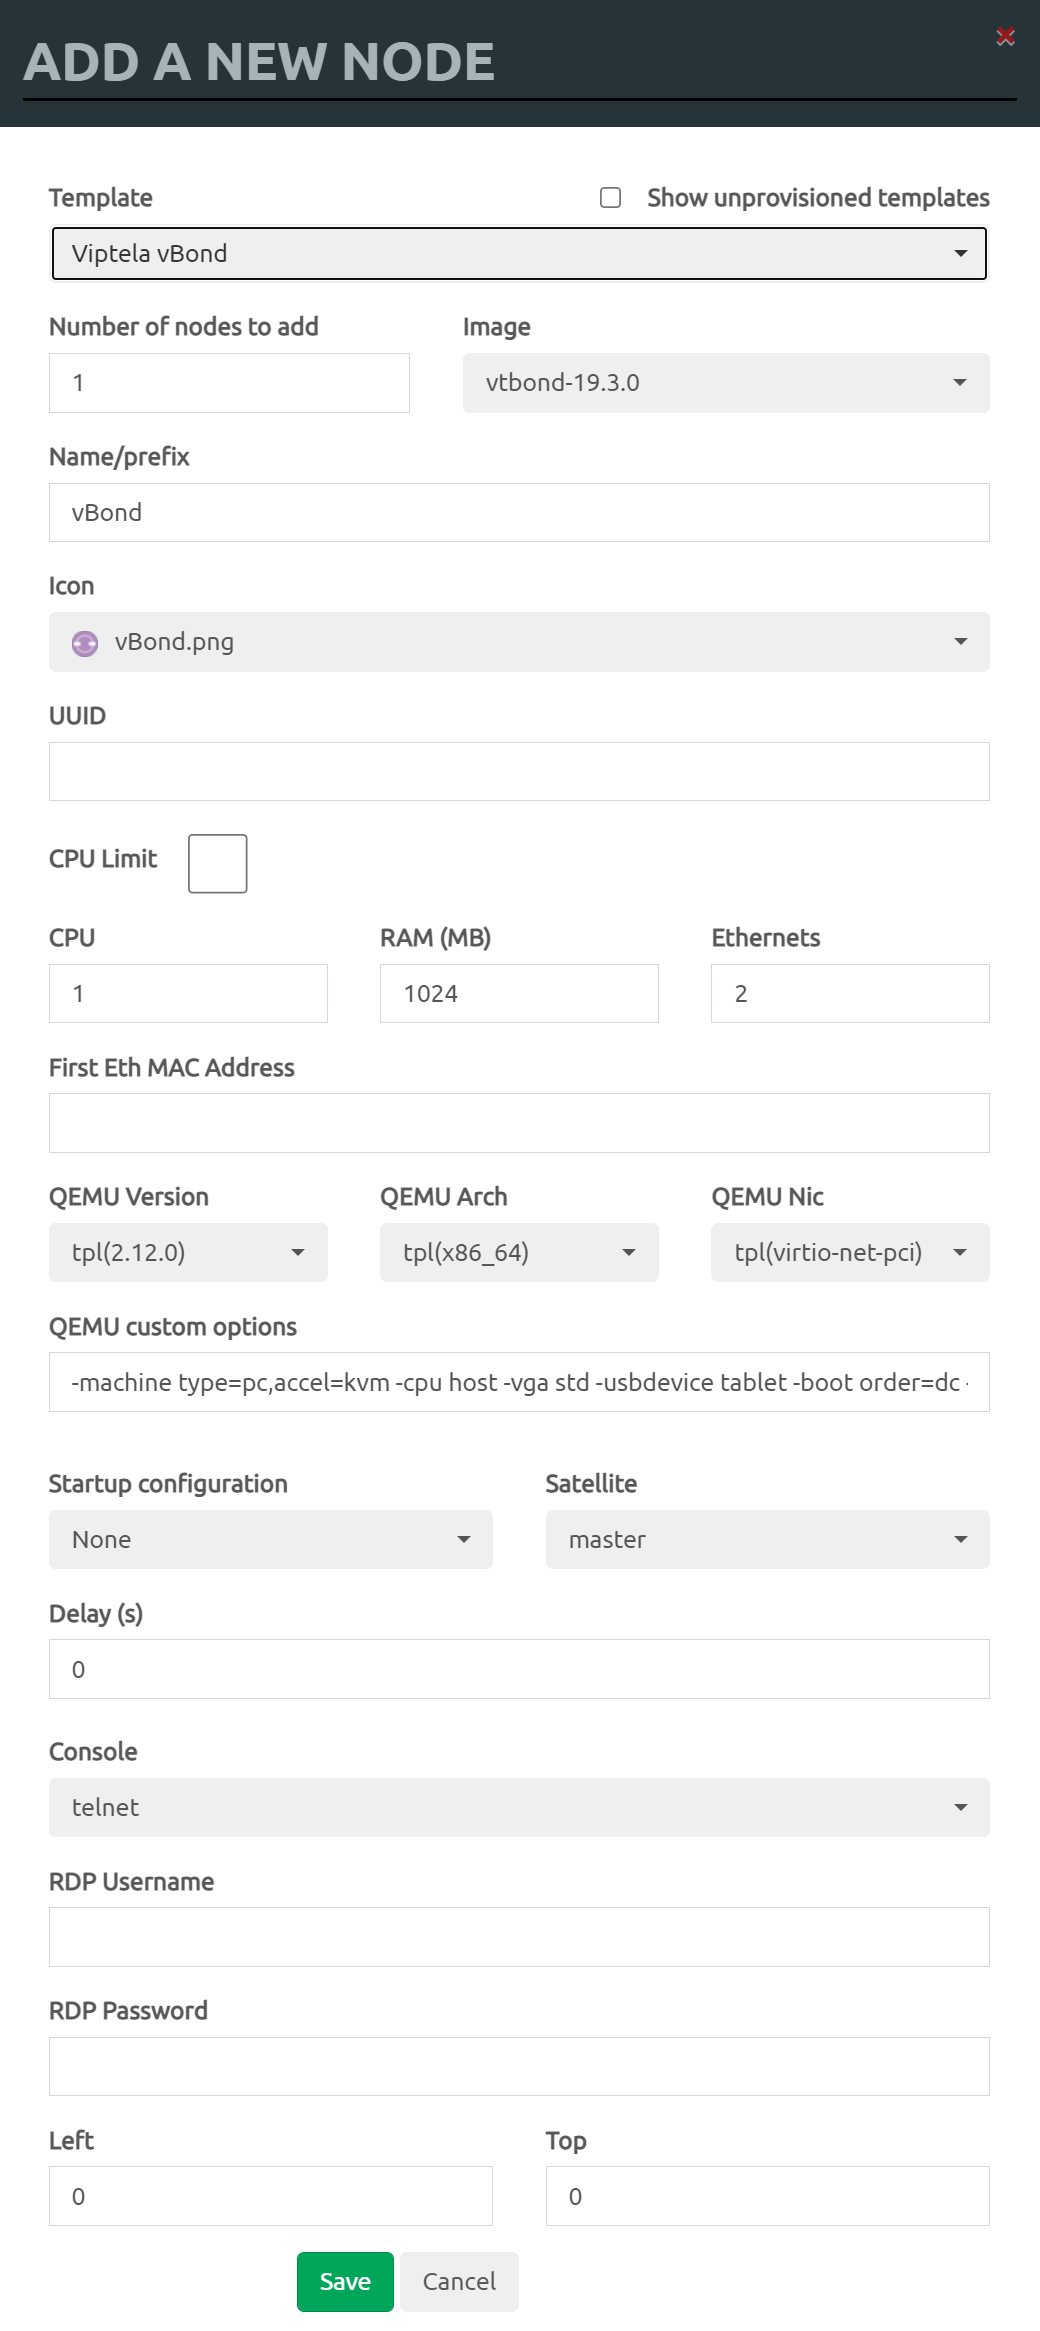
The default settings should be OK. Click on Save and add the node to your topology.
IOS Images
Before we wrap up this lesson, we should add some more images. It can be useful to have Cisco IOS routers and switches if you want to build a large topology.
Hello René,
Could you please share these all SD-WAN images for eve-ng to me?
Hello Nyi Nyi
In order to obtain the images, you need a Cisco Connection Online (CCO) account, also simply called a Cisco account. This is an account given to Cisco customers. Unfortunately, we are not able to share these images because they are protected by copyright.
Laz
Hello everyone,
I would like to know if I can build the same lab using VMware Workstation Pro instead of VMware ESxi, and if is possible which would be the steps in VMware Workstation Pro.
Thanks !!
Hi Jose,
Sure, that’s no problem at all. EVE-NG also has a video that explains how to install their ISO on VMWare Workstation:
https://img.youtube.com/vi/Kxt5dvuAfNk/maxresdefault.jpg
Rene
Hi Rene,
My eve-ng virtual machine is up and running in VMware Workstation, thanks for the help !!